Fujifilm X-T5 One Year Follow Up Review
A long term review of the Fujifilm X-T5
This post contains Amazon affiliate links. If you make a purchase through these links, I may earn a small commission at no additional cost to you.Fujifilm X-T5 One Year Follow-Up Review

It’s been just over a year since I picked up the Fujifilm X-T5. When I first bought it, I brought it with me on a two-week trip to Portugal as my only camera for both photo and video. After that trip, I shared a first-impressions video comparing it to the X-T3, which had been my daily carry for almost four years.
Now, after a full year of daily use, I want to share more developed thoughts on the X-T5, and more specifically, whether I still feel this is one of the best hybrid cameras on the market.
Ergonomics & Build Quality

Ergonomically, the X-T5 is excellent. It feels great in the hand, it’s comfortable to carry all day, and the control layout is very intuitive. Coming from the X-T3, it honestly felt like picking up an extension of the same camera.
My two favorite things about the layout are:

The physical exposure triangle controls. These dials help me connect to the photography process in a way that menus or DSLR-style controls never did.
The stills/movie mode switch. As a hybrid shooter bouncing between photo and video, this has been game-changing. I can react quickly and switch seamlessly from snapping photos to grabbing b-roll.

The camera feels fun and simple without sacrificing utility.
That said, the build quality shows some trade-offs compared to the X-T3. The X-T5 feels a bit more plasticky, almost toy-like. Some of the dials get sticky if dust works its way underneath, and in humid or rainy conditions I’ve noticed this with the on/off switch in particular. The rear screen also feels a little fragile… more so than previous Fujifilm cameras I’ve used.
It hasn’t broken, and I’ve absolutely beaten this camera up (I even bought it used), but compared to the tank-like build of the X-T3, I notice the difference. Not a deal breaker, but something worth noting.
Image Quality
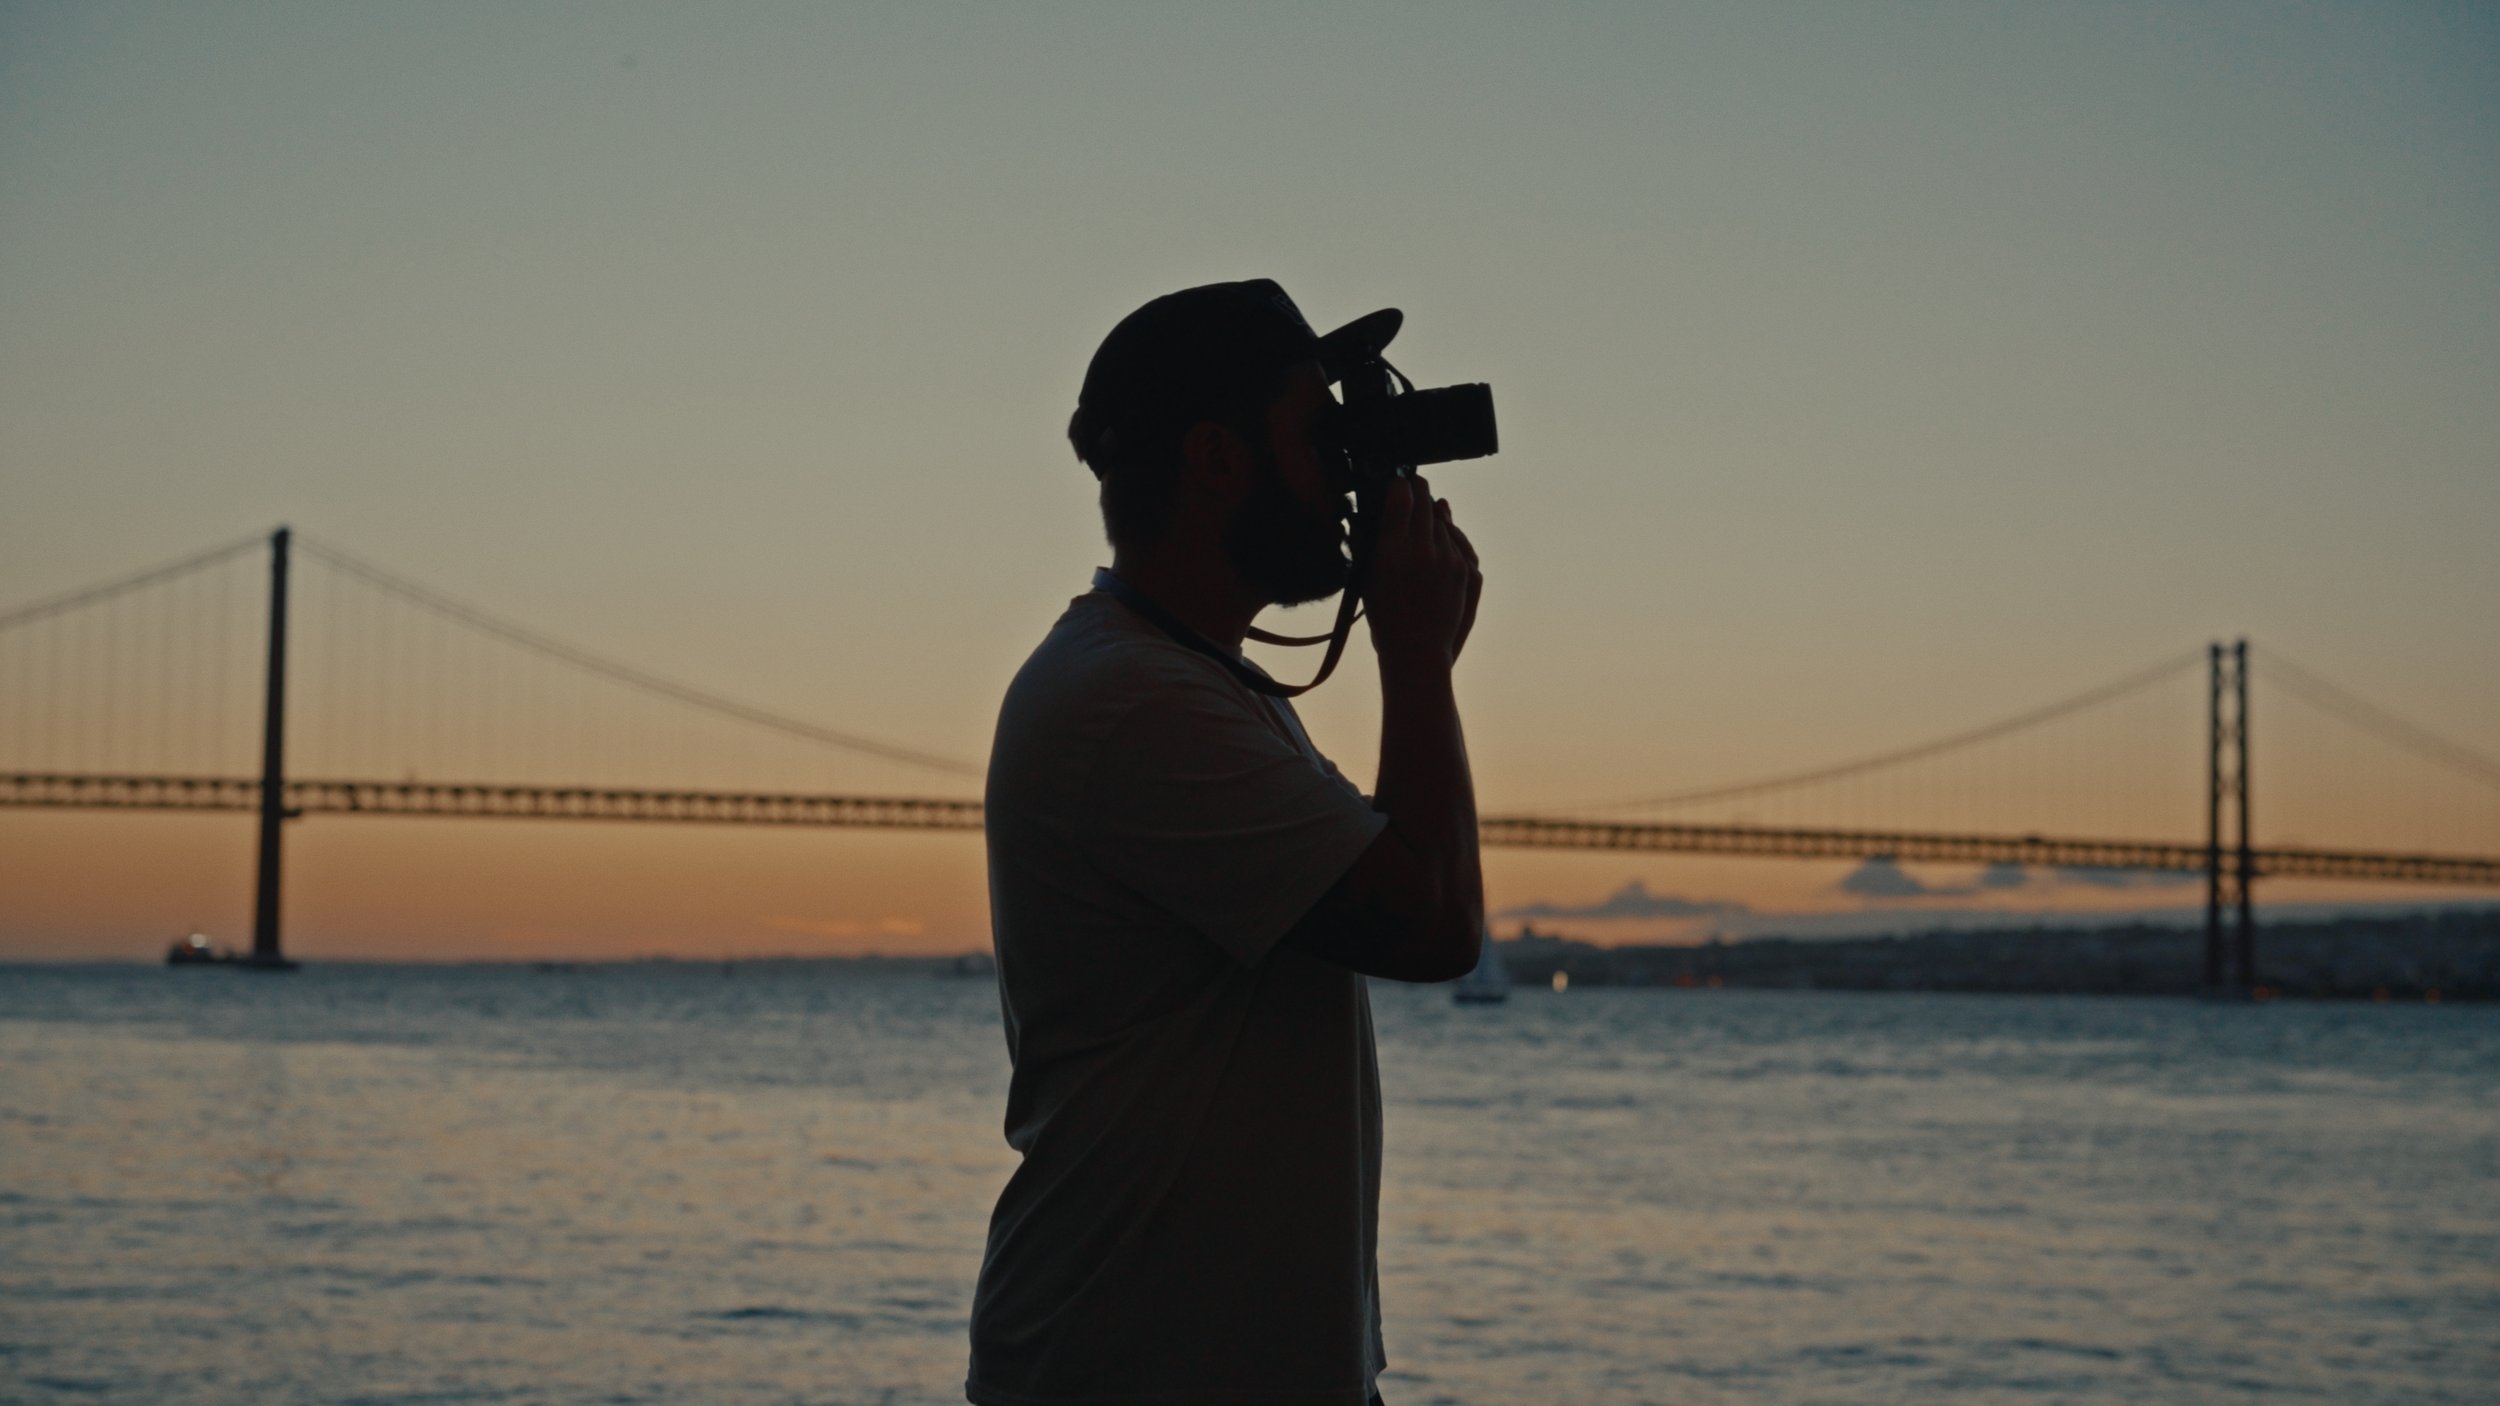
This is where the X-T5 shines.
At night, it handles higher ISOs much better than the X-T3. The 40-megapixel resolution also gives you a ton of cropping flexibility. On the X-T3, I found the usable ISO range topped out around 3200–4000 before the files fell apart. On the X-T5, I regularly shoot at ISO 6400 without hesitation — and I’ve even pushed it higher when needed.
Another huge change is IBIS (in-body image stabilization). The X-T3 had none, while the X-T5 offers up to 7 stops. I can handhold comfortably at shutter speeds as low as 1/15 of a second — sometimes even slower. Combined with better high-ISO performance and tools like Lightroom’s updated Denoise, I’ve been able to capture night shots that just weren’t possible with the X-T3.
For me, this has been one of the most exciting aspects of owning the X-T5. It opened up a new part of the photography “game board,” and I’ve taken full advantage of it photographing New York at night this past year.
Hybrid Photo & Video

I wouldn’t call the X-T5 a video-focused camera, but video quality here is still excellent. It supports multiple frame rates, bit rates, codecs, and resolutions up to 6.2K.
For my style, mostly travel, documentary, and YouTube, 4K HQ, 10-bit, 24fps has been perfect.
The real hybrid magic comes from the design. The stills/movie dial makes using photo and video simultaneously seamless. Combine that with a magnetic ND filter, and I can switch from shooting photos to recording video in seconds. That speed means I can capture both stills and a video sequence before the moment passes.
Reliability & Long-Term Use
After a year, I’ve had zero reliability issues internally. The processor is still fast, playback is smooth, and lag is rare. Aside from the minor build quality quirks, I’ve never felt nervous about relying on this camera.
In fact, out of all the cameras I’ve used this year, the X-T5 is still the one I trust the most. It’s remained my everyday carry, and the fact that it’s held up through daily use, travel, and heavy shooting says a lot about its durability overall.
Conclusion
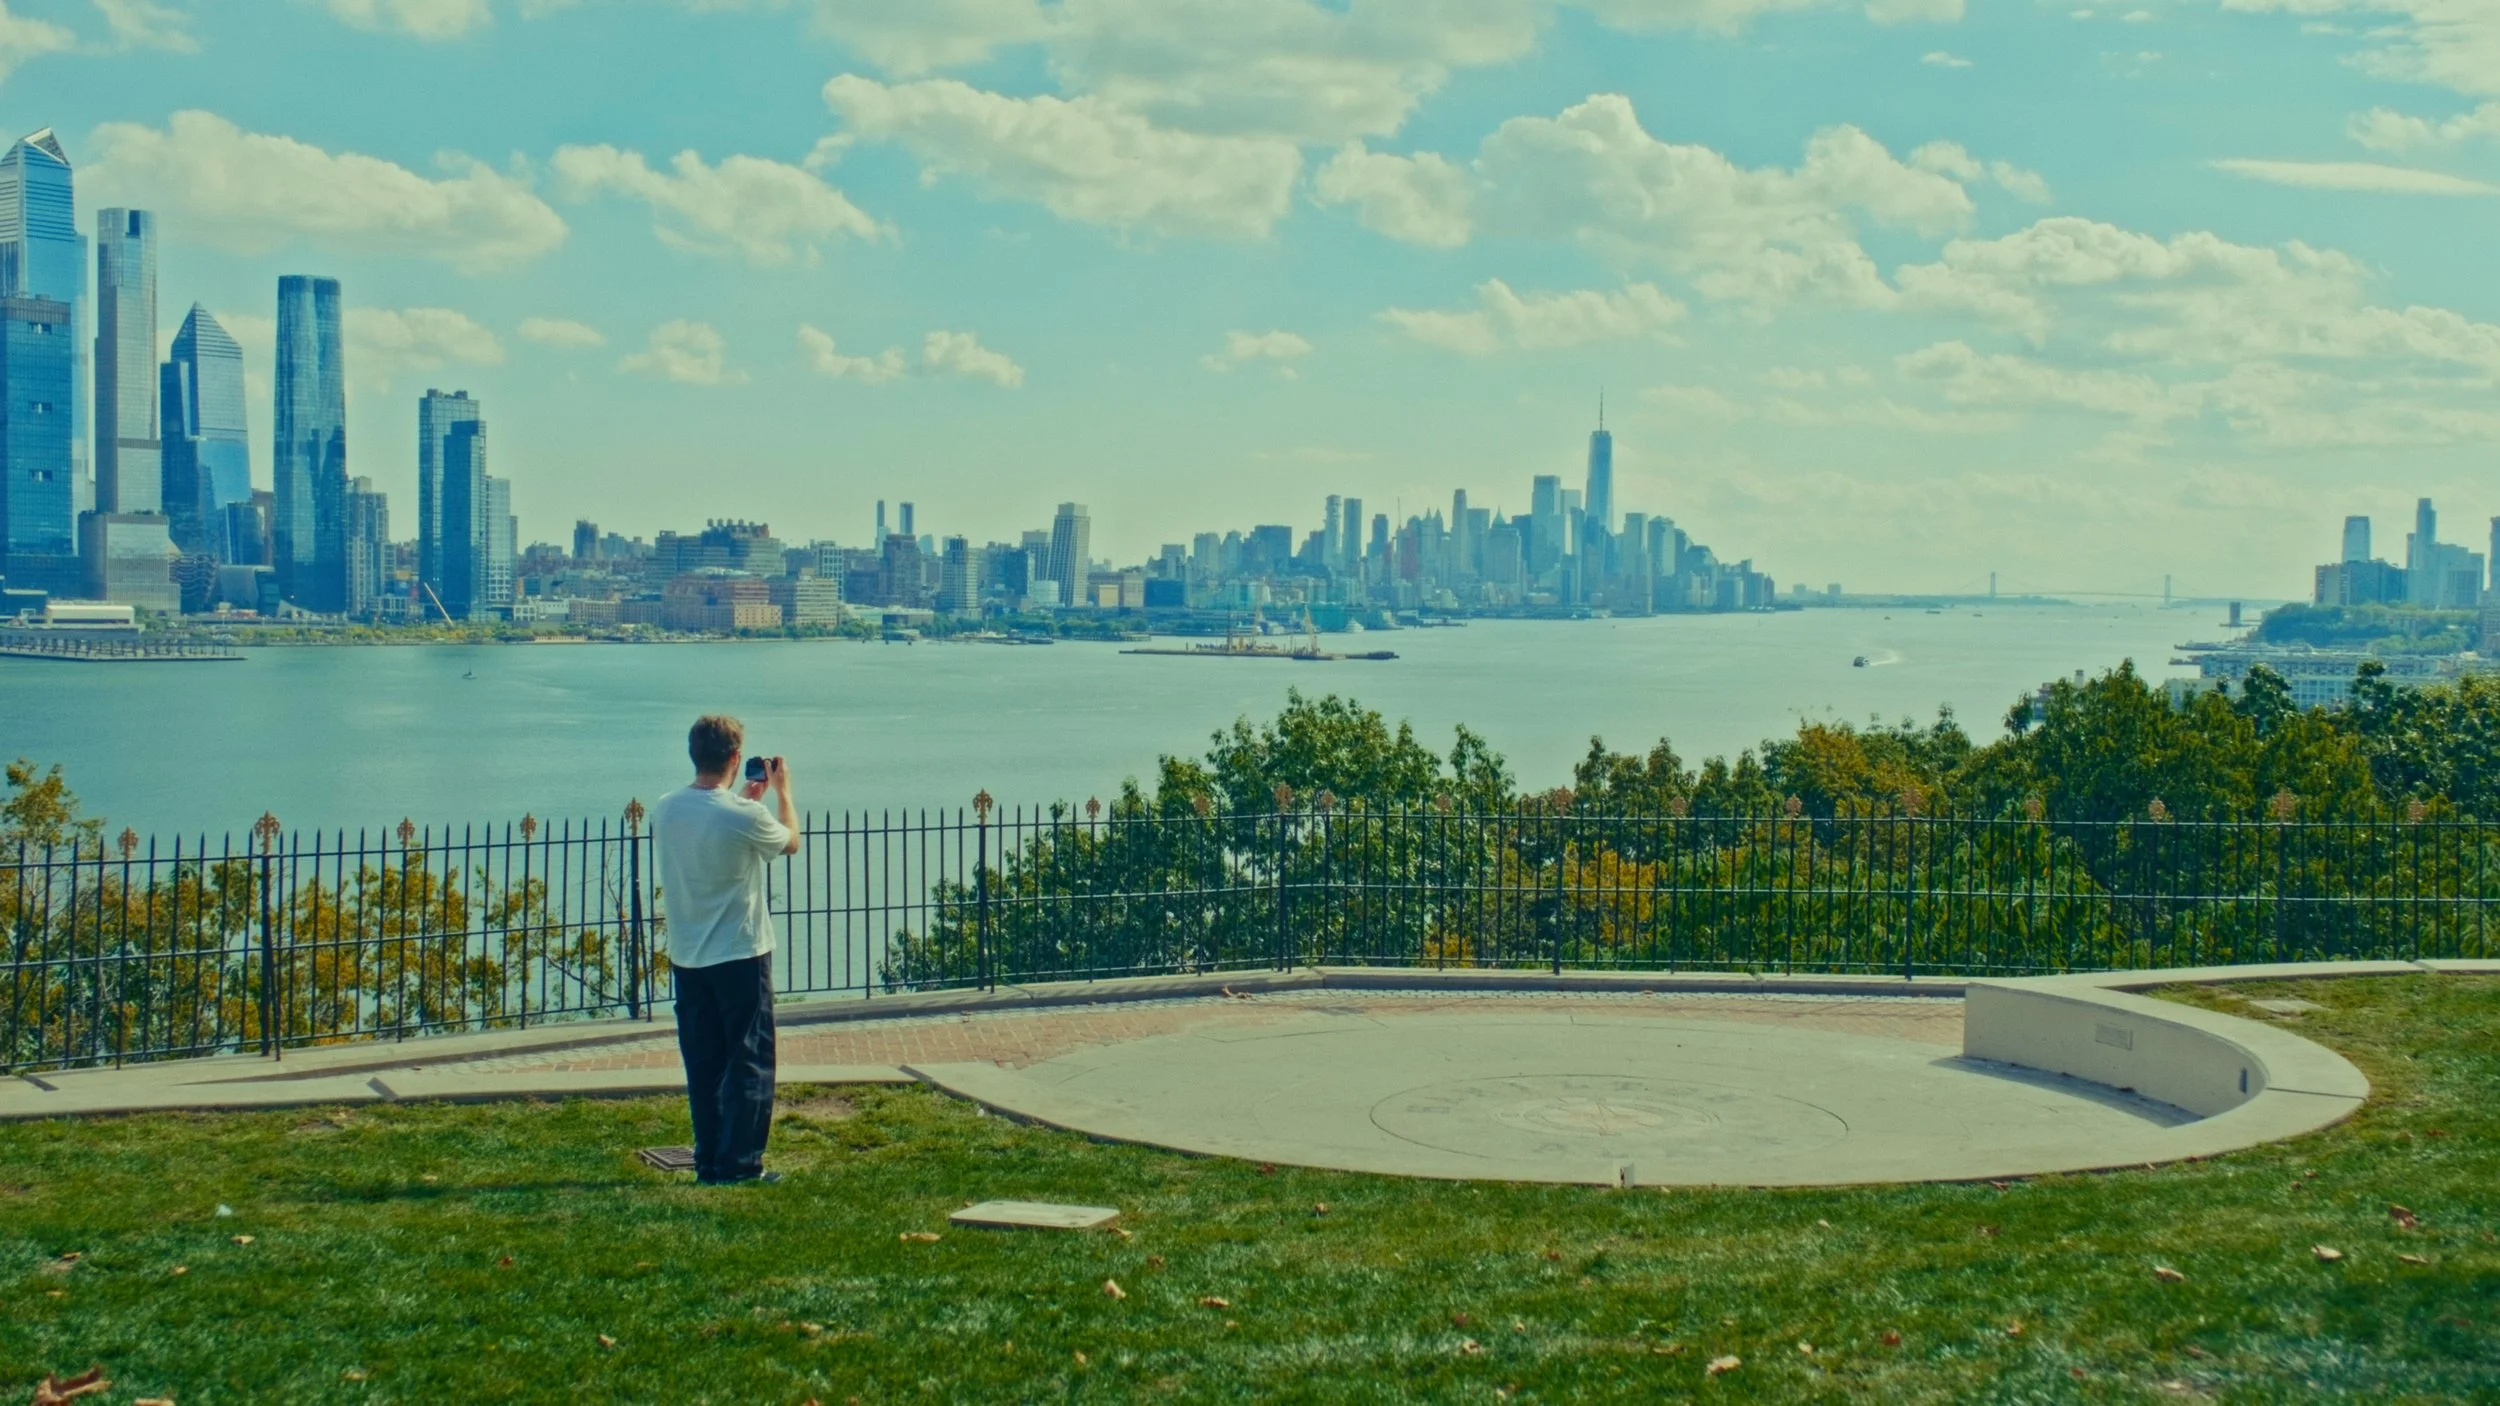
After a year with the Fujifilm X-T5, I can confidently say it’s my favorite camera I’ve ever owned. The X-T3 will always have a special place in my heart, but the X-T5 is still one of the best hybrid photo and video options on the market right now.
If I can only take one camera out the door, this is the one I’m choosing nine times out of ten.
I do hope that in a future X-T6, Fujifilm brings back a more premium, tank-like build, maybe a bit heavier with sturdier materials. But overall, the X-T5 has made both photography and video easier and more enjoyable for me.
And at the end of the day, that’s what really matters: the camera you use should inspire you and never limit your creativity.
Help support my work by exploring my products below!
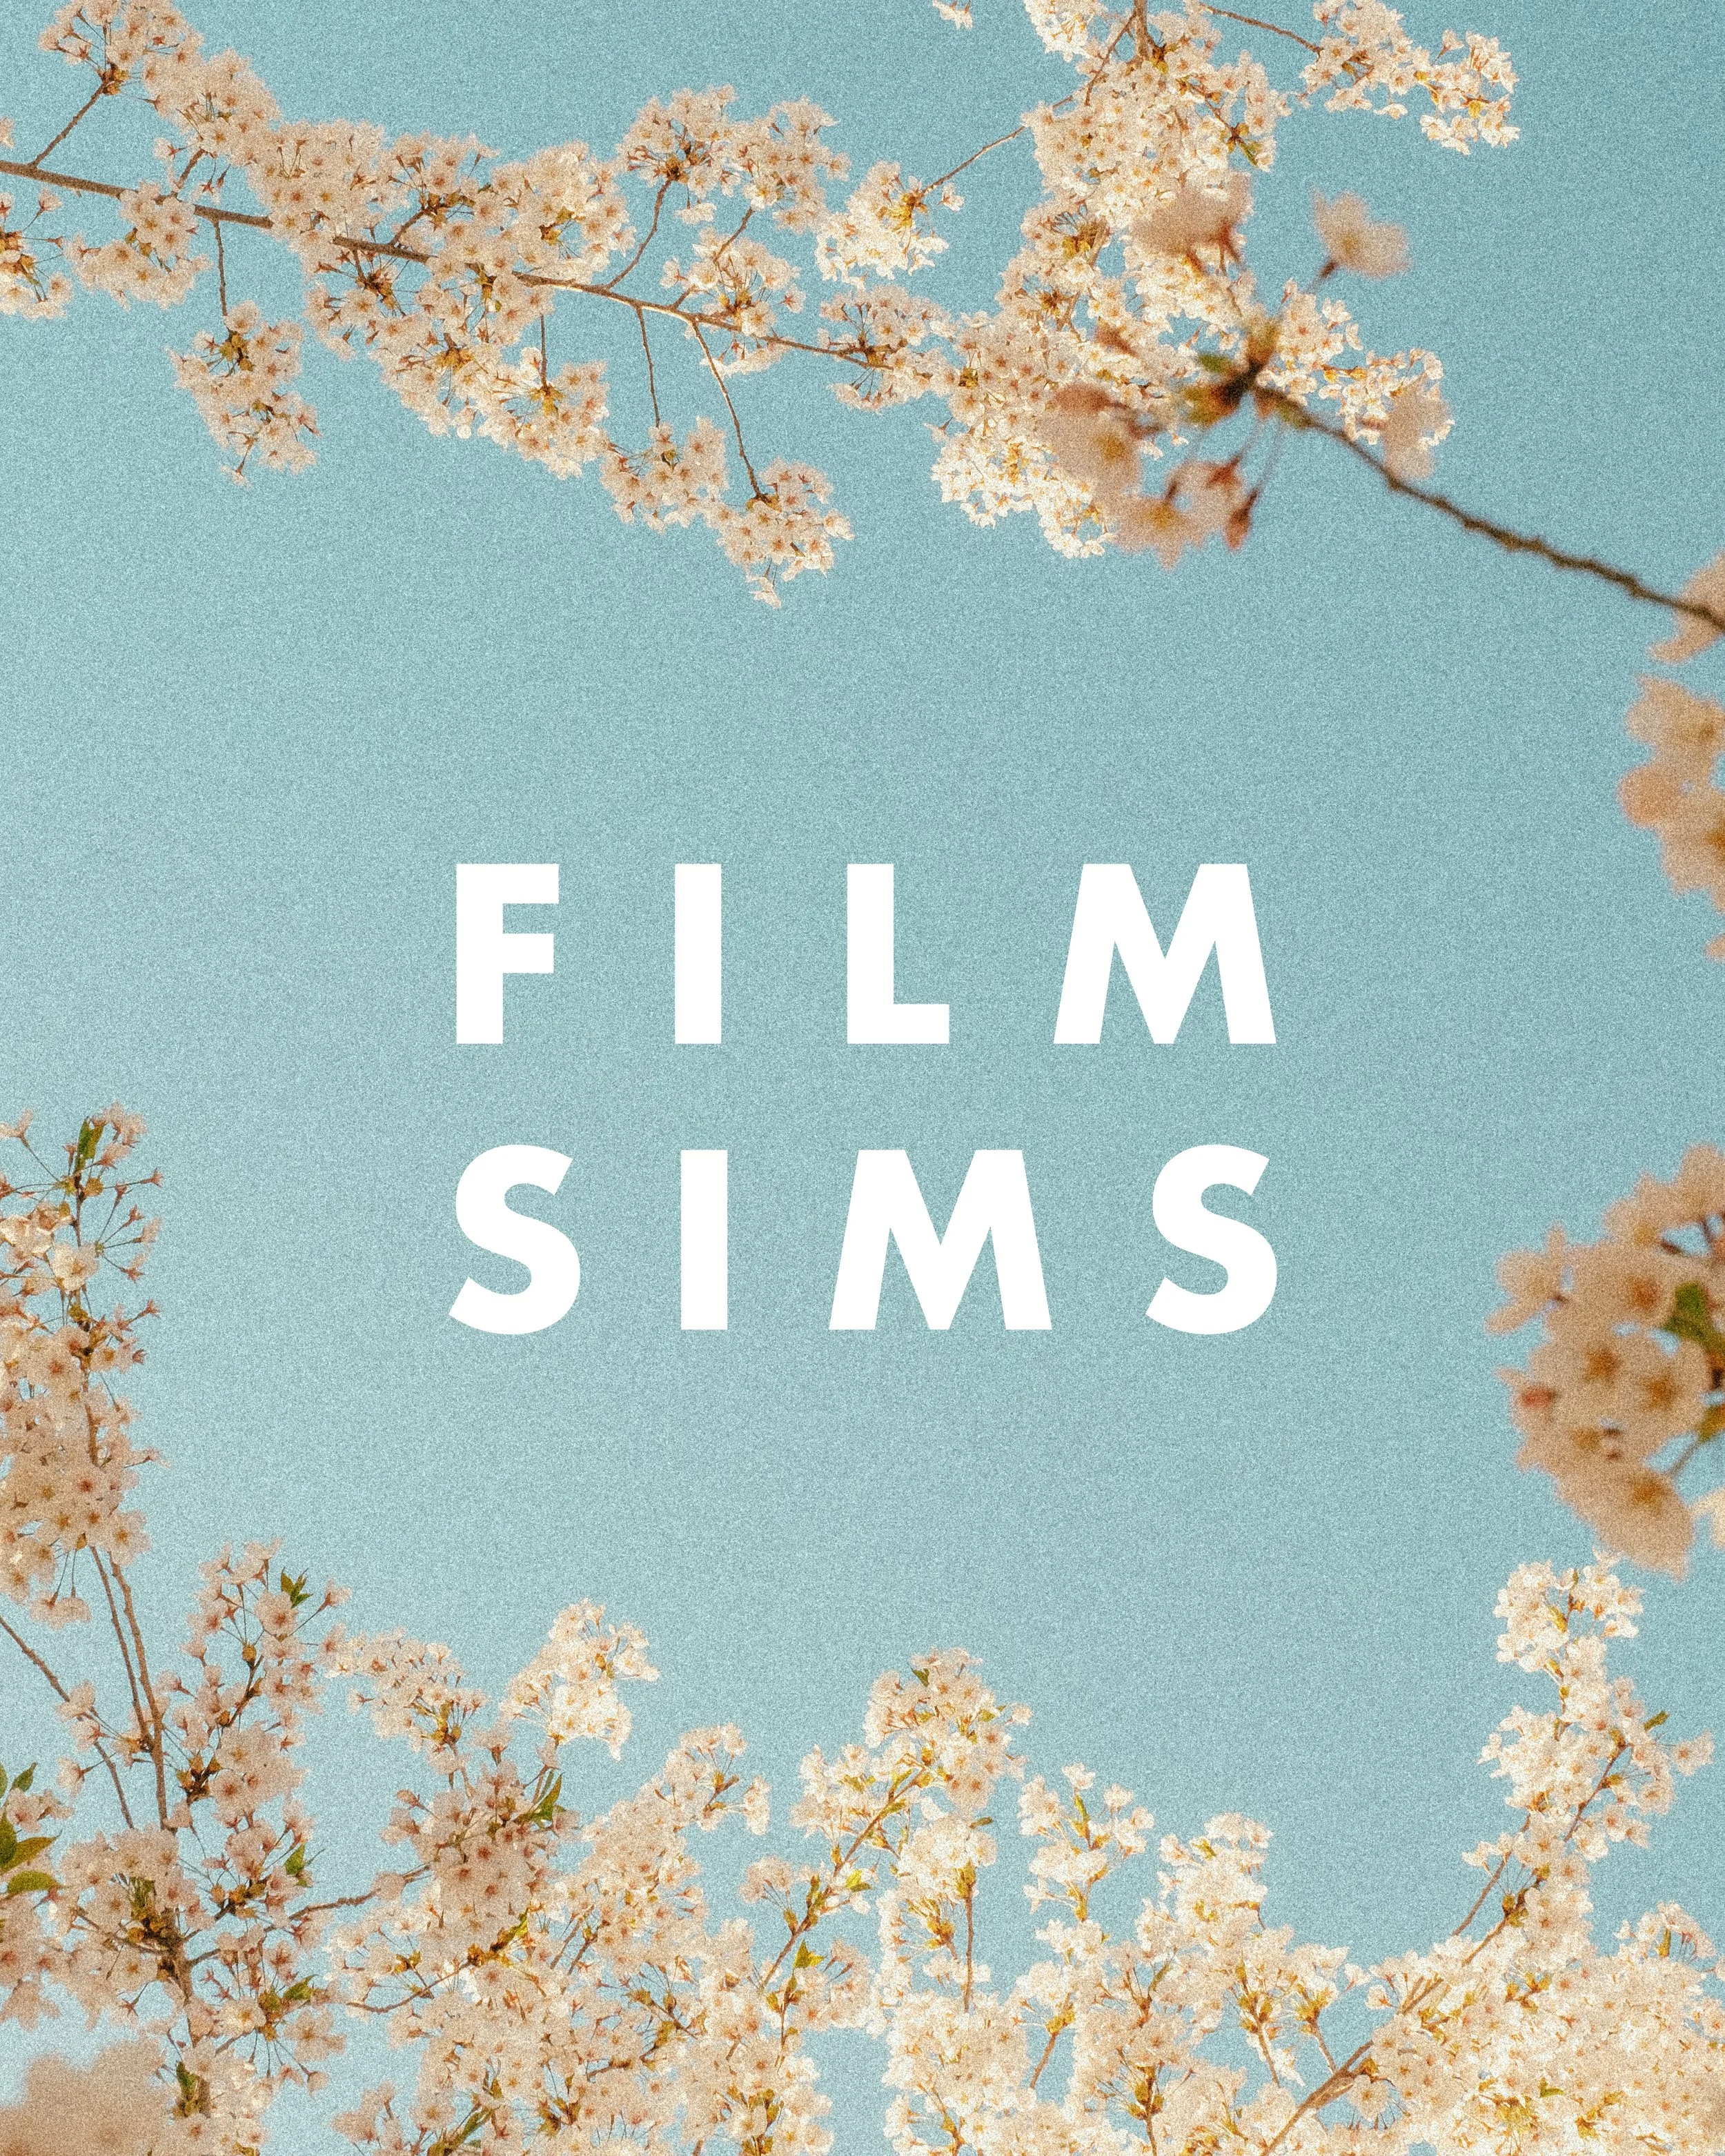
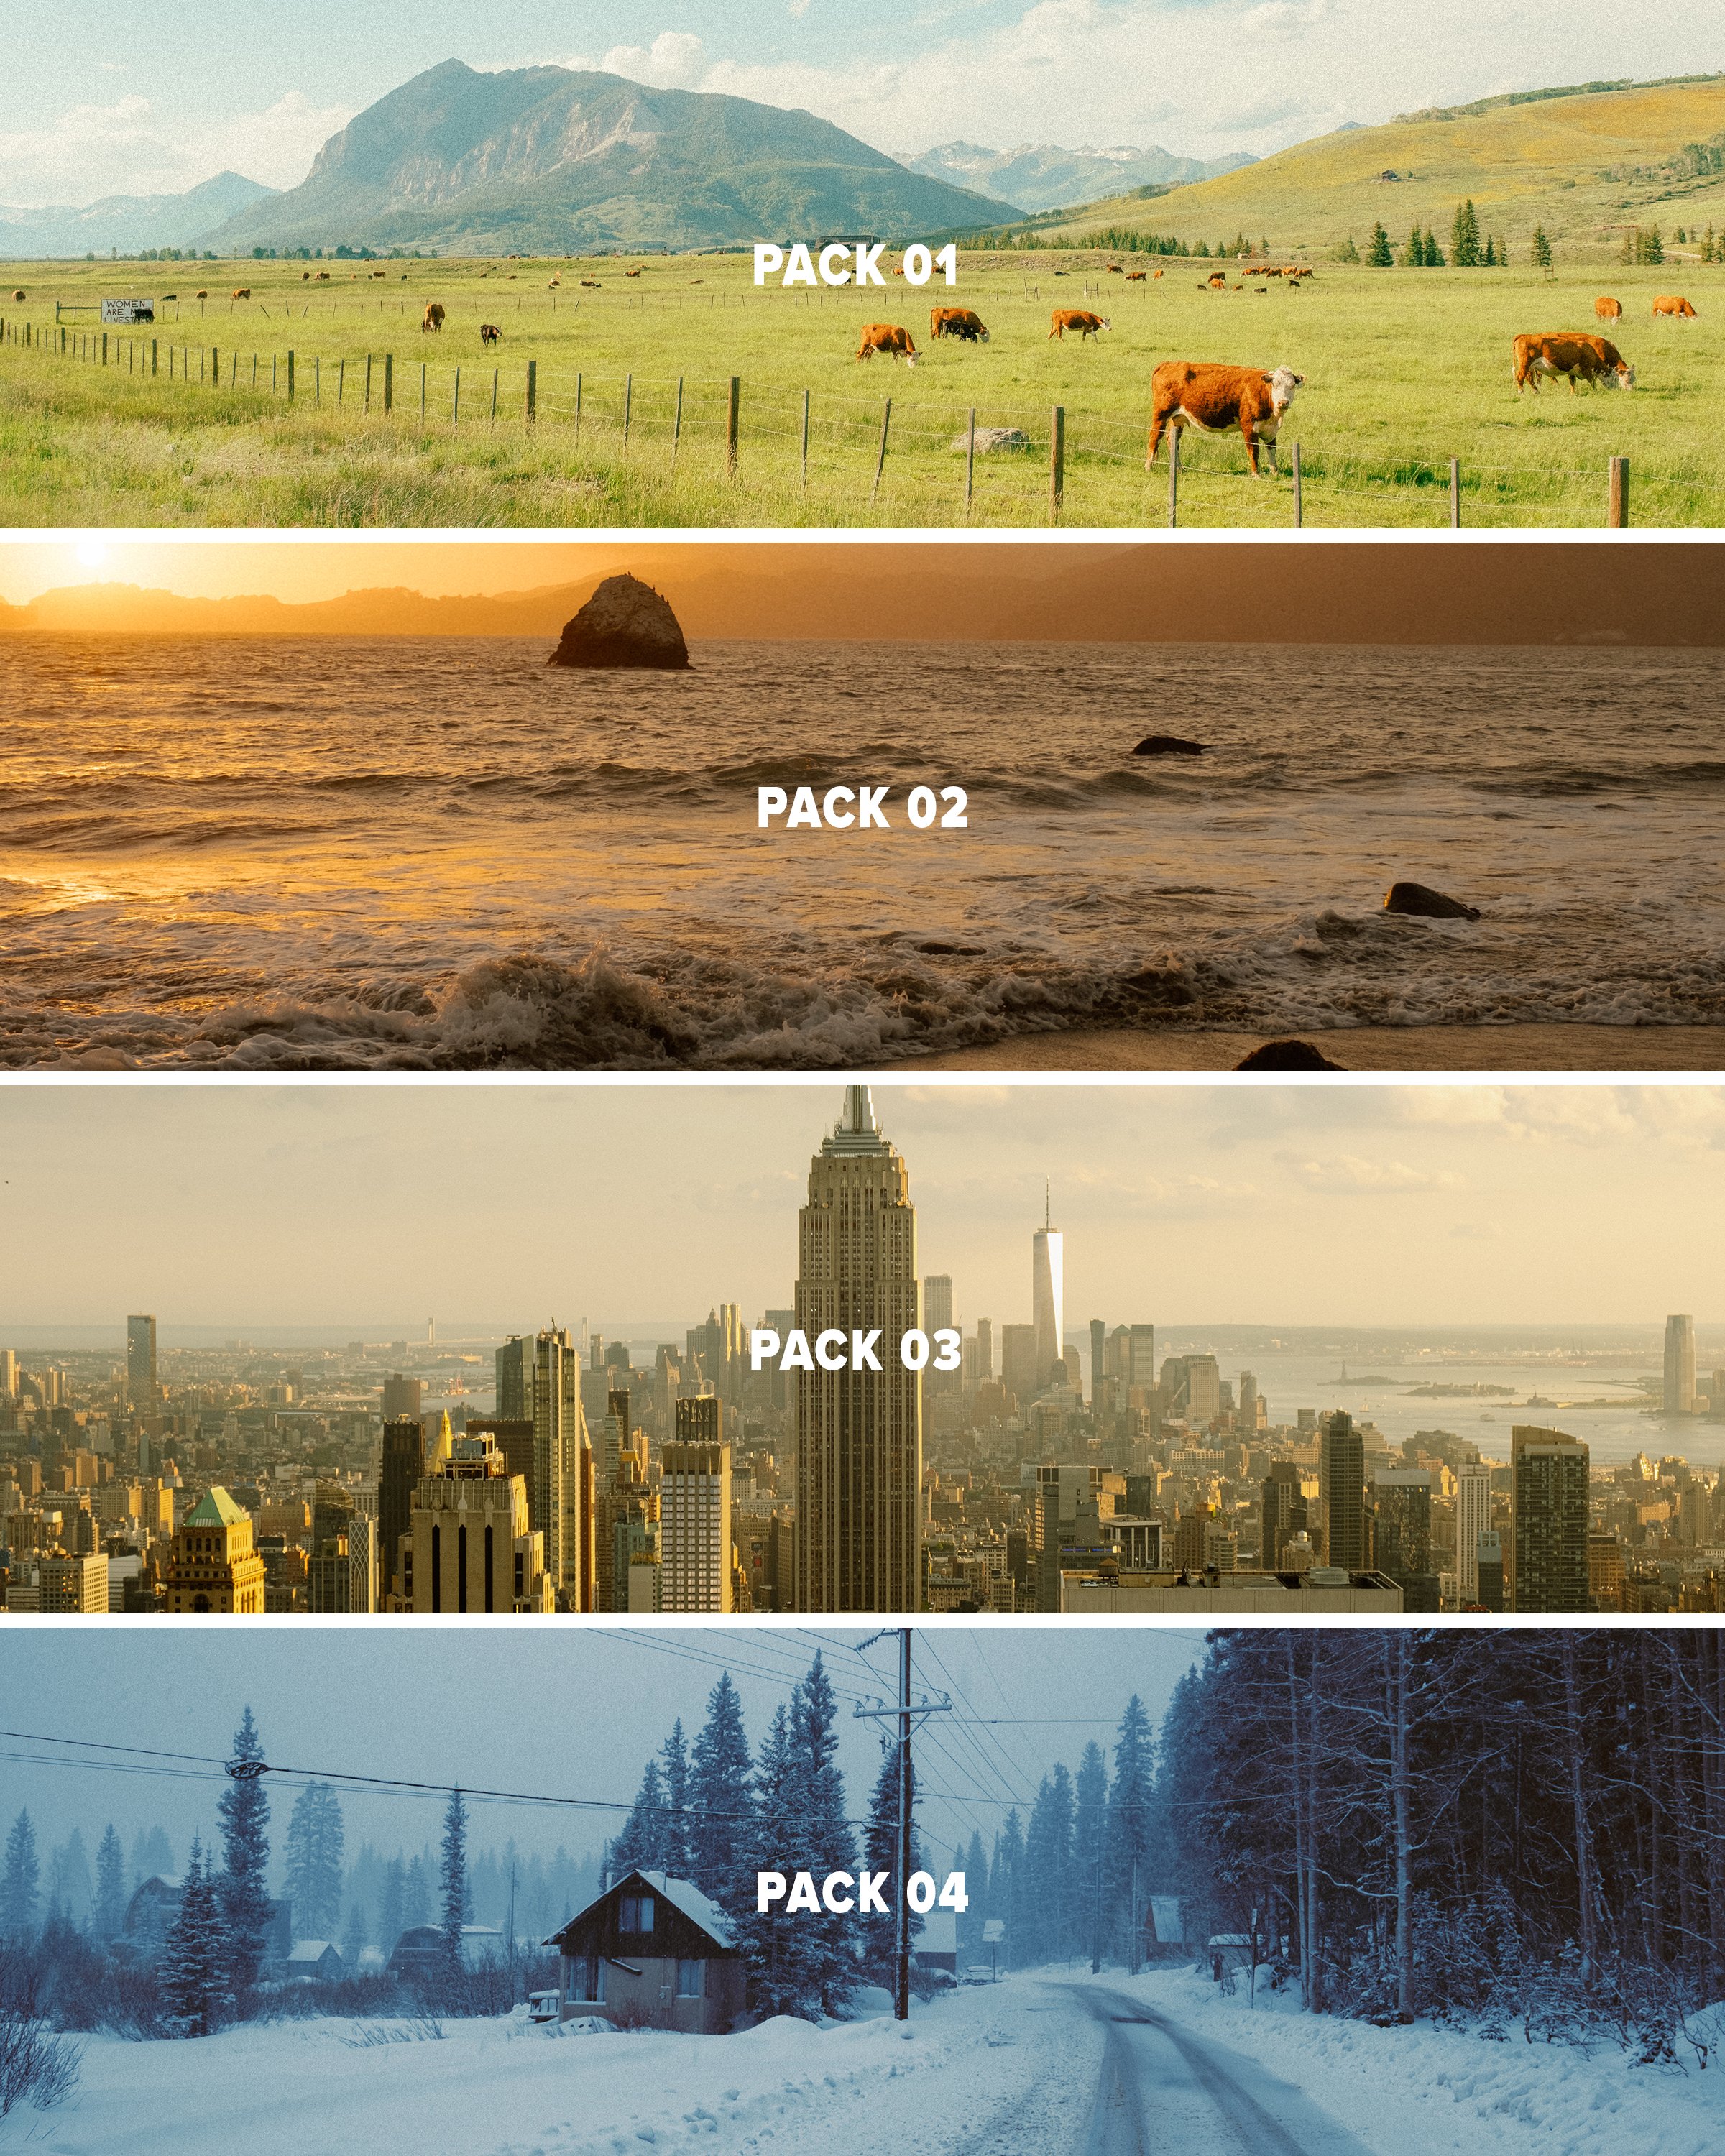

This pack provides 3 Lightroom presets inspired by film looks that should give you a solid base to work with in just a few clicks using Lightroom. This pack is the 4th and final installment of my ongoing “AV FILM SIMS” preset suite. The full suite (see bundle) includes this pack and the 3 others, giving you the base looks I use on almost all of my edits as scene on Instagram/Youtube, etc.
Each look is outlined below:
Winter - a cool blue preset created using heavy Color Tone Curve edits, inspired by winters spent in the Utah desert, but applicable to most moody, rainy, or winter scenes.
Wyoming - a clean, filmic day-light focused preset inspired by my travels to the Grand Tetons of Wyoming. Great for road trip scenes, landscapes, and mid-day photo walks.
Moab - inspired by kodak film-stocks, this preset is meant to create a soft, colorful and film-like look in one click. Inspired by some of my earliest visits to Moab, and specifically Arches, but I’ve been using it on a lot of NYC work as well!
Note: these are for DESKTOP. I use them on Lightroom Classic. These are NOT mobile presets. They do work in Lightroom Cloud via importing, and if applied to a DNG, they CAN work on Mobile, but they are not optimized for this purpose.
How to download & install:
Once you checkout from my site, you will be given access to the digital download.
Download & unzip the “zip” file.
Open LR -> File -> Import Develop Profiles and Presets.
Navigate to the unzipped folders and select them.
Click “Import.”
How to edit photos with this pack:
Ensure the image is properly exposed. Adjust the exposure slider (increase or decrease) until your exposure is even.
Explore the pack by highlighting each of the 3 looks - before clicking any, hover over each to see how they feel on your image. Click to apply the preset you like.
Make other adjustments as needed. If you have my other packs, try combining these looks with the tool kits from those! Experiment with making small slider adjustments to the tones, mess with color grading, but don’t go TOO far. Less is more with editing.
You’re done! Export & share.
Presets are non-refundable. Absolutely no re-selling under any circumstances.
Reminder: these are for LIGHTROOM CLASSIC. They are not optimized for mobile app.
When ordering, you’ll get a 24-hour download code. If you lose this code or forget to download, email me & I’ll get you another.
Be sure to sign up for my newsletter/updates with your email at checkout to receive discounts/free stuff in the future!
Not affiliated with or endorsed by any camera company.