3 Days Of Street Photography in Porto, PORTUGAL
MY FIRST TIME USING THE FUJI X-T5
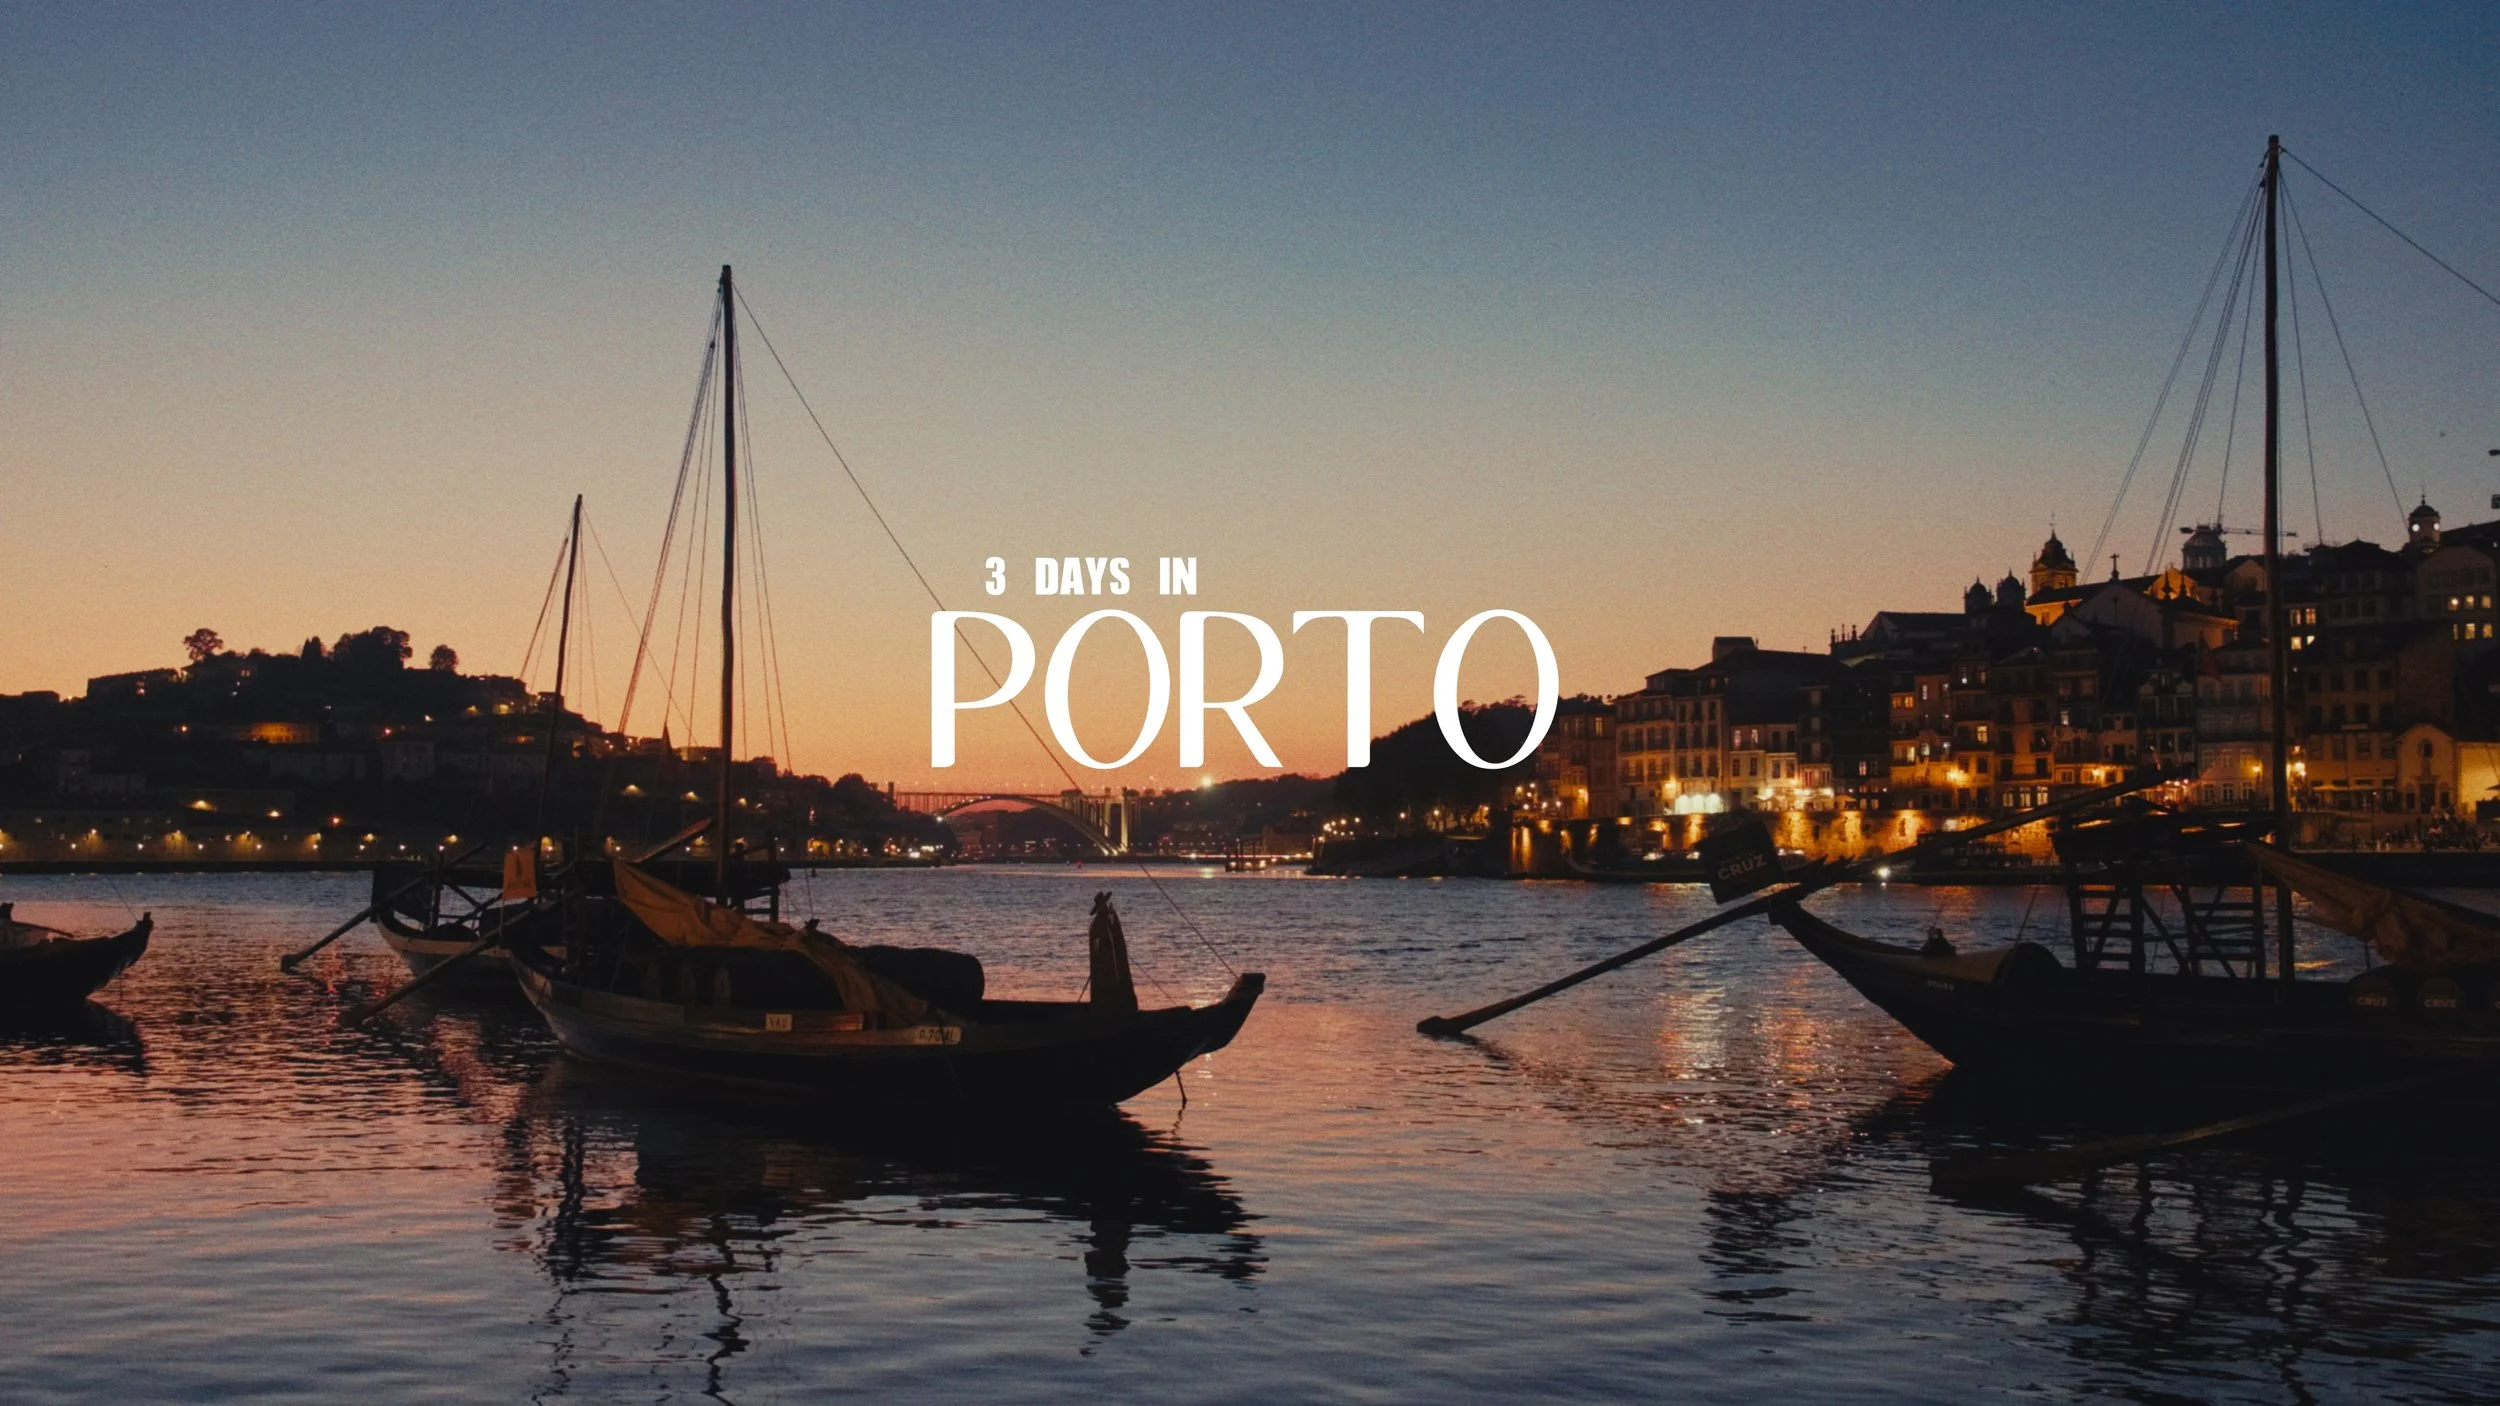
Back in September, as part of my first international photography trip, I went to Porto with two close friends, Faizal Westcott and Matej Sefcik. While Lisbon was inspiring, Porto surprisingly took over as a favorite from the trip.
Why Porto?
Everything about Porto felt like Lisbon, but with less people, and just an overall more “chill” vibe. If Lisbon is a vibrant, sprawling canvas, Porto is an intimate masterpiece.
Nestled along the Douro River, Porto combines old-world charm with a slower, more relaxed energy. The city’s iconic tiled facades, narrow streets, and golden light make it a dream for street photographers. After hearing about Porto’s beauty from countless travelers, I was eager to see it for myself. It ended up being my favorite stop during our 12-day trip through Portugal.
For those planning a photography trip to Portugal, I highly recommend including a few days in Porto—it offers something truly special that’s hard to put into words.

The Gear: Fujifilm X-T5
Just like in Lisbon, I relied on the Fujifilm X-T5 for the Porto leg of the trip. More on this camera here.

Day 1: From Lisbon to Porto
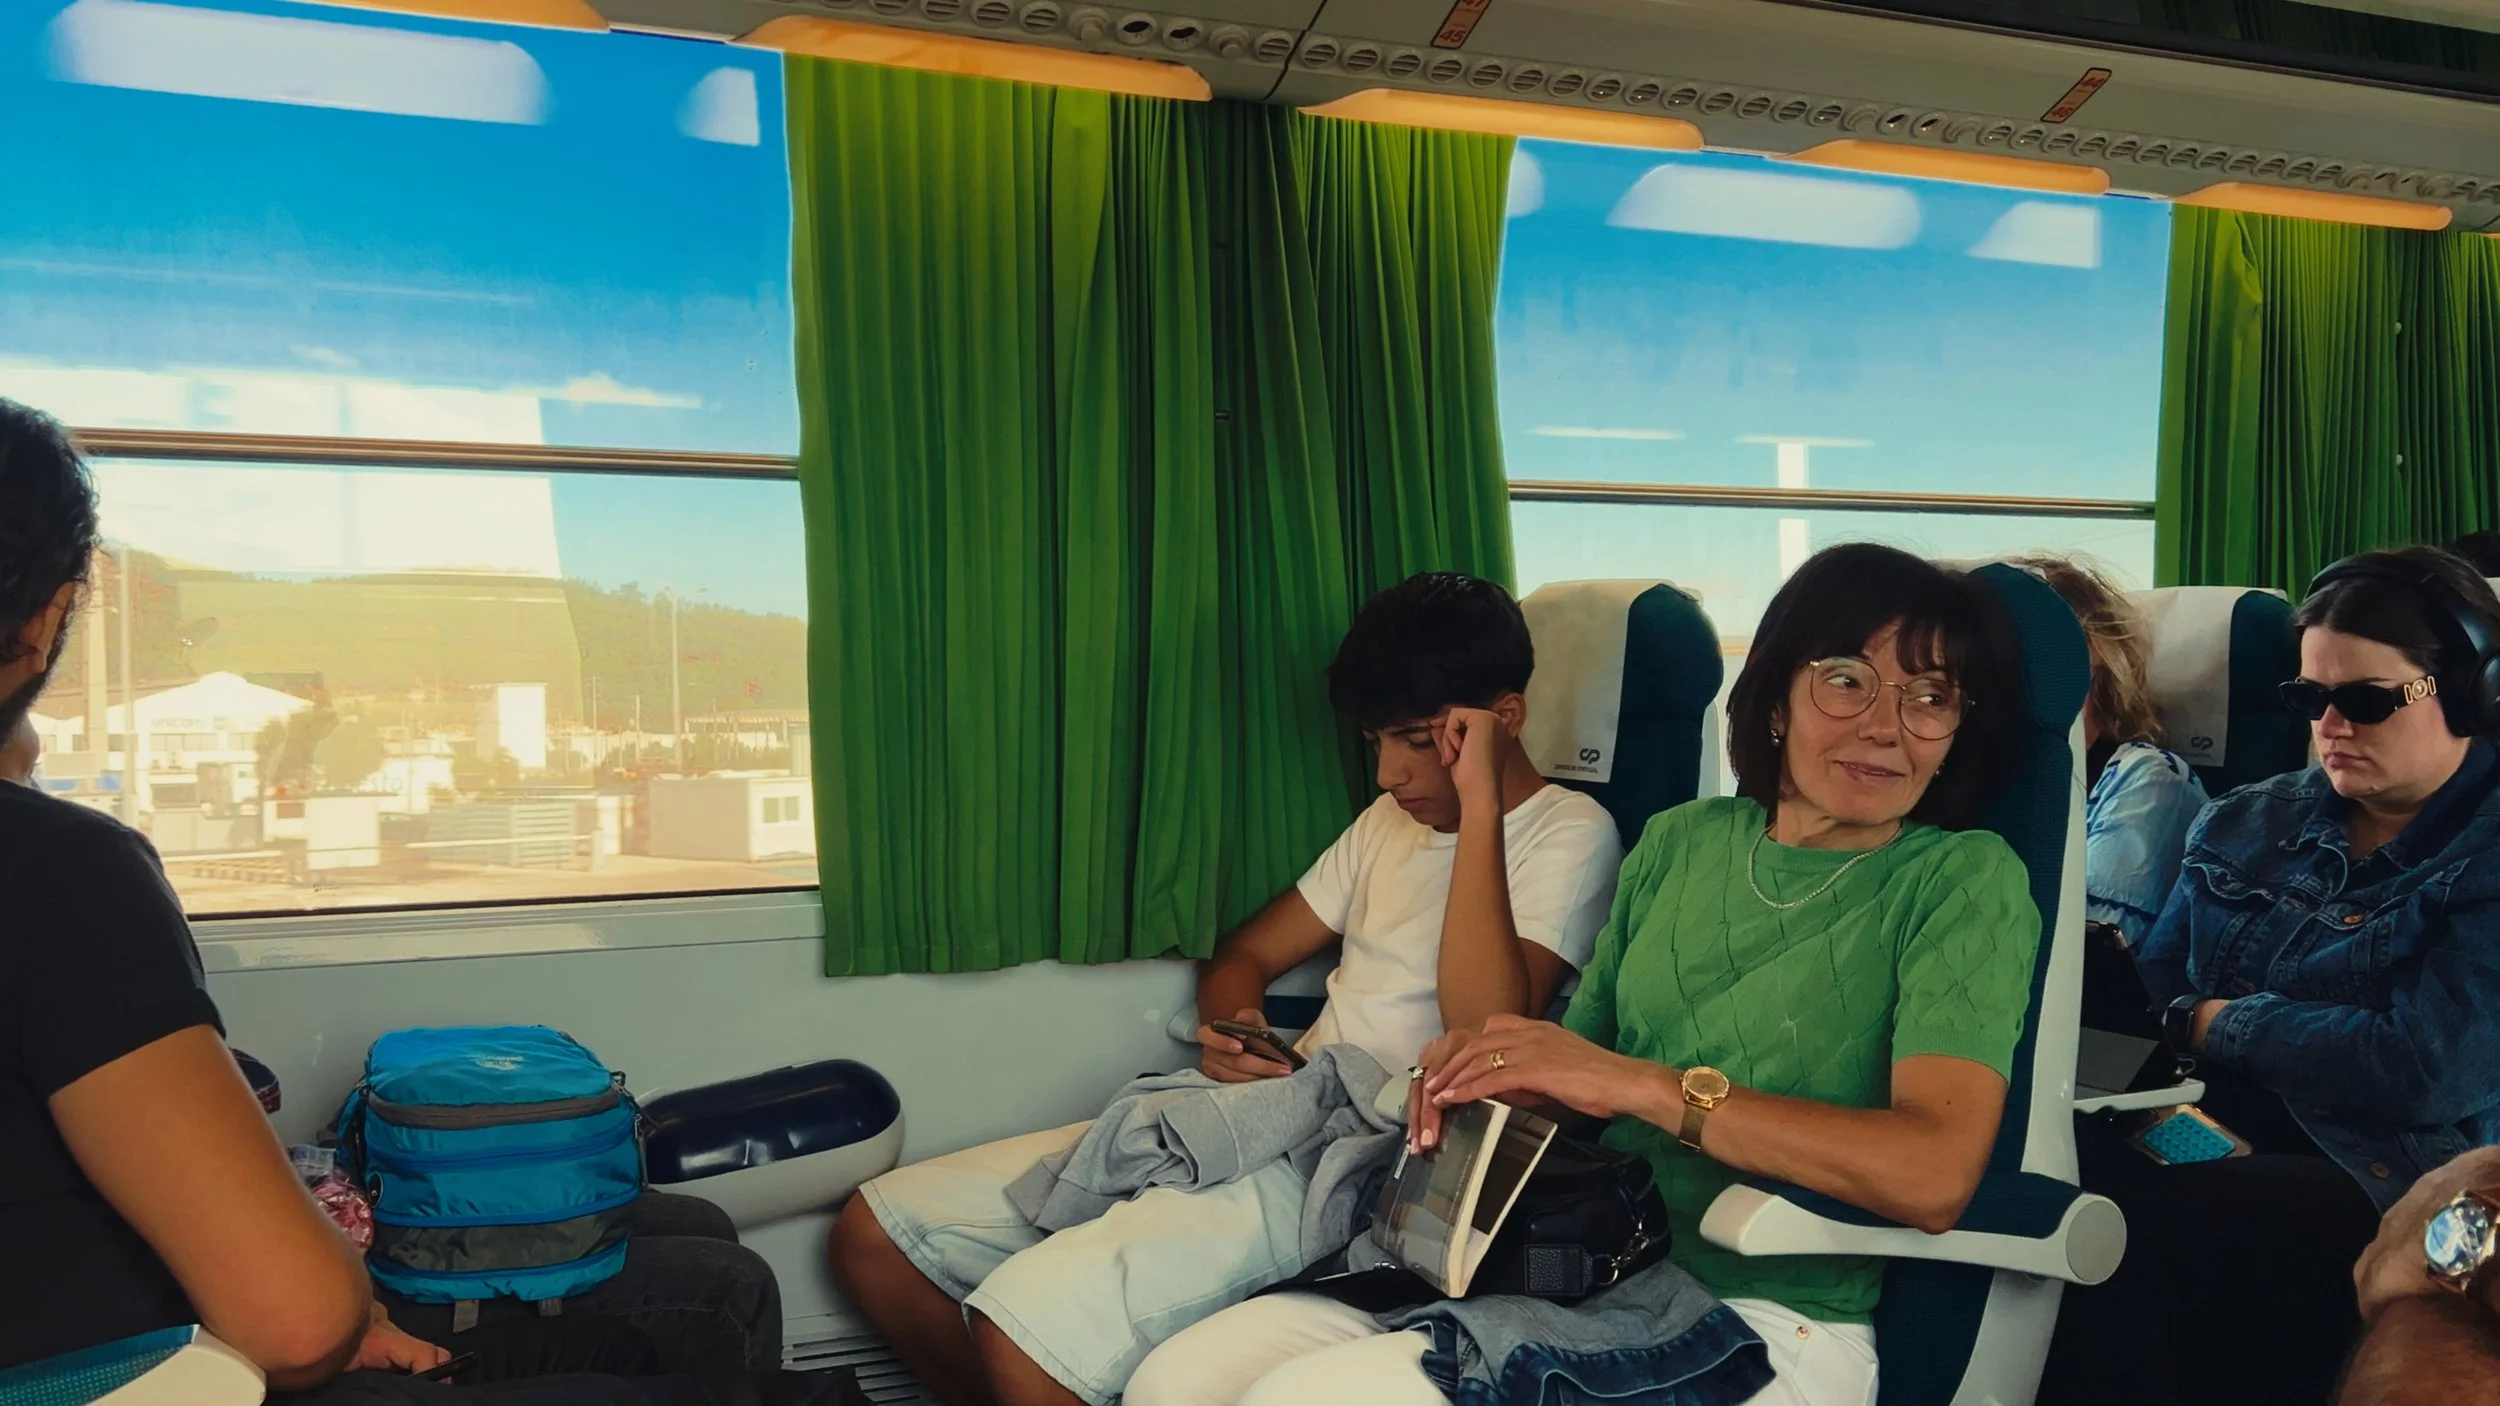
We arrived in Porto on a late-morning train, and after dropping our bags at the Airbnb, we immediately hit the streets. Unlike my usual approach to photography—which often involves meticulous planning and location scouting—I opted for a more intuitive method here. Together with Faizal and Matej, we wandered without a strict itinerary, letting the city surprise us.
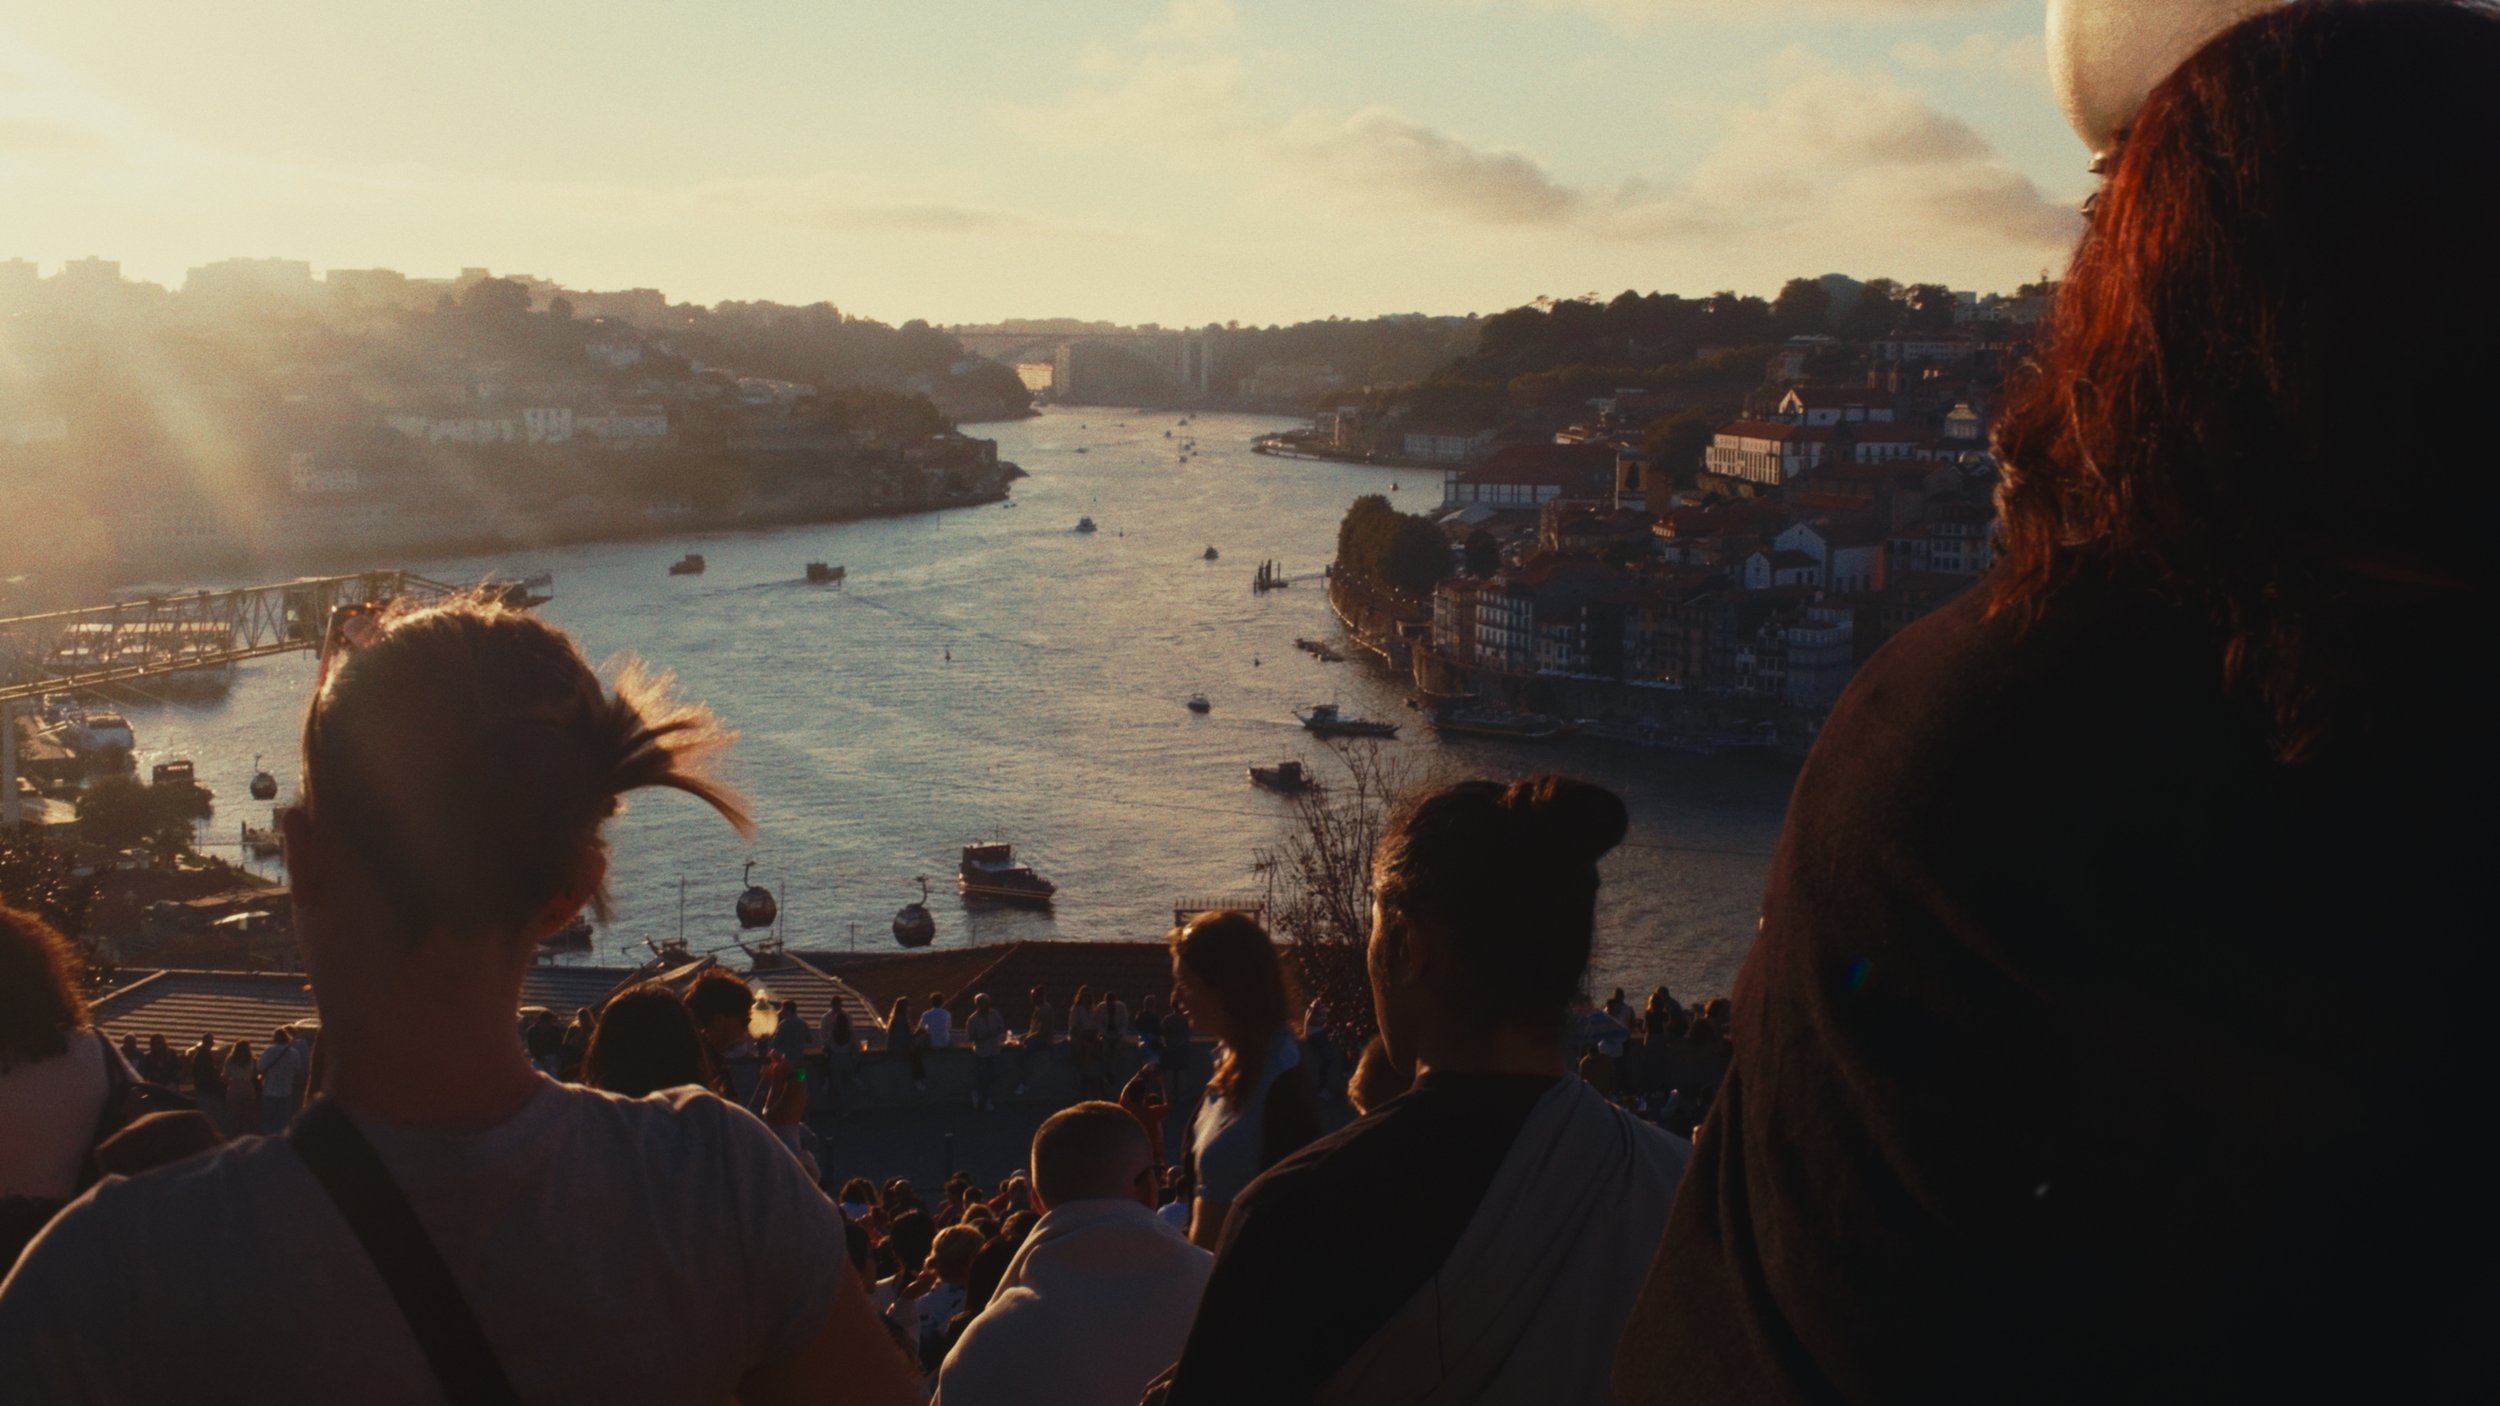
The streets of Porto offered endless opportunities, from its vibrant markets to quiet, shadowy alleys. We chased the light, capturing scenes wherever inspiration struck. As the day ended, we found ourselves across the Douro River, watching the sunset paint Porto’s iconic skyline in shades of gold and orange. It was the perfect way to wrap up our first day in this stunning city.
I had done some research before the trip and saved a few key locations to check out, thanks to tips from friends like Michael Boegle (shoutout to him!). That mix of planned stops and spontaneous wandering helped me find unique shots in the city's vibrant streets. For travel photographers, I recommend combining research with on-the-fly exploration. Some of my best shots came from simply roaming and letting the city surprise me.

Day 2: Golden Light and Riverside Views
On the second day. we woke up early to explore some of the areas near our stay for some beautiful morning light.
Porto’s mornings are magical, often offering fog in the earlier hours, and gorgeous warm light in the hours after.
Later in the afternoon, we stumbled upon a street near our accommodation with some of the most incredible golden light I’ve ever seen. We ended up spending over an hour there, experimenting with compositions and capturing different angles.
As evening approached, I wanted to see Porto from across the Douro River at night. We took a long, winding walk downhill to the shoreline, where I captured beautiful blue-hour shots of the city with boats in the foreground. Porto’s beauty only seemed to intensify as the sun set, and I couldn’t put my camera down.


Day 3: Foggy Morning at Dom Luís I Bridge
For our final day in Porto, we woke up early to capture the iconic Dom Luís I Bridge in foggy conditions. The mist added a dreamy quality to the scene, and the X-T5’s dynamic range allowed me to preserve all the subtle details in the low light.

The rest of the day was spent wandering the city one last time, soaking in its quiet charm. Porto felt different from Lisbon—more tranquil, yet equally alive. Its atmosphere left a lasting impression on all three of us.
We wrapped up our Porto adventure with a sunset dinner overlooking the Douro River, reflecting on our time in this beautiful city.

Takeaways From Porto
Unexpectedly, Porto ended up being our favorite destination on this trip - definitely exceeding our expectations wildly. It felt more laid-back than Lisbon, offering a chance to slow down and savor each moment.
For anyone planning a trip to Portugal, I’d say Porto is an absolute must. Whether you’re a photographer or simply looking to immerse yourself in a beautiful city, this destination has something for everyone.
WHATS NEXT?
Follow me on Instagram @AVDIDIT to see more of the photos as I post them in the coming months.
I have a couple other videos about this trip coming to my Youtube Channel, as well as a lot more planned.
Help support my work by exploring the available products below!
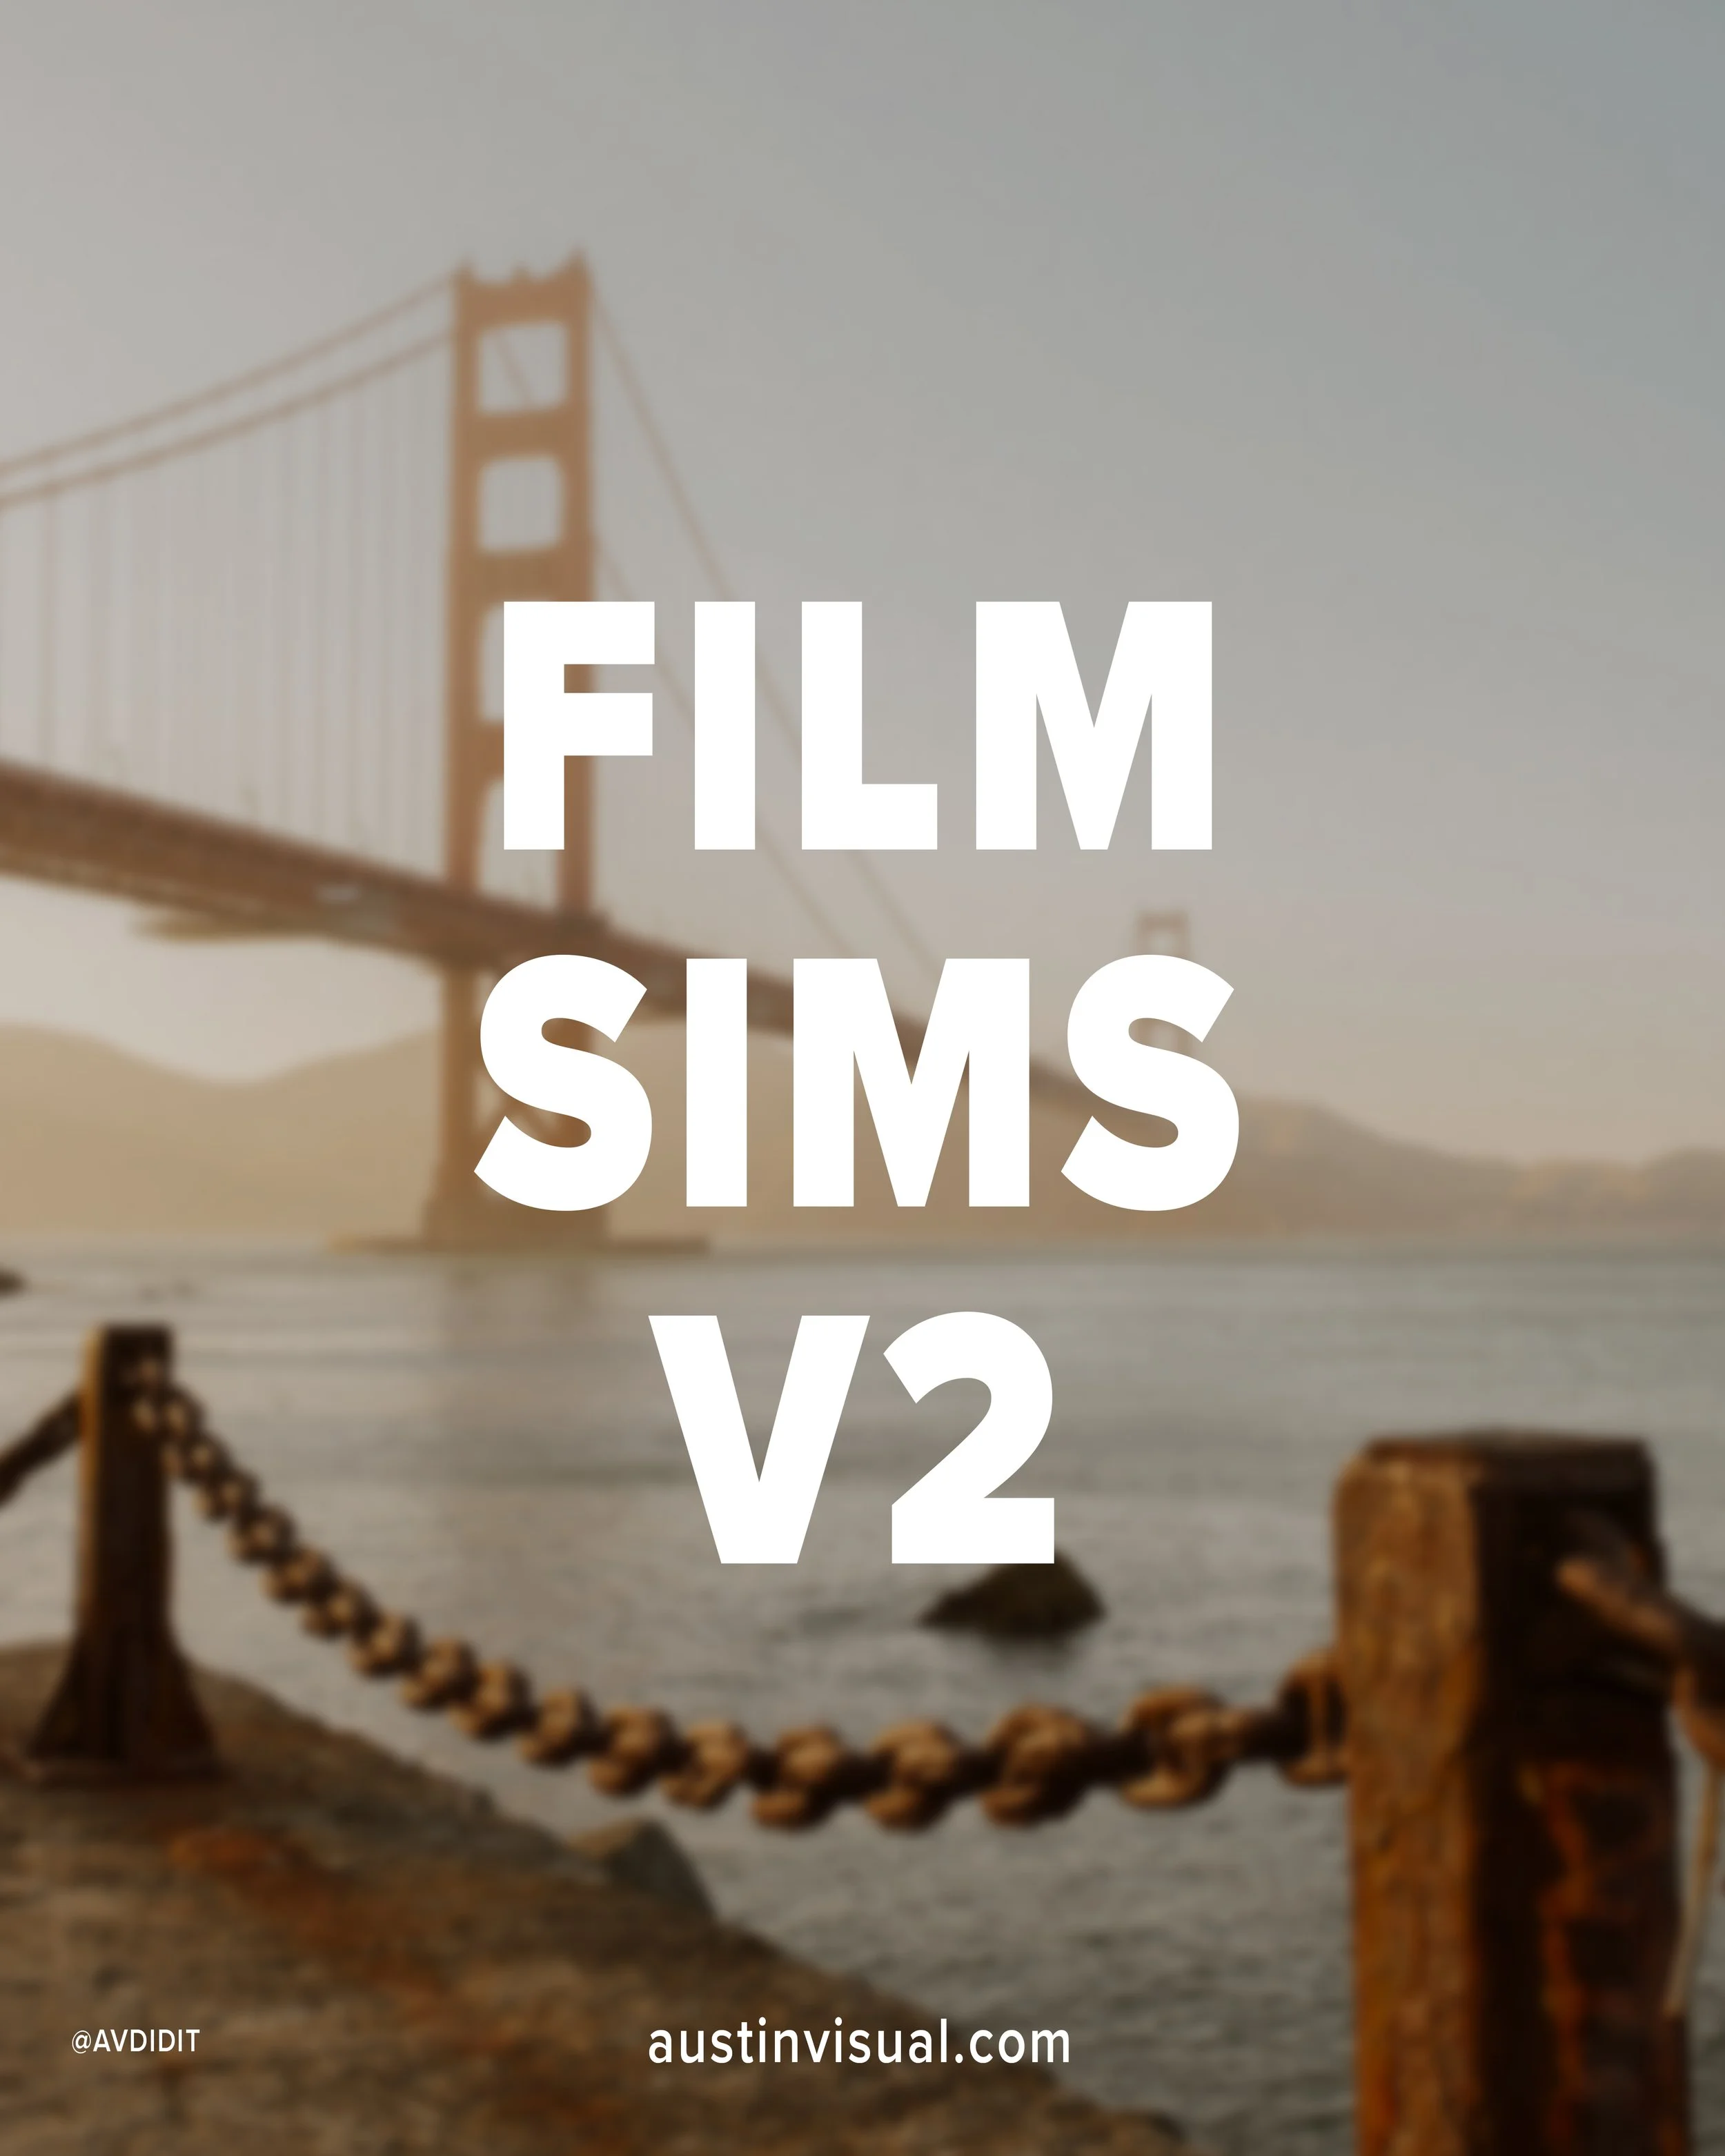

This pack provides 3 Lightroom presets inspired by film looks that should give you a solid base to work with in just a few clicks using Lightroom. This pack is the 4th and final installment of my ongoing “AV FILM SIMS” preset suite. The full suite (see bundle) includes this pack and the 3 others, giving you the base looks I use on almost all of my edits as scene on Instagram/Youtube, etc.
Each look is outlined below:
Winter - a cool blue preset created using heavy Color Tone Curve edits, inspired by winters spent in the Utah desert, but applicable to most moody, rainy, or winter scenes.
Wyoming - a clean, filmic day-light focused preset inspired by my travels to the Grand Tetons of Wyoming. Great for road trip scenes, landscapes, and mid-day photo walks.
Moab - inspired by kodak film-stocks, this preset is meant to create a soft, colorful and film-like look in one click. Inspired by some of my earliest visits to Moab, and specifically Arches, but I’ve been using it on a lot of NYC work as well!
Note: these are for DESKTOP. I use them on Lightroom Classic. These are NOT mobile presets. They do work in Lightroom Cloud via importing, and if applied to a DNG, they CAN work on Mobile, but they are not optimized for this purpose.
How to download & install:
Once you checkout from my site, you will be given access to the digital download.
Download & unzip the “zip” file.
Open LR -> File -> Import Develop Profiles and Presets.
Navigate to the unzipped folders and select them.
Click “Import.”
How to edit photos with this pack:
Ensure the image is properly exposed. Adjust the exposure slider (increase or decrease) until your exposure is even.
Explore the pack by highlighting each of the 3 looks - before clicking any, hover over each to see how they feel on your image. Click to apply the preset you like.
Make other adjustments as needed. If you have my other packs, try combining these looks with the tool kits from those! Experiment with making small slider adjustments to the tones, mess with color grading, but don’t go TOO far. Less is more with editing.
You’re done! Export & share.
Presets are non-refundable. Absolutely no re-selling under any circumstances.
Reminder: these are for LIGHTROOM CLASSIC. They are not optimized for mobile app.
When ordering, you’ll get a 24-hour download code. If you lose this code or forget to download, email me & I’ll get you another.
Be sure to sign up for my newsletter/updates with your email at checkout to receive discounts/free stuff in the future!
Not affiliated with or endorsed by any camera company.