Fujifilm X-T5 Review - First Impressions
First Impressions (from a Photographer) of the fujifilm x-t5

SOME CONTEXT - The Fujifilm X-T5 vs X-T3.
After spending a solid three years with the Fujifilm X-T3, a camera I deeply love for its design and aesthetic, I recently decided to upgrade to the Fujifilm X-T5. On a recent trip to Portugal, I brought along the X-T5 to see how it would fare as my new primary camera. In this post, I’ll share my initial impressions of the X-T5 and highlight why I made the switch from the X-T3, as well as some key features and potential drawbacks. Overall, the question is… is the Fujifilm X-T5 worth upgrading from the X-T3?
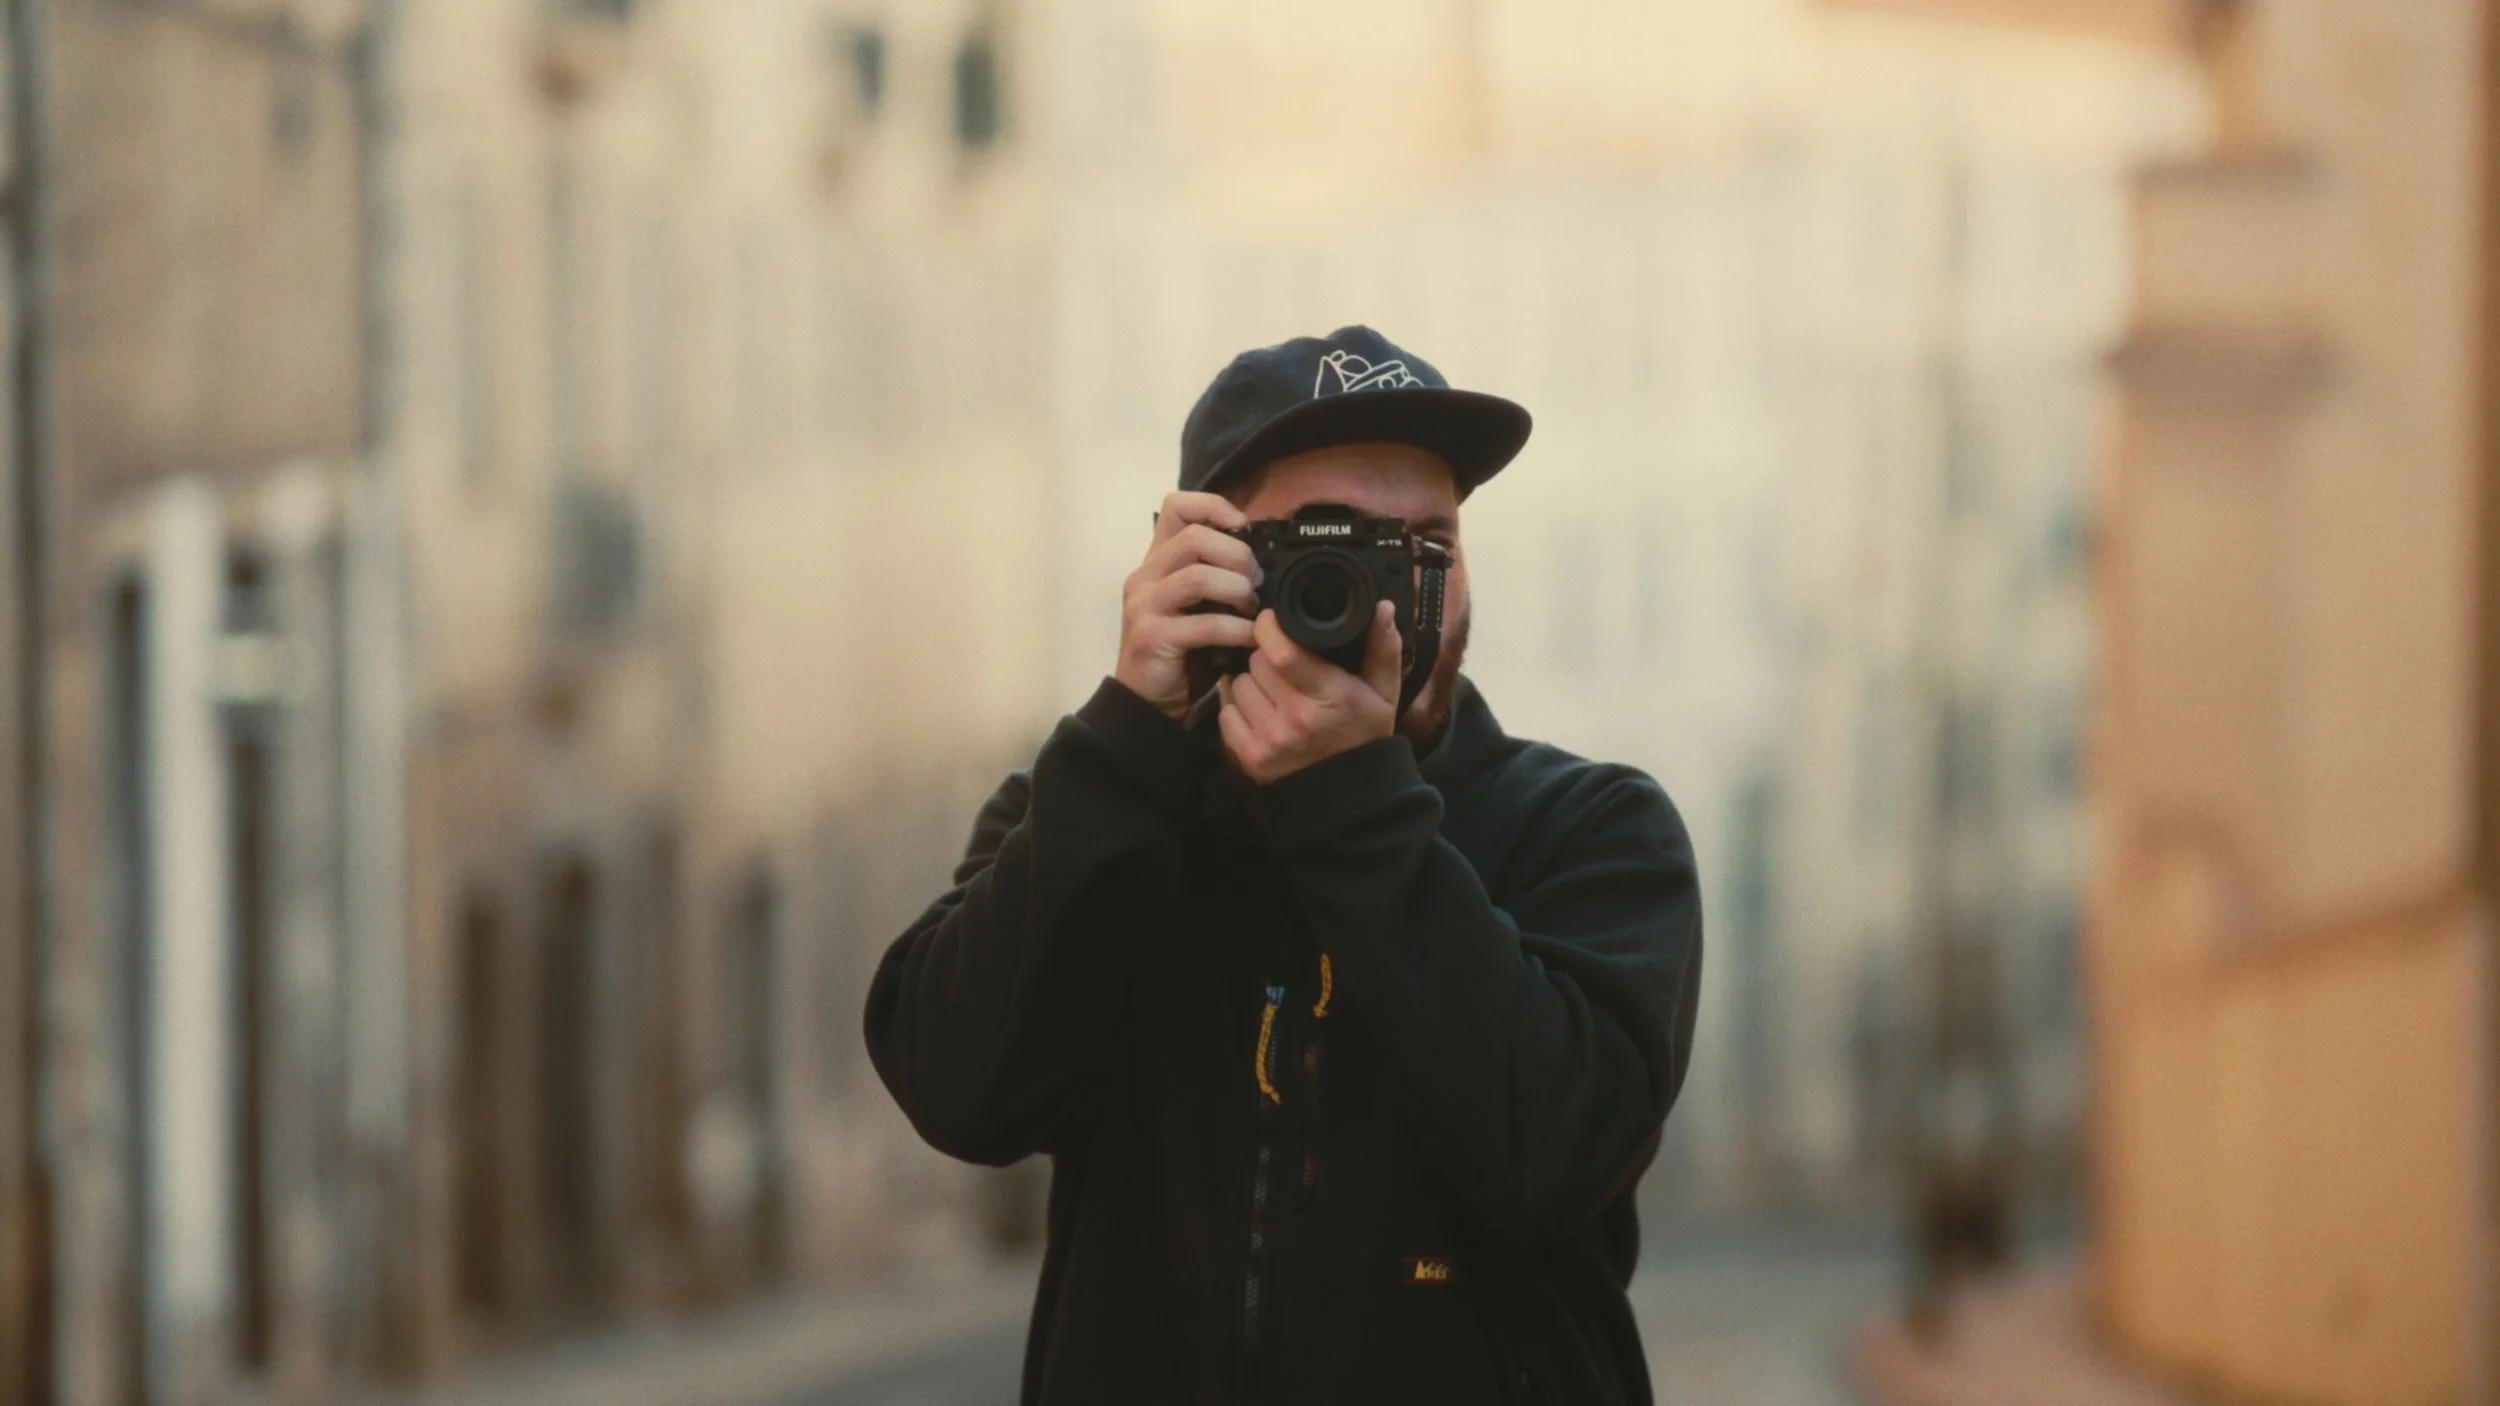
Why I Chose the Fujifilm X-T5
For three years, the X-T3 has been my go-to camera, especially for photography. I’ve always been impressed with its ergonomics, button placement, and classic film-like aesthetics. As a photographer who primarily shoots stills, I never felt a pressing need to upgrade. However, as my interest in video production grew, I noticed some limitations. The X-T3, while great for photography, didn’t provide the seamless hybrid performance I was looking for when transitioning between shooting photos and videos on the fly.

Enter the X-T5, a camera designed to bridge the gap between still photography and video work. The first major draw? A simple STILL/MOVIE dial that makes switching between these two modes effortless.
Key Features I Love About the Fujifilm X-T5
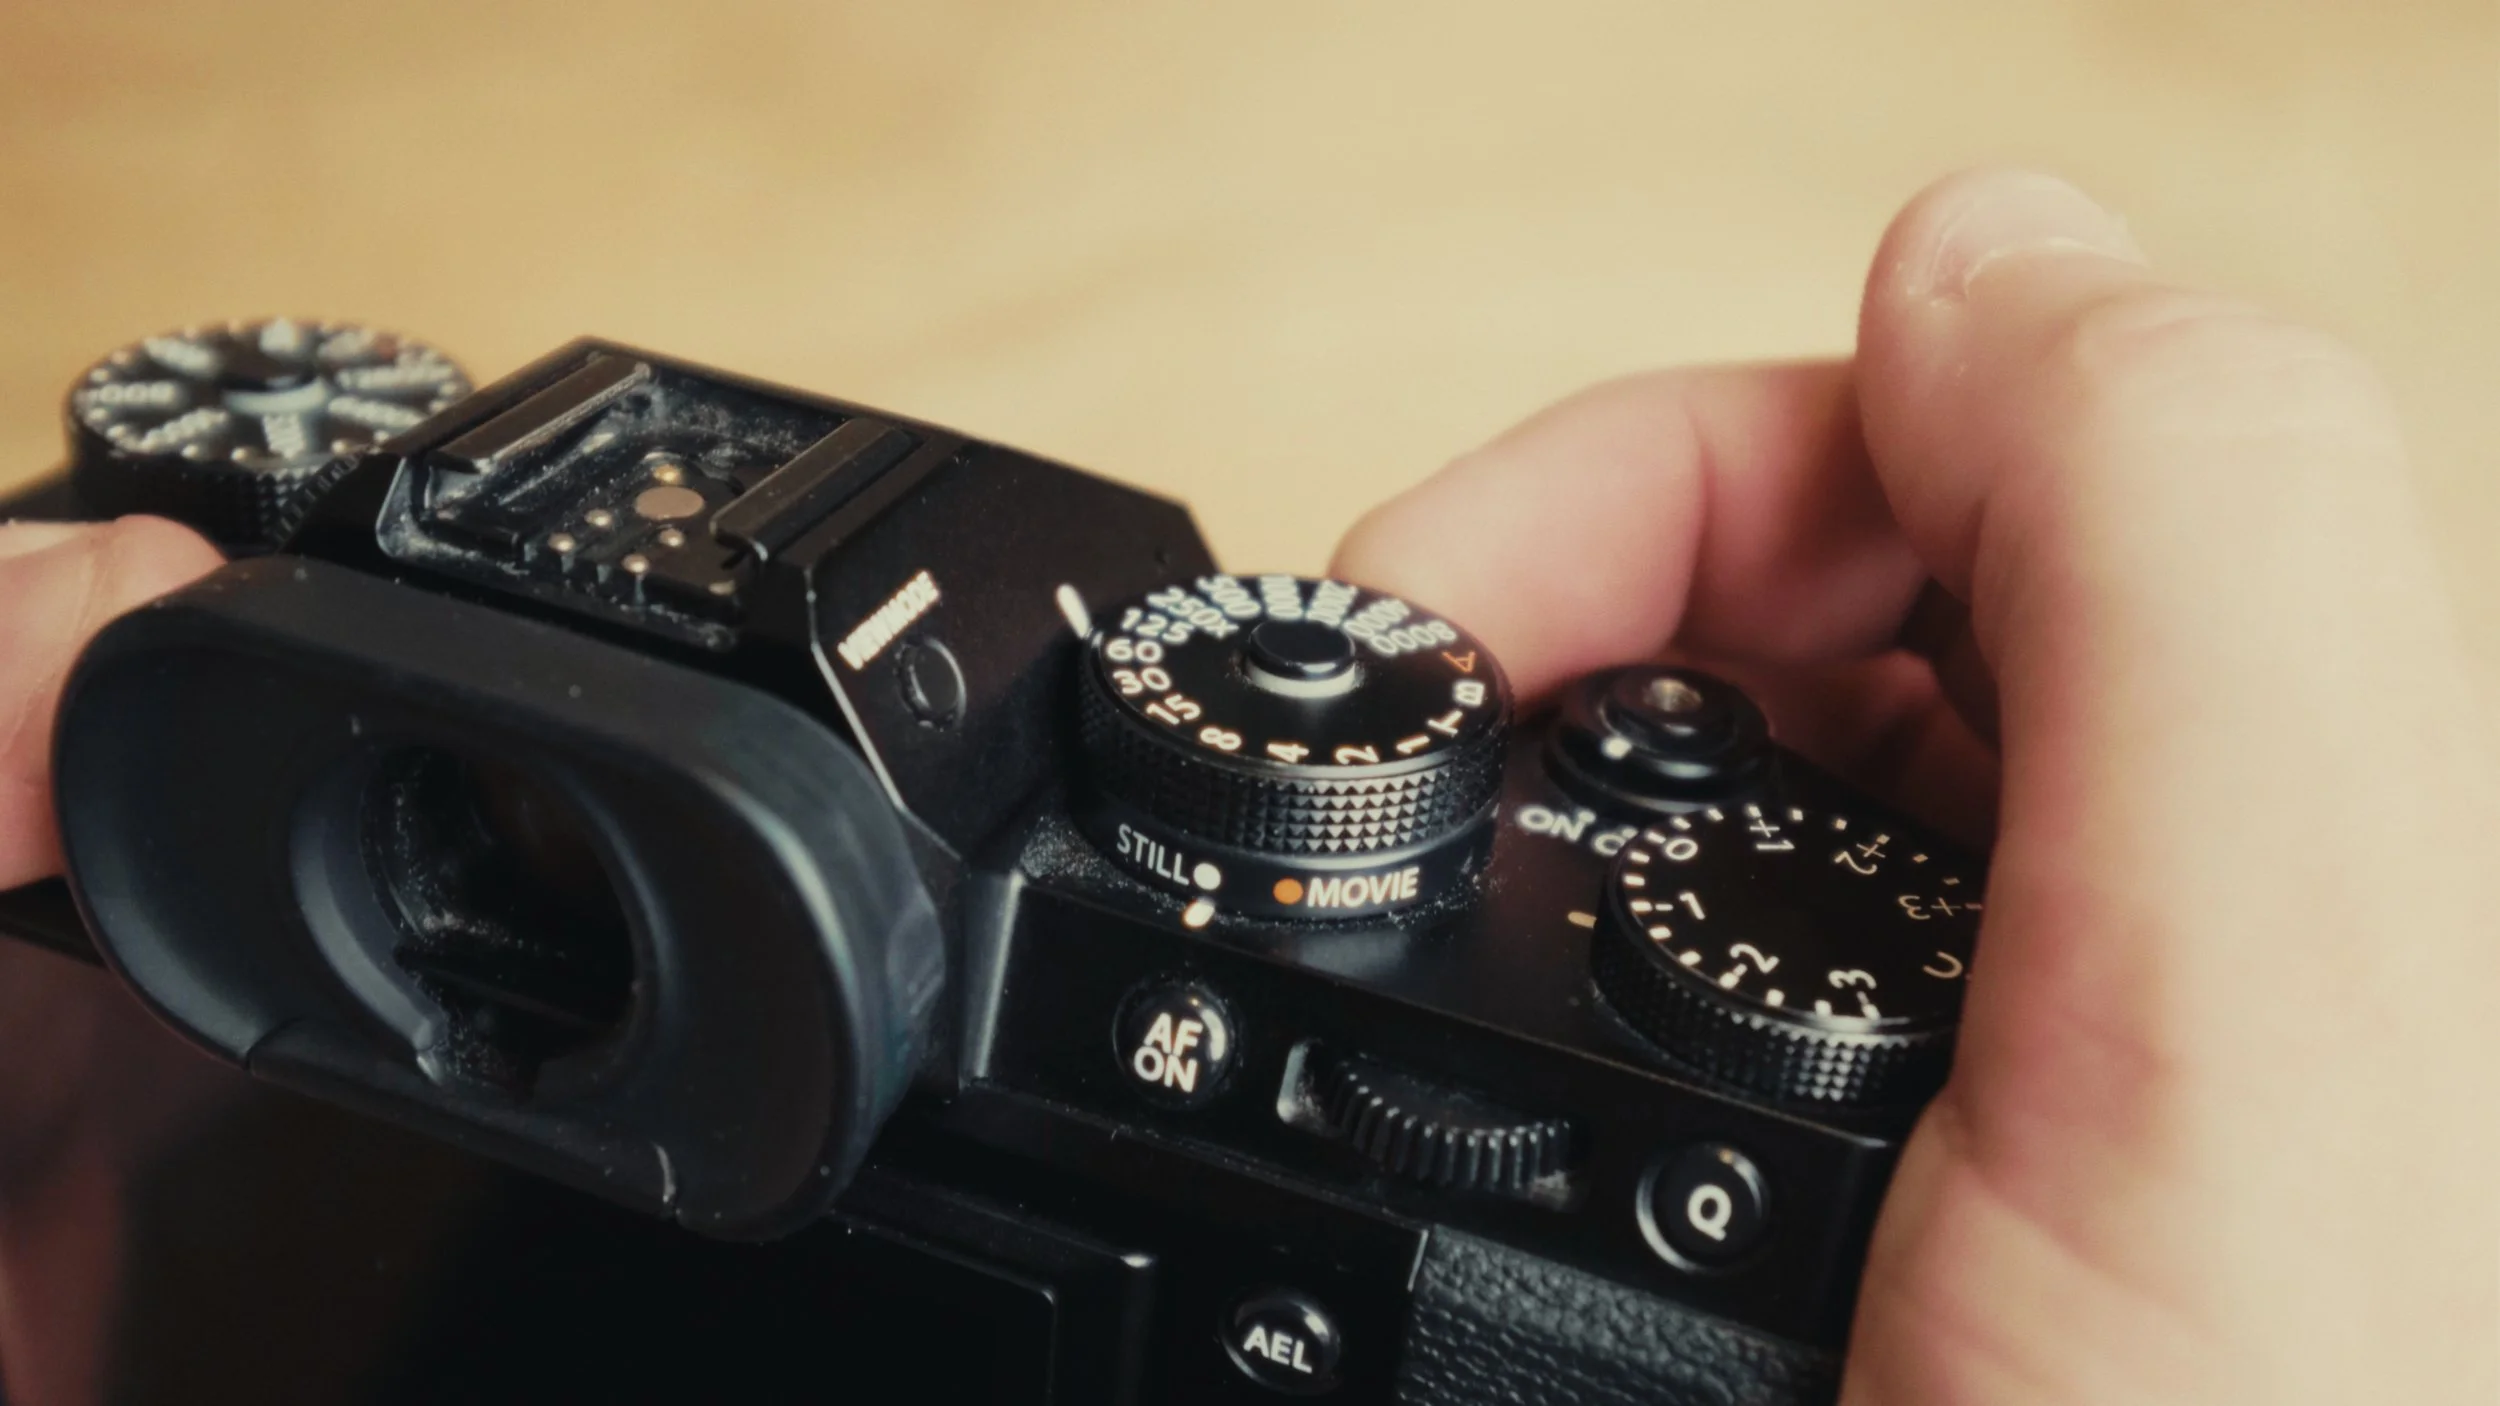
1. The STILL/MOVIE Dial – Why the Fujifilm X-T5 is Ideal for Hybrid Shooters
The inclusion of the STILL/MOVIE dial, first seen on the X-T4, was a major selling point for me. This dial allows you to switch between photo and video modes instantly, with each mode saving its own exposure settings. No more fiddling with settings in critical moments—whether you’re street shooting or documenting a landscape. For example, I can have my shutter speed set at 1/125th of a second for stills and 1/48th for video, and switching between the two won’t mess up my setup. It’s a game-changer for hybrid shooting, where speed and fluidity are essential, and honestly, it makes this camera the best camera for hybrid shooters.
2. Ergonomics and Build
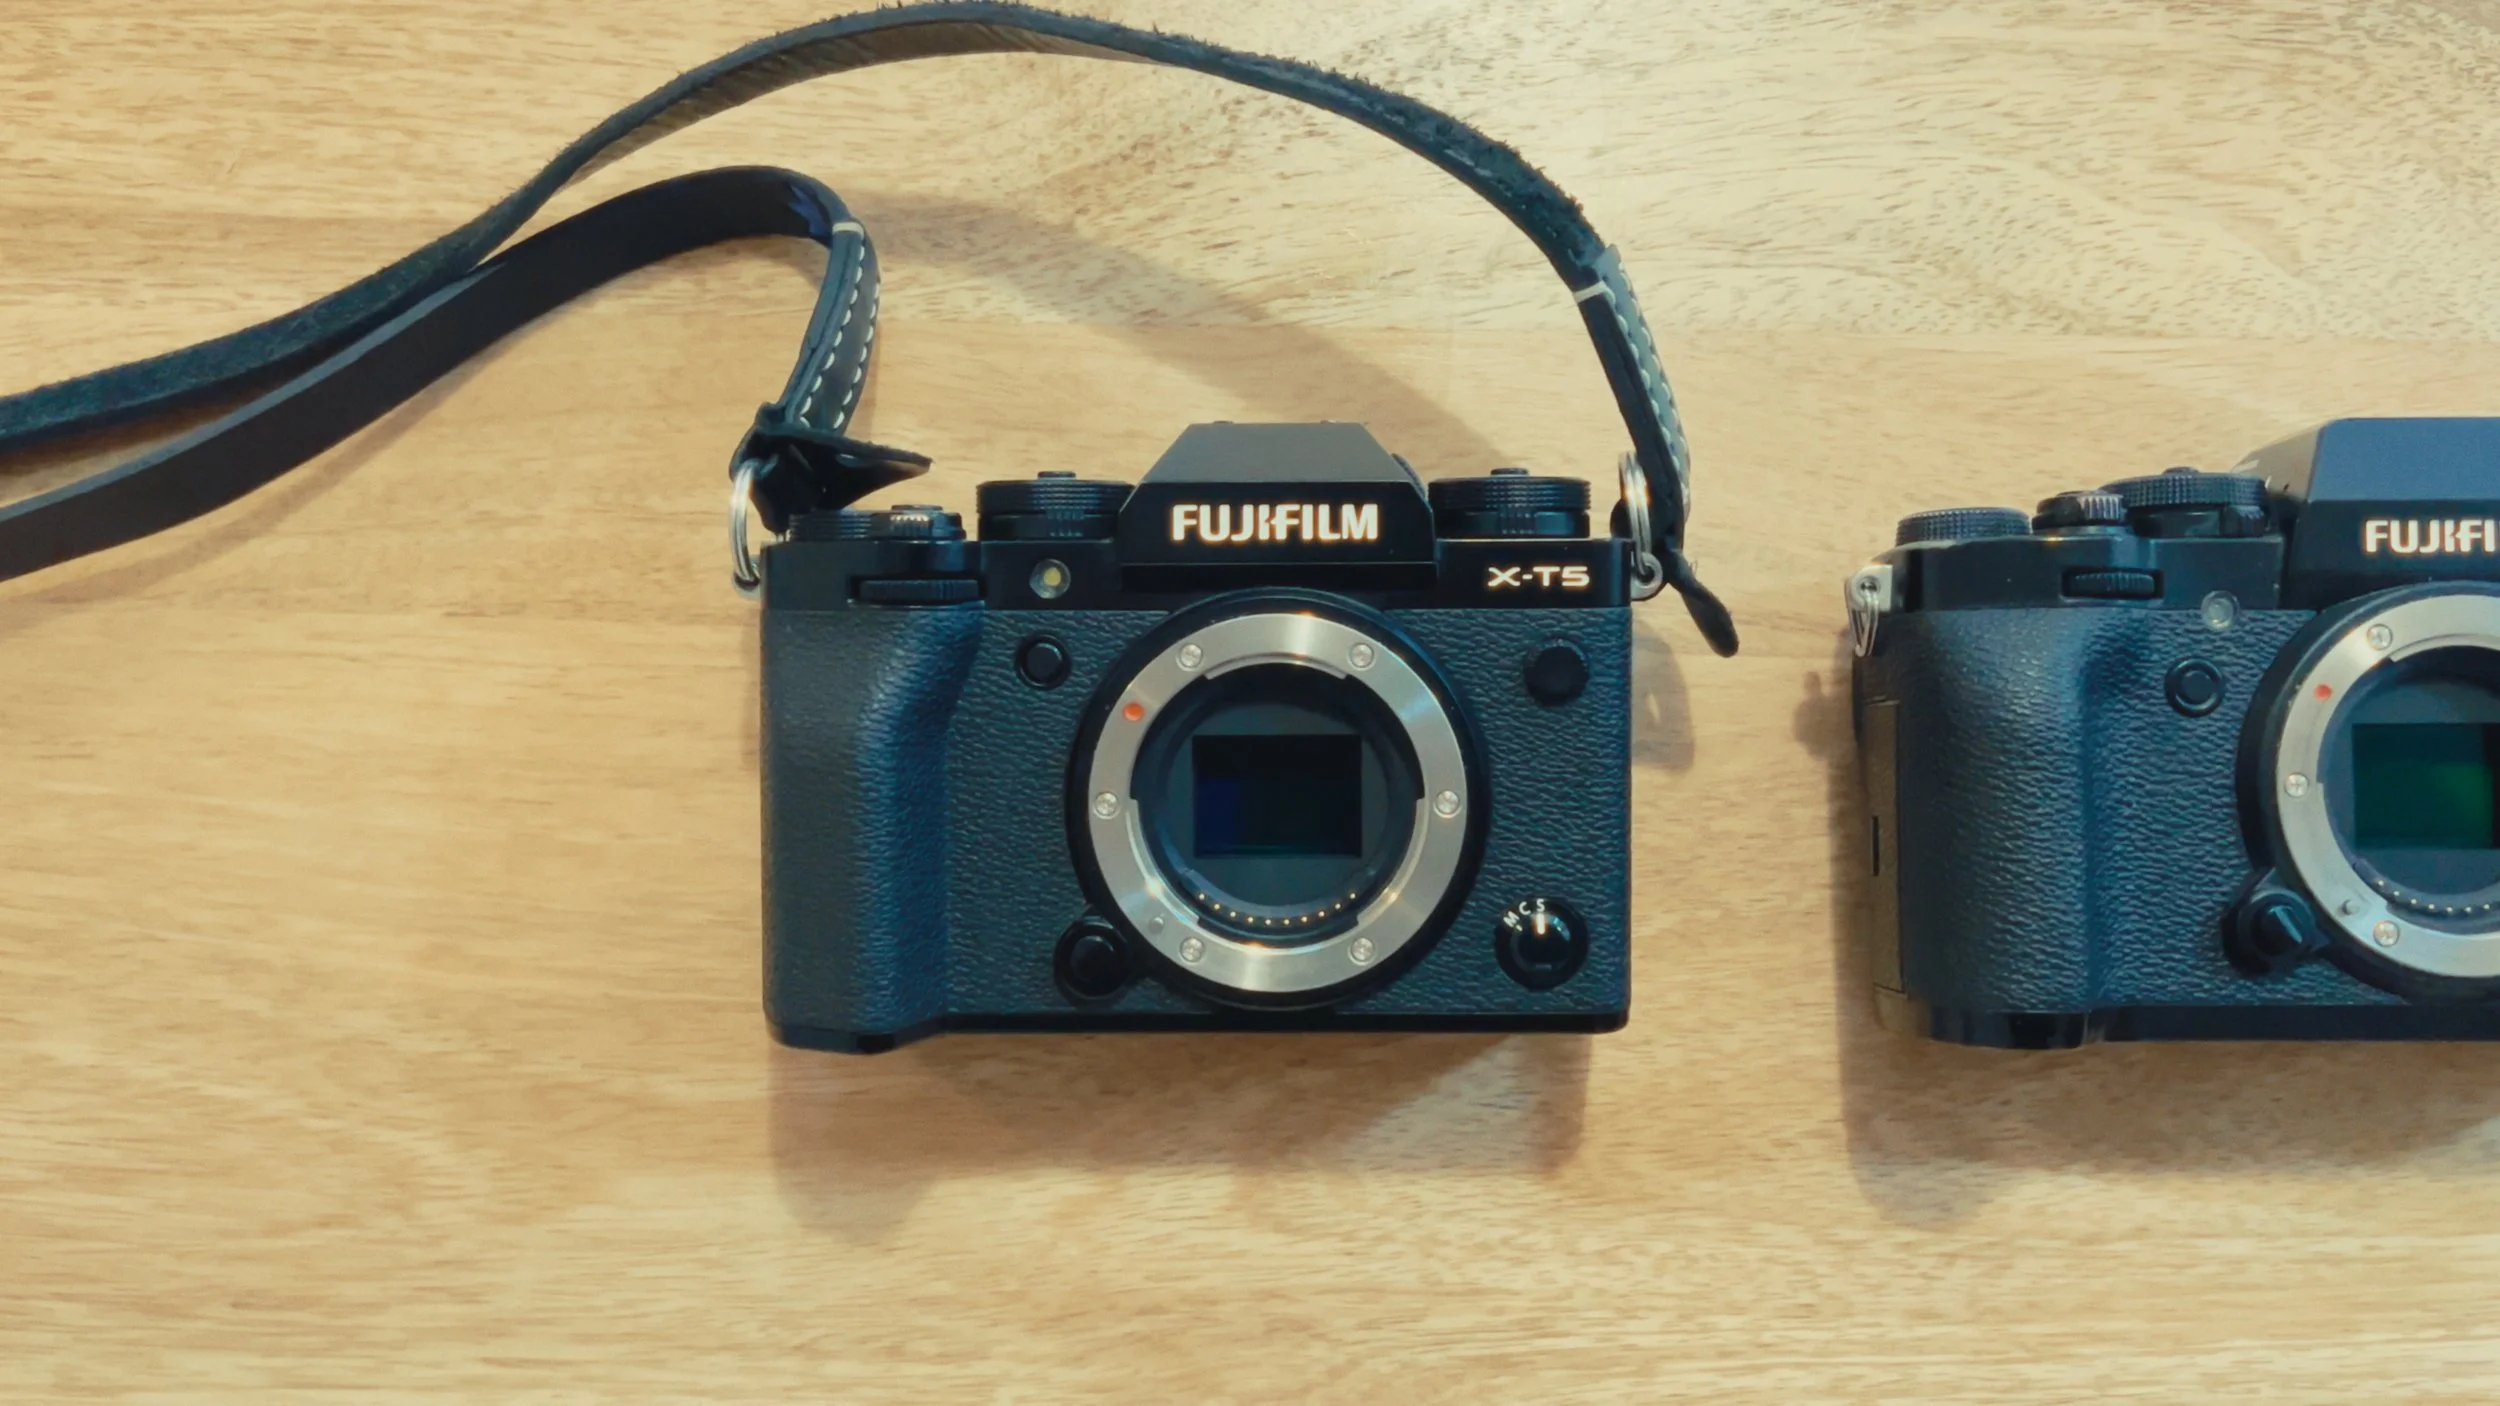
Coming from the X-T3, I was already familiar with Fuji’s excellent ergonomic design, and the X-T5 didn’t disappoint. The camera body maintains a grip-friendly shape and keeps the SLR-style dials for adjusting shutter speed and ISO. Plus, the articulating screen makes it easy to compose shots both vertically and horizontally. That said, while the ergonomics are excellent, the build quality left me feeling a bit uncertain (and we will talk more about this in a moment). Unlike the X-T3, which feels like it’s built like a tank, the X-T5 has a somewhat more plastic, lightweight feel. It’s not necessarily a dealbreaker, but it’s worth noting.

3. Fujifilm X-T5 Image Quality: 40MP Sensor Performance & A Faster Processor
While I’m not someone who obsesses over megapixels, the jump from the X-T3’s 26MP sensor to the X-T5’s 40MP sensor, paired with a faster processor, has made a noticeable difference in image sharpness and detail. This increase in resolution might be particularly appealing if you plan on printing large photos, but for me, it’s more of a bonus than a necessity. Still, there’s no denying the clarity of the images this camera produces.
4. In-Body Image Stabilization (IBIS)
One area where the X-T5 shines is low-light performance. The X-T5 offers up to 7 stops of IBIS, which allows for shooting handheld at lower shutter speeds without introducing blur. On my Portugal trip, I tested this feature in street photography settings, shooting as low as 1/8th of a second without a tripod. While the high-ISO performance in terms of noise is similar to the X-T3, the IBIS helps tremendously in getting sharper images in low-light conditions.

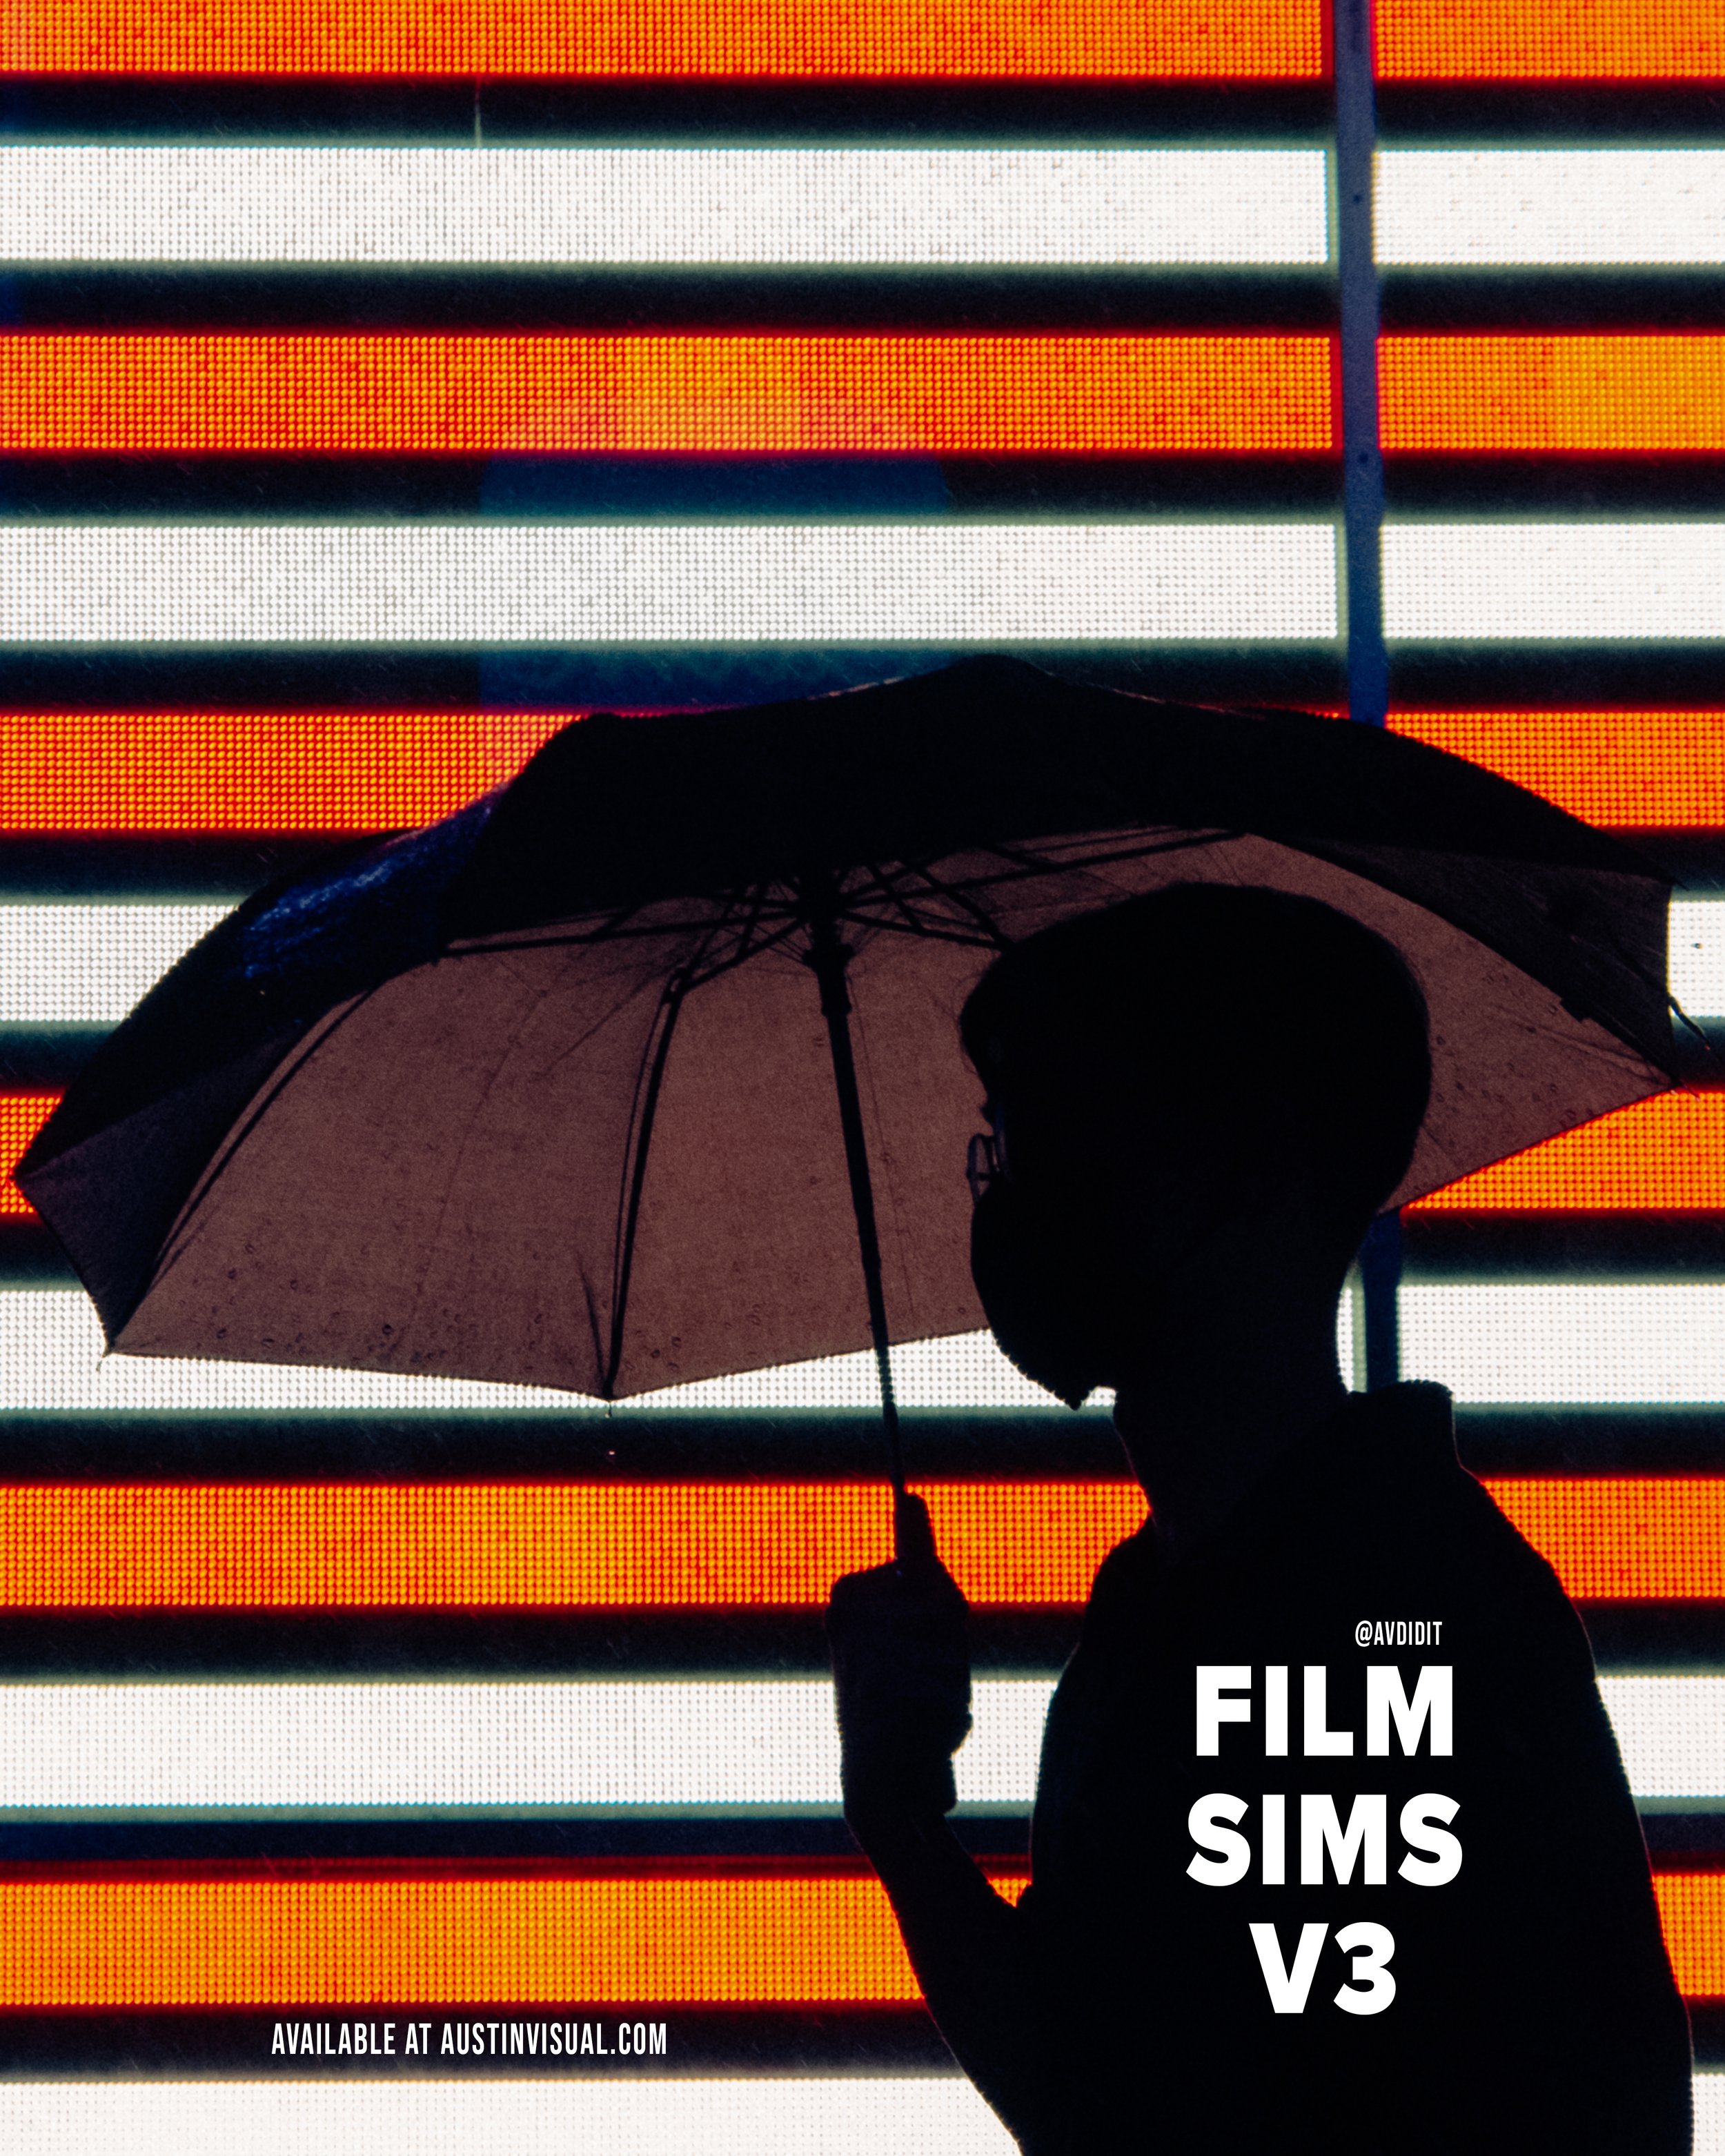
Taken handheld across from Manhattan using the Fujifilm X-T5's impressive 7-stop IBIS. Shutter speed of 1/3s.
A Few Drawbacks
Though I’m overall pleased with the X-T5, the build quality is one area where I feel Fujifilm fell short. Coming from the sturdy, metal-heavy X-T3, the X-T5 feels noticeably more fragile, especially the flip-out screen. I’ve seen similar complaints in other reviews, and while it doesn’t seem like it will impact functionality in the long run, it’s something to consider if you’re used to more rugged camera builds.

Final Thoughts - Fujifilm X-T5: is it worth the upgrade?
After just a few weeks of use, I’m happy with the X-T5’s performance. It’s already replaced my X-T3 as my daily carry, and its ability to seamlessly transition between photo and video modes is exactly what I needed. I’ll continue to explore its features in the coming months, but for now, these are my first impressions. If you’re a hybrid shooter like me, this might just be the perfect upgrade for you.
Help support my work by exploring the available products below!
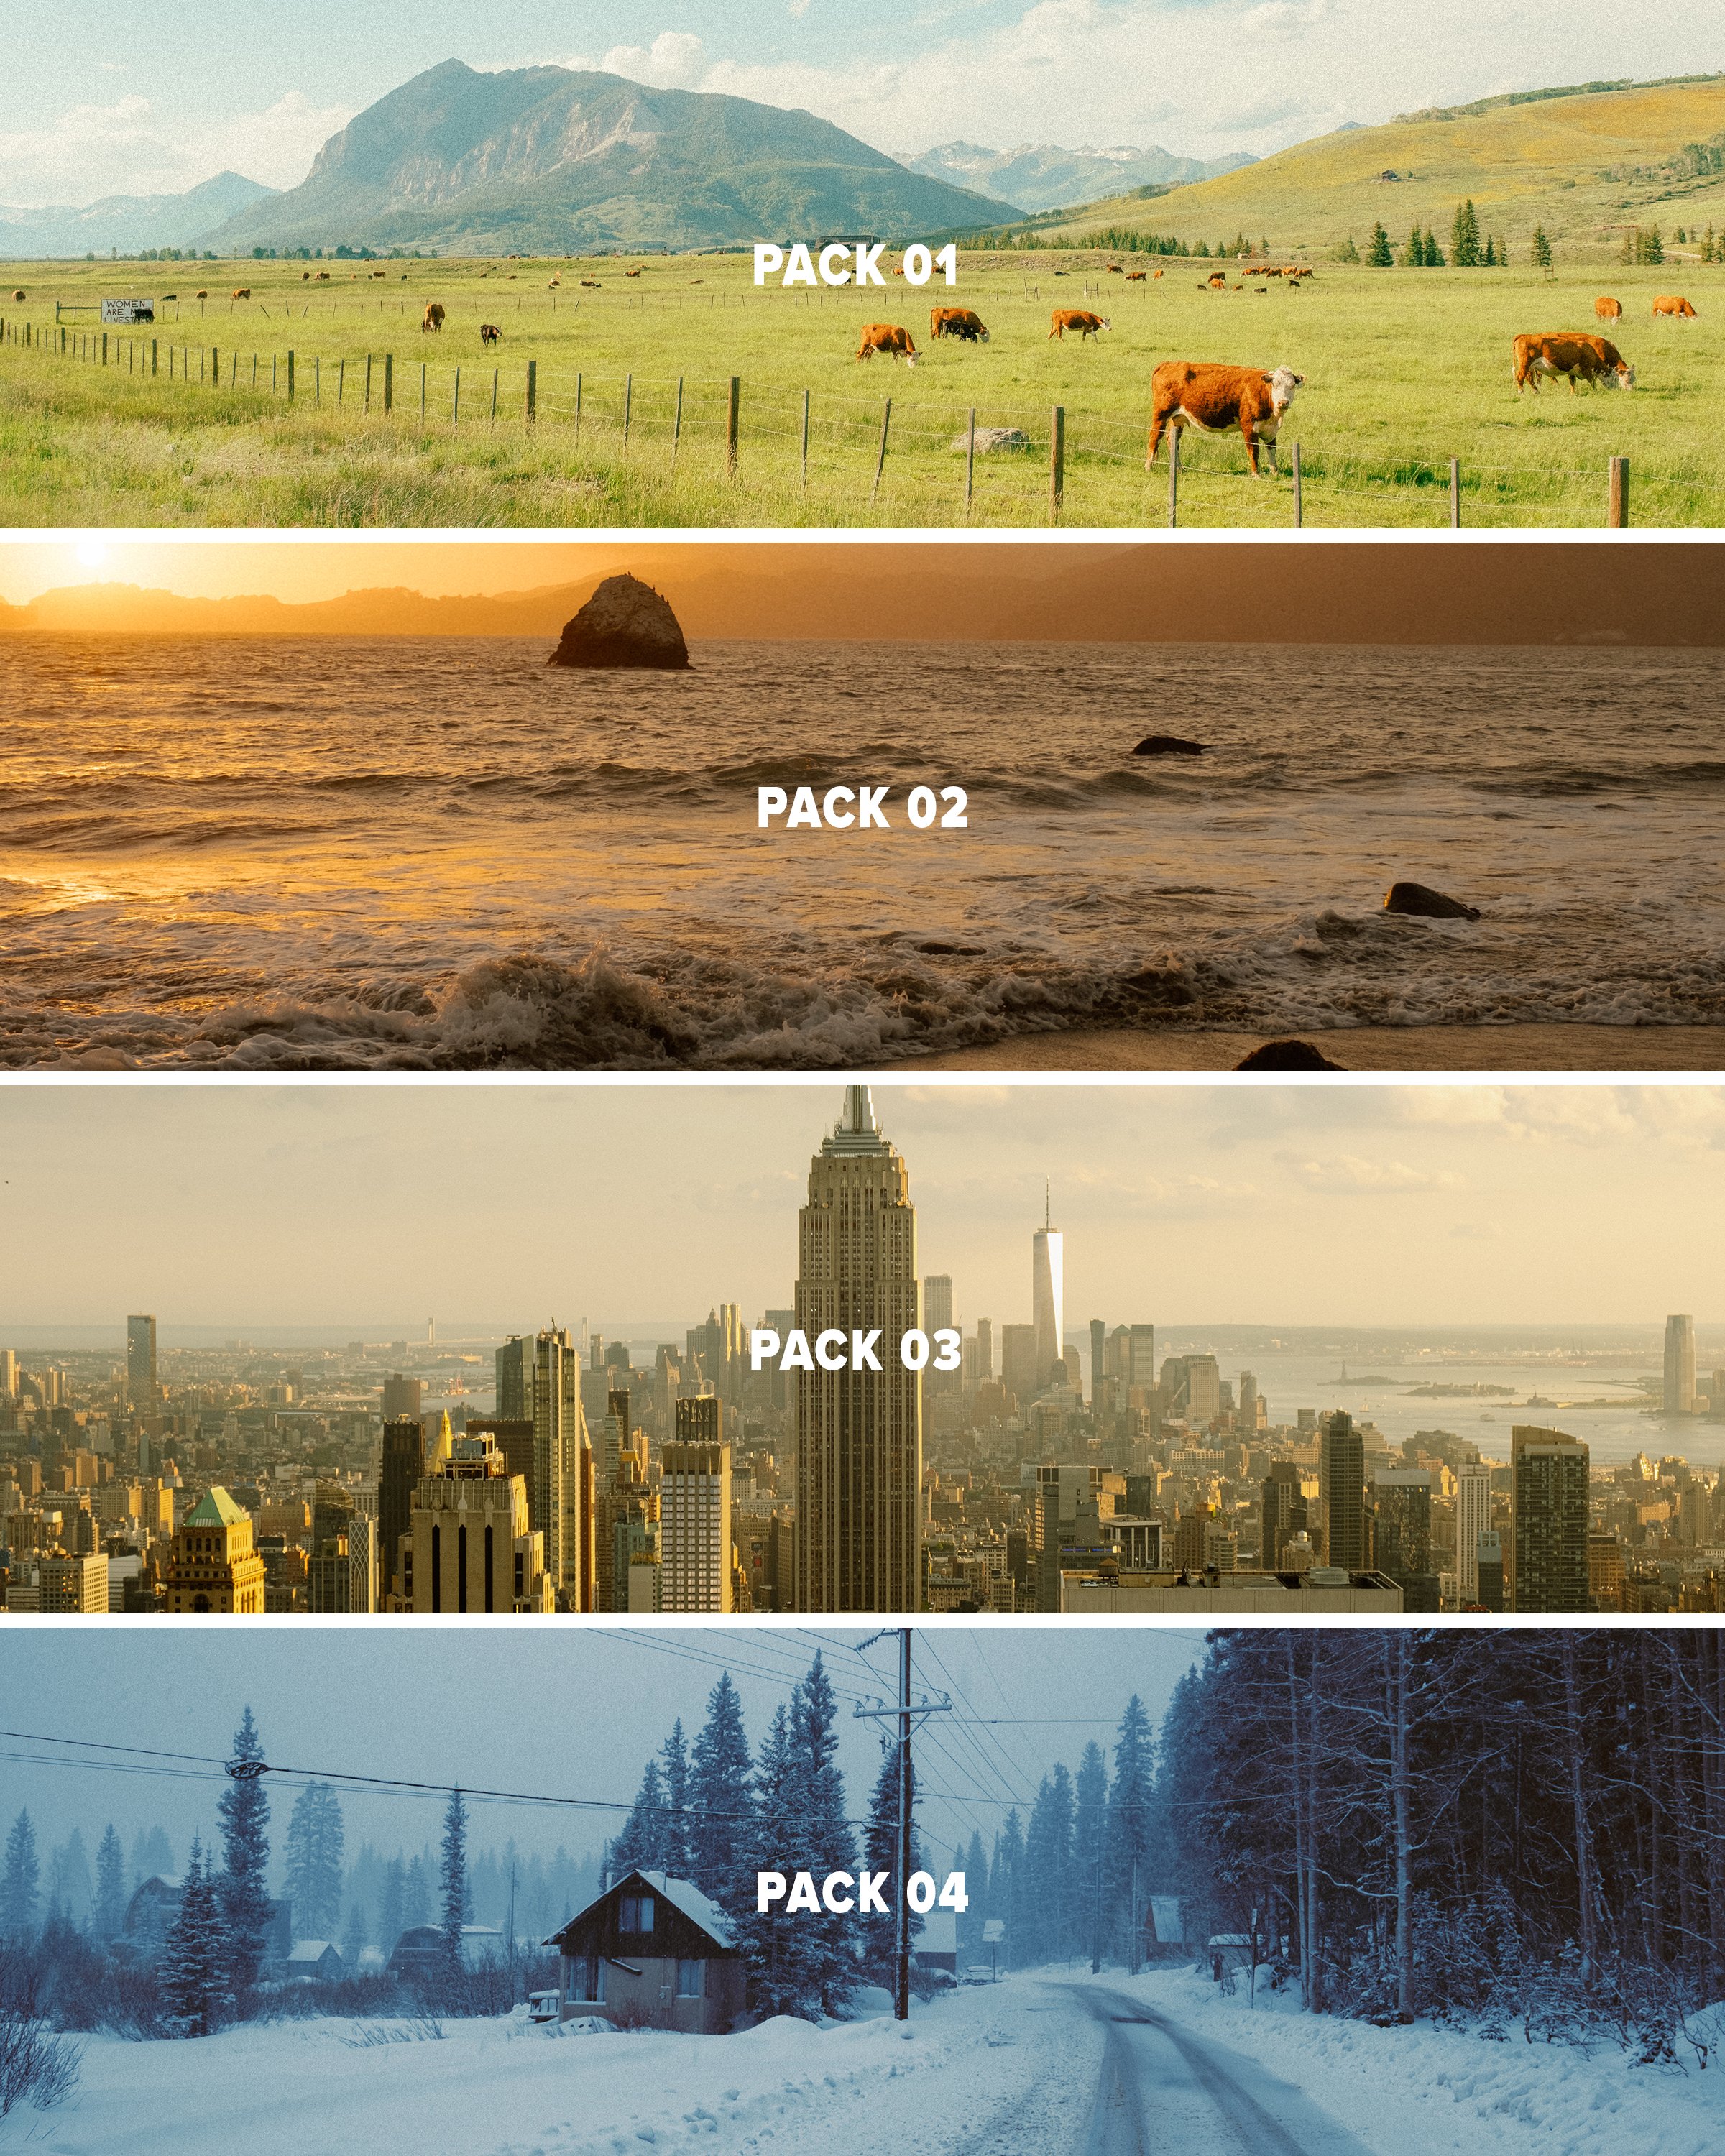

This pack provides 3 Lightroom presets inspired by film looks that should give you a solid base to work with in just a few clicks using Lightroom. This pack is the 4th and final installment of my ongoing “AV FILM SIMS” preset suite. The full suite (see bundle) includes this pack and the 3 others, giving you the base looks I use on almost all of my edits as scene on Instagram/Youtube, etc.
Each look is outlined below:
Winter - a cool blue preset created using heavy Color Tone Curve edits, inspired by winters spent in the Utah desert, but applicable to most moody, rainy, or winter scenes.
Wyoming - a clean, filmic day-light focused preset inspired by my travels to the Grand Tetons of Wyoming. Great for road trip scenes, landscapes, and mid-day photo walks.
Moab - inspired by kodak film-stocks, this preset is meant to create a soft, colorful and film-like look in one click. Inspired by some of my earliest visits to Moab, and specifically Arches, but I’ve been using it on a lot of NYC work as well!
Note: these are for DESKTOP. I use them on Lightroom Classic. These are NOT mobile presets. They do work in Lightroom Cloud via importing, and if applied to a DNG, they CAN work on Mobile, but they are not optimized for this purpose.
How to download & install:
Once you checkout from my site, you will be given access to the digital download.
Download & unzip the “zip” file.
Open LR -> File -> Import Develop Profiles and Presets.
Navigate to the unzipped folders and select them.
Click “Import.”
How to edit photos with this pack:
Ensure the image is properly exposed. Adjust the exposure slider (increase or decrease) until your exposure is even.
Explore the pack by highlighting each of the 3 looks - before clicking any, hover over each to see how they feel on your image. Click to apply the preset you like.
Make other adjustments as needed. If you have my other packs, try combining these looks with the tool kits from those! Experiment with making small slider adjustments to the tones, mess with color grading, but don’t go TOO far. Less is more with editing.
You’re done! Export & share.
Presets are non-refundable. Absolutely no re-selling under any circumstances.
Reminder: these are for LIGHTROOM CLASSIC. They are not optimized for mobile app.
When ordering, you’ll get a 24-hour download code. If you lose this code or forget to download, email me & I’ll get you another.
Be sure to sign up for my newsletter/updates with your email at checkout to receive discounts/free stuff in the future!
Not affiliated with or endorsed by any camera company.