4 Reasons Why I Stuck with Fujifilm
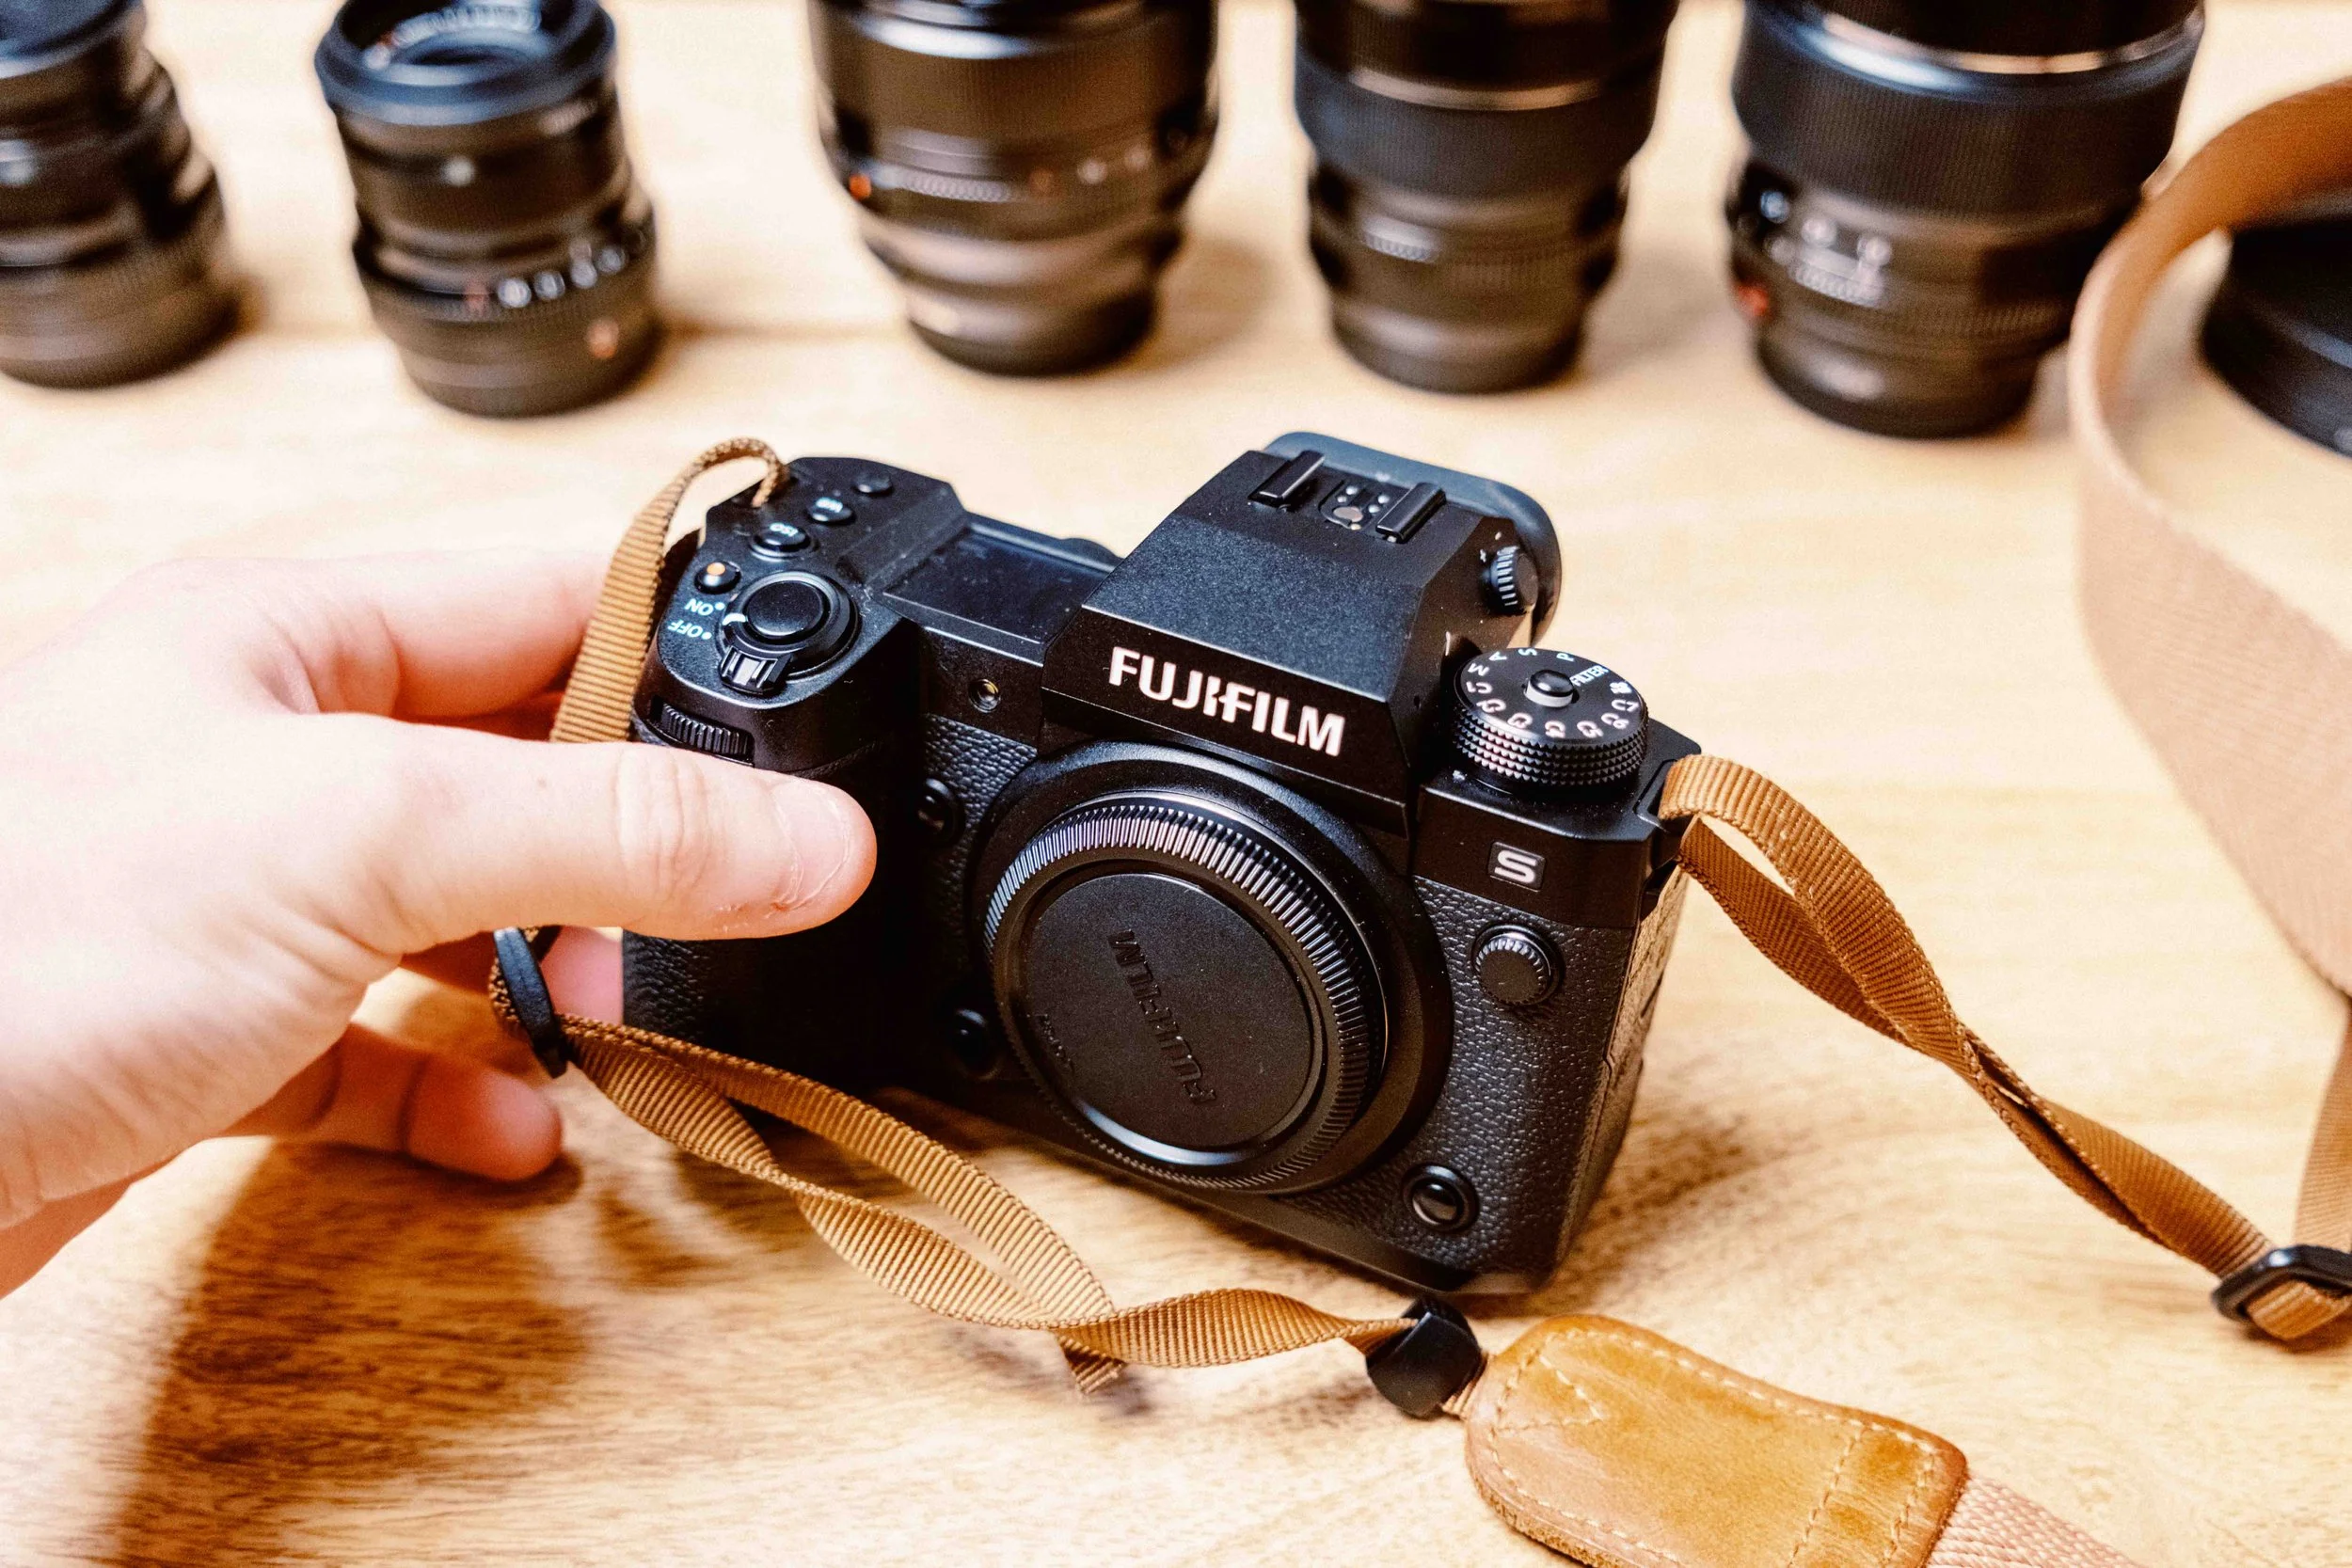
MY THOUGHTS ON WHY YOU SHOULD TRY FUJIFILM CAMERAS
Why switch to Fujifilm?
I started shooting Fujifilm a few years ago after an unfortunate incident where I lost my main Canon camera (I was a loyal Canon user up to that point). Fast forward to now and I’ve been using Fujifilm primarily for a bit now, and had a chance to try a bunch of cameras across the line up (e.g. The X-T10, X100F, X100VI, X-T3, X-T5, XH2S, and more). Here’s a recap of a few of the main reasons why I moved to Fuji, and why I have continued to use their cameras.
AFFORDABLE ENTRY POINT
After losing my Canon 5D Mark I (I may or may not have dropped it in a waterfall…), I couldn’t reason fully replacing this expensive Canon setup at the time. The only other brands I had experience using were Sony and Fujifilm… and obviously Sony was also financially not feasible either.
Fortunately, a friend sent me a listing for a used Fujifilm X-T3 with the XF 18mm f/2.0 prime lens- and I ended up spending just $1300-1400.
I’ll be honest - the main reason I got into Fujifilm initially was the affordable entry point… but obviously, several years and a body of work later, it wasn’t just a compromise for the sake of budget. I’ve not only shot all of my personal work on Fuji since, but I’ve shot countless commercial campaigns, worked on brand partnerships & projects, printed physicals, all from Fuji cameras.
Whether you’re an amatuer photographer looking for your first real camera setup, or a longer term professional seeking something new and refreshing to add to your kit, and especially if you’re open to buying something used, you can find a much more affordable price point on a flagship camera (i.e. the X-T4 or X-T5, etc.) on the Fujifilm line up than most brands.
Color Science, Image Quality, and a “Film-Like” Vibe
Some thoughts on Fujifilm’s color science benefits.
My first experience using a Fuji was when I got to borrow a Fujifilm X-T10, and the first thing I noticed (much like most first time users of the Fuji ecosystem), was that straight out of camera, the photos look really beautiful, and this can be attributed to a couple things.
Firstly, I do hold the opinion that Fujifilm does offer a color science that differs from the other brands out there, and to me, it is the “best,” because it fits my personal taste (and to be clear, that may not be the case for you!).
Secondly, and maybe more obviously, Fujifilm has “Simulations” baked into the files that provide each photo with a certain look, one that is adjustable, without any on-computer editing.
Disclaimer - I do shoot in “RAW’ and edit all of my work in Lightroom before sharing it, so the Straight out of camera profiles are not actually something I directly apply to my work. HOWEVER, in camera, in the field, having those applied on screen is helpful, and personally, also makes me a little more excited about the images I am capturing. To me, the photos just feel a lot more “artistic,” and as someone who hopes to operate as an artist with a camera, this aligns a lot more with my vision. Also, when editing in Lightroom, I do usually select the “Camera Matching” Fujifilm profiles as a base for my raws. So I guess I kinda do use them…?
On actual image quality - I am notorious for purposely “dulling” down the sharpness of my images, adding textures & grain, embracing noise, and even using out of focus/mis-focused shots (because, honestly, they’re a vibe sometimes). That said, I don’t want to assert anything fancy about image quality with Fujifilm as someone who doesn’t really care for that much - so I’ll leave this specific note for some future blogs in which I discuss specific pieces of gear (cameras, lenses, etc.), where I can do more curated image quality tests.
This said, as I mentioned above, I’ve used Fuji on both personal and client work, I’ve printed the images for zines & even for larger wall prints, and the image quality is stellar for these cases. At the end of the day though, there might be reasons why Fuji doesn’t meet the mark for you and your specific uses - so definitely do some research if you’re exploring this system to ensure it’ll be a good fit for you.
Surprisingly impressive video specs
This wasn’t so much a reason I switched over, but over time, became more of a reason I decided to stay instead of adding another system to my kit for video purposes (which would have likely been a Sony body).
Though Fujifilm is seemingly making a heavier push into the filmmaking space in 2025 (see the ETERNA announcement here: ), I think the general perspective amongst the creator community is that Fujifilm is largely a stills-brand.
And honestly, for me personally, that was how I perceived the brand before I owned one, and even for the first few years of using a Fuji. However, as I got more interested in video work, and went down the rabbit hole of potential video cameras to use or add to the arsenal, one thing I realized very fast was that I just didn’t want to have to carry a bunch of cameras around with me everyday to get both good photo and good video. And when it comes to video, I actually think Fuji is pretty slept on.

Enter the Fujifilm X-T5, which in my opinion, is one of the best options for a hybrid photo/video setup on the market (see my First Impressions video here).
Especially for someone like me, where optimizing a light weight set up for long days spent walking the streets of the city, or travel where managing a bunch of gear on the fly would distract from the experience, Fujifilm is a perfect fit in my opinion.
Now I’ll definitely concede that other brands such as Sony, Canon, etc. offer a lot of professional specs & features that Fujifilm still lacks, so hopefully as they continue to move forward, those will get addressed.
I’m also excited to see them launch the ETERNA and further expand into the filmmaking space, and to see how that new line measures up against the more grandfathered & respected competitors, such as Sony’s FX3 or FX6.
Ergonomics, Design and Film-Like Dials

A more obvious reason many favor the Fuji system is the physical feel of these cameras. Fujifilm is just fun to use. The design has this retro look to it, with manual dials mimicking what is often seen on older film cameras (SLRs like the Canon AE-1 come to mind).
At the end of the day, I like using cameras that I enjoy holding, feel comfortable with - and thats one stark difference I can cite after being a longer term Canon user, then migrating to Fuji. Other brands generally feel bland - more like sterile tools - great for creating sharp, clean images, but without being super exciting to actually use. Just like how the images feel more “artistic,” the experience does too.
I will concede and mention a concern that seems to be common amongst the community, which is that the newer models (e.g. X100VI, X-T5, etc.) seem to have lower build quality, possibly due to a number of production hurdles (inflation of cost, lack of materials available, who knows?).
These concerns will hopefully get addressed in the future - but personally, I am using the X-T5 as a “daily driver” and I can’t say the build gets in the way of the shooting experience.
Help support my work by exploring the available products below!
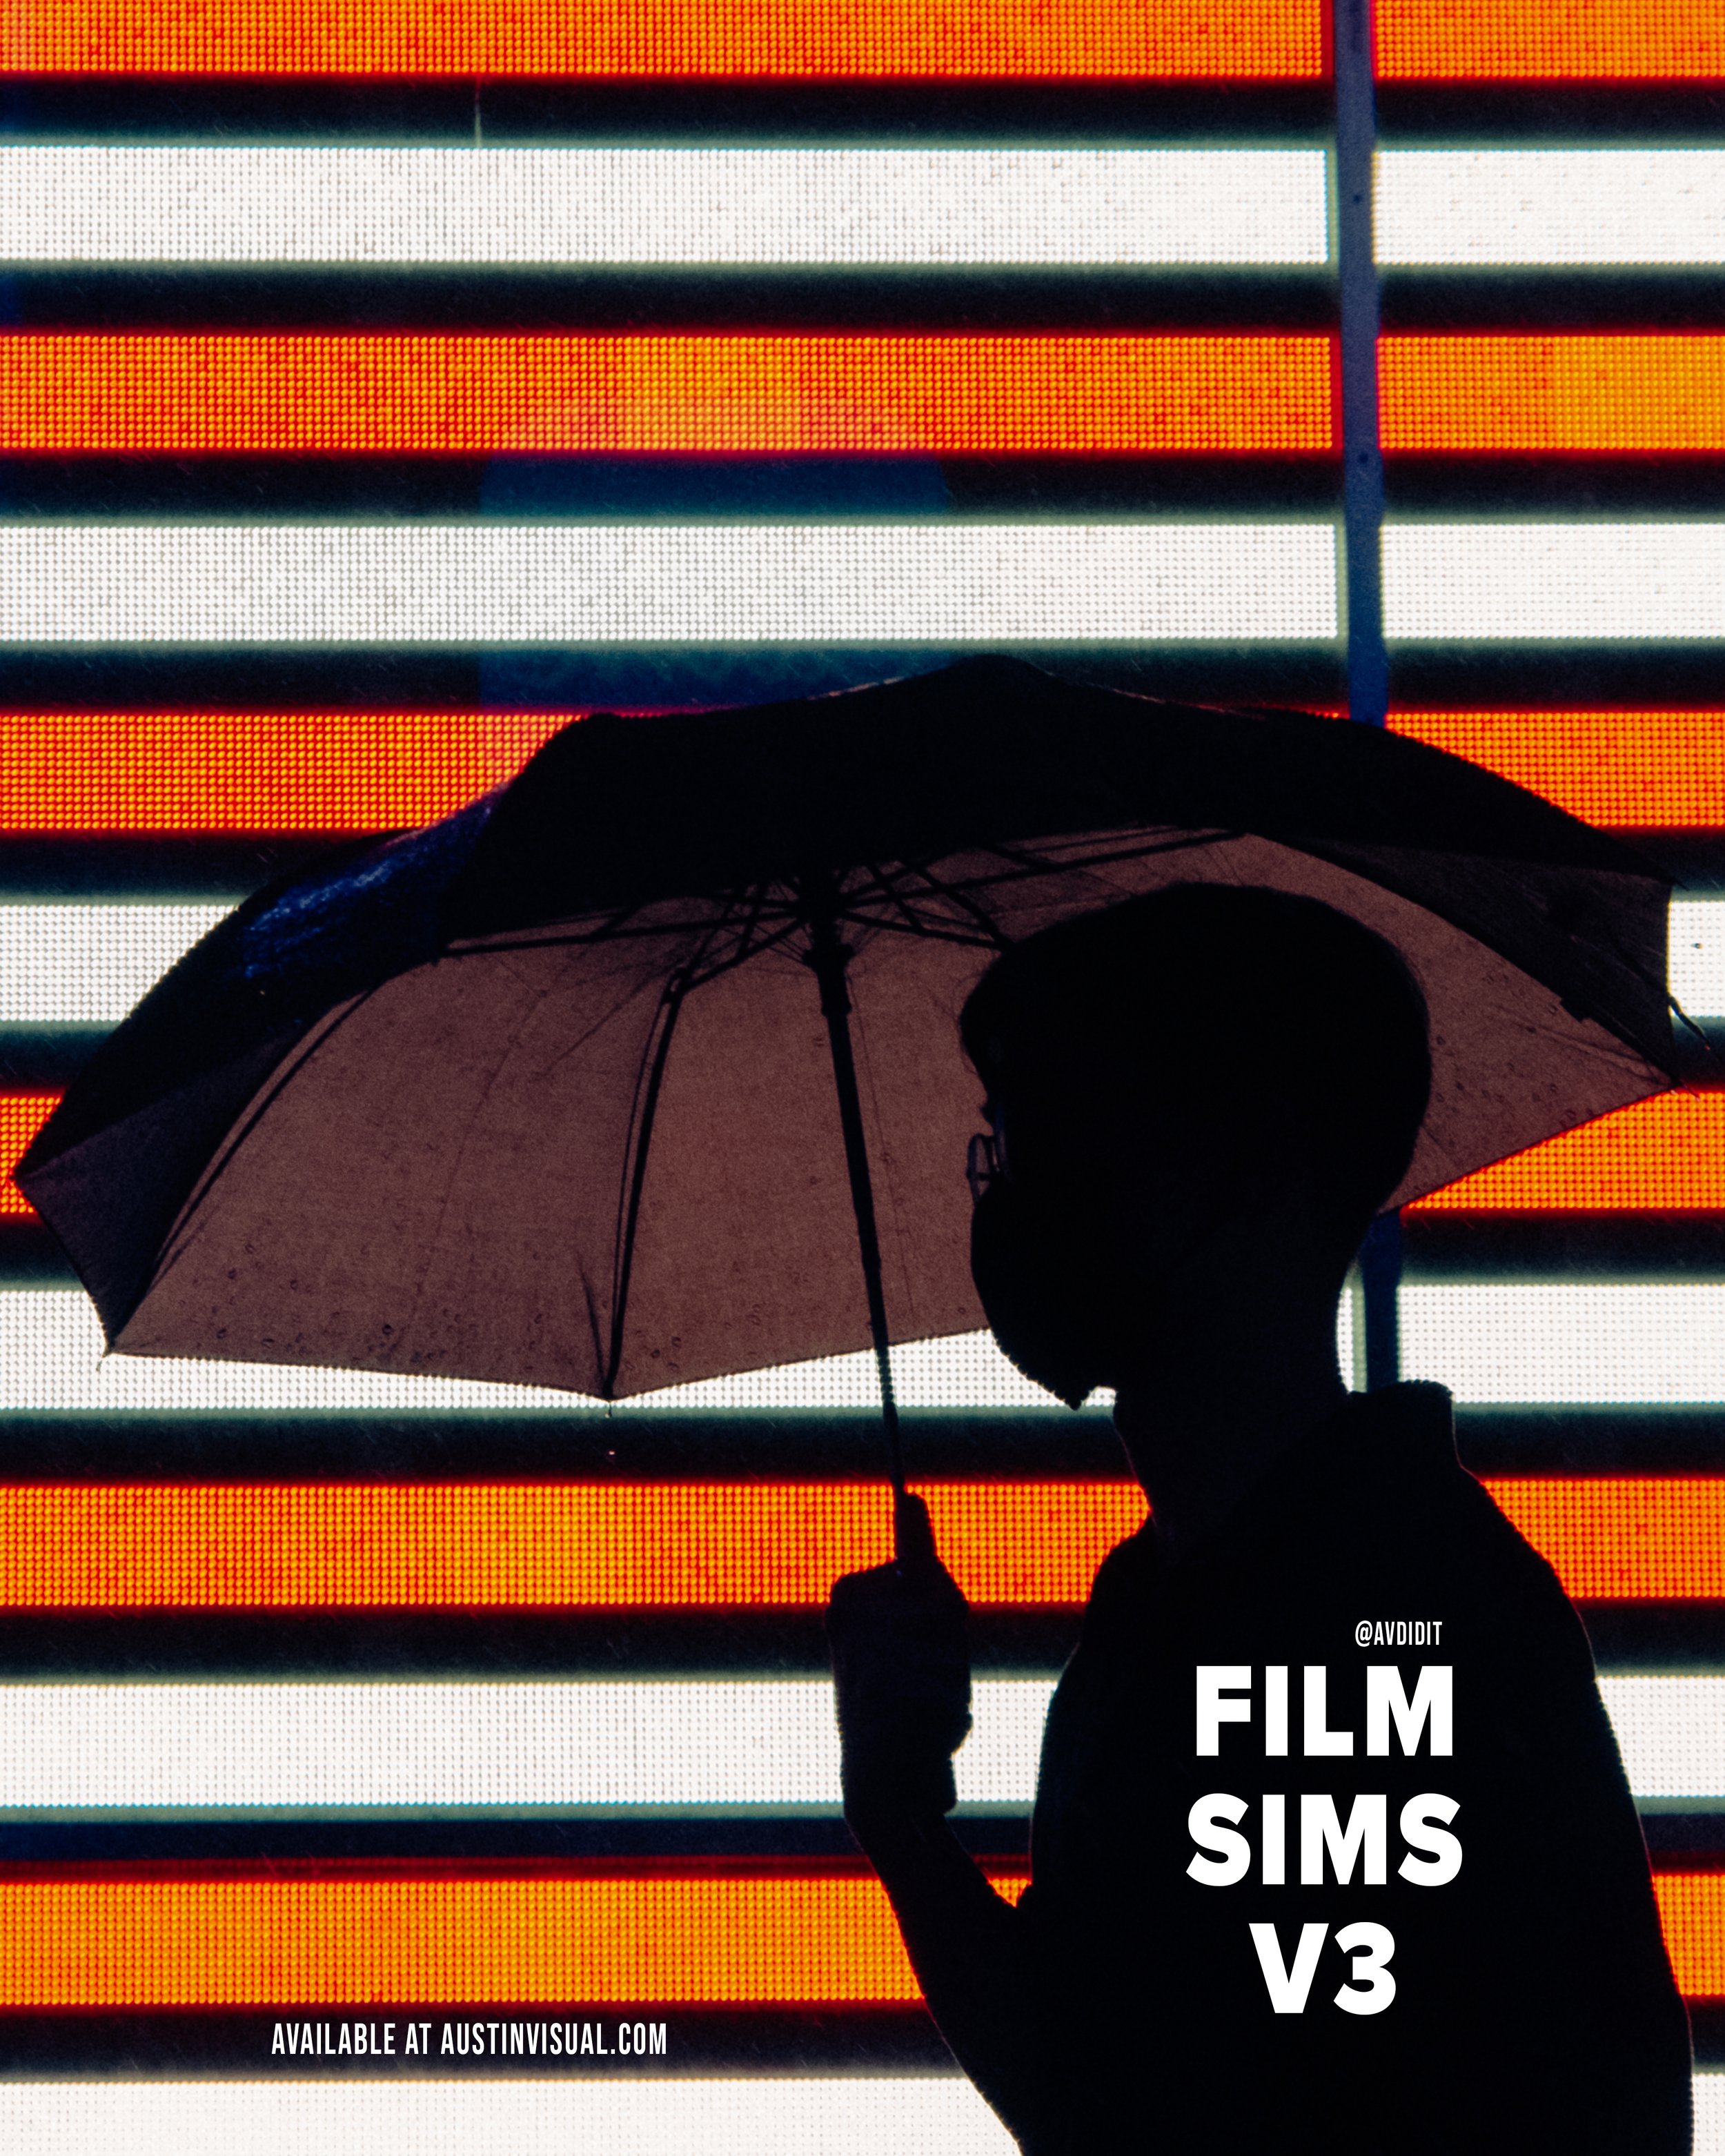
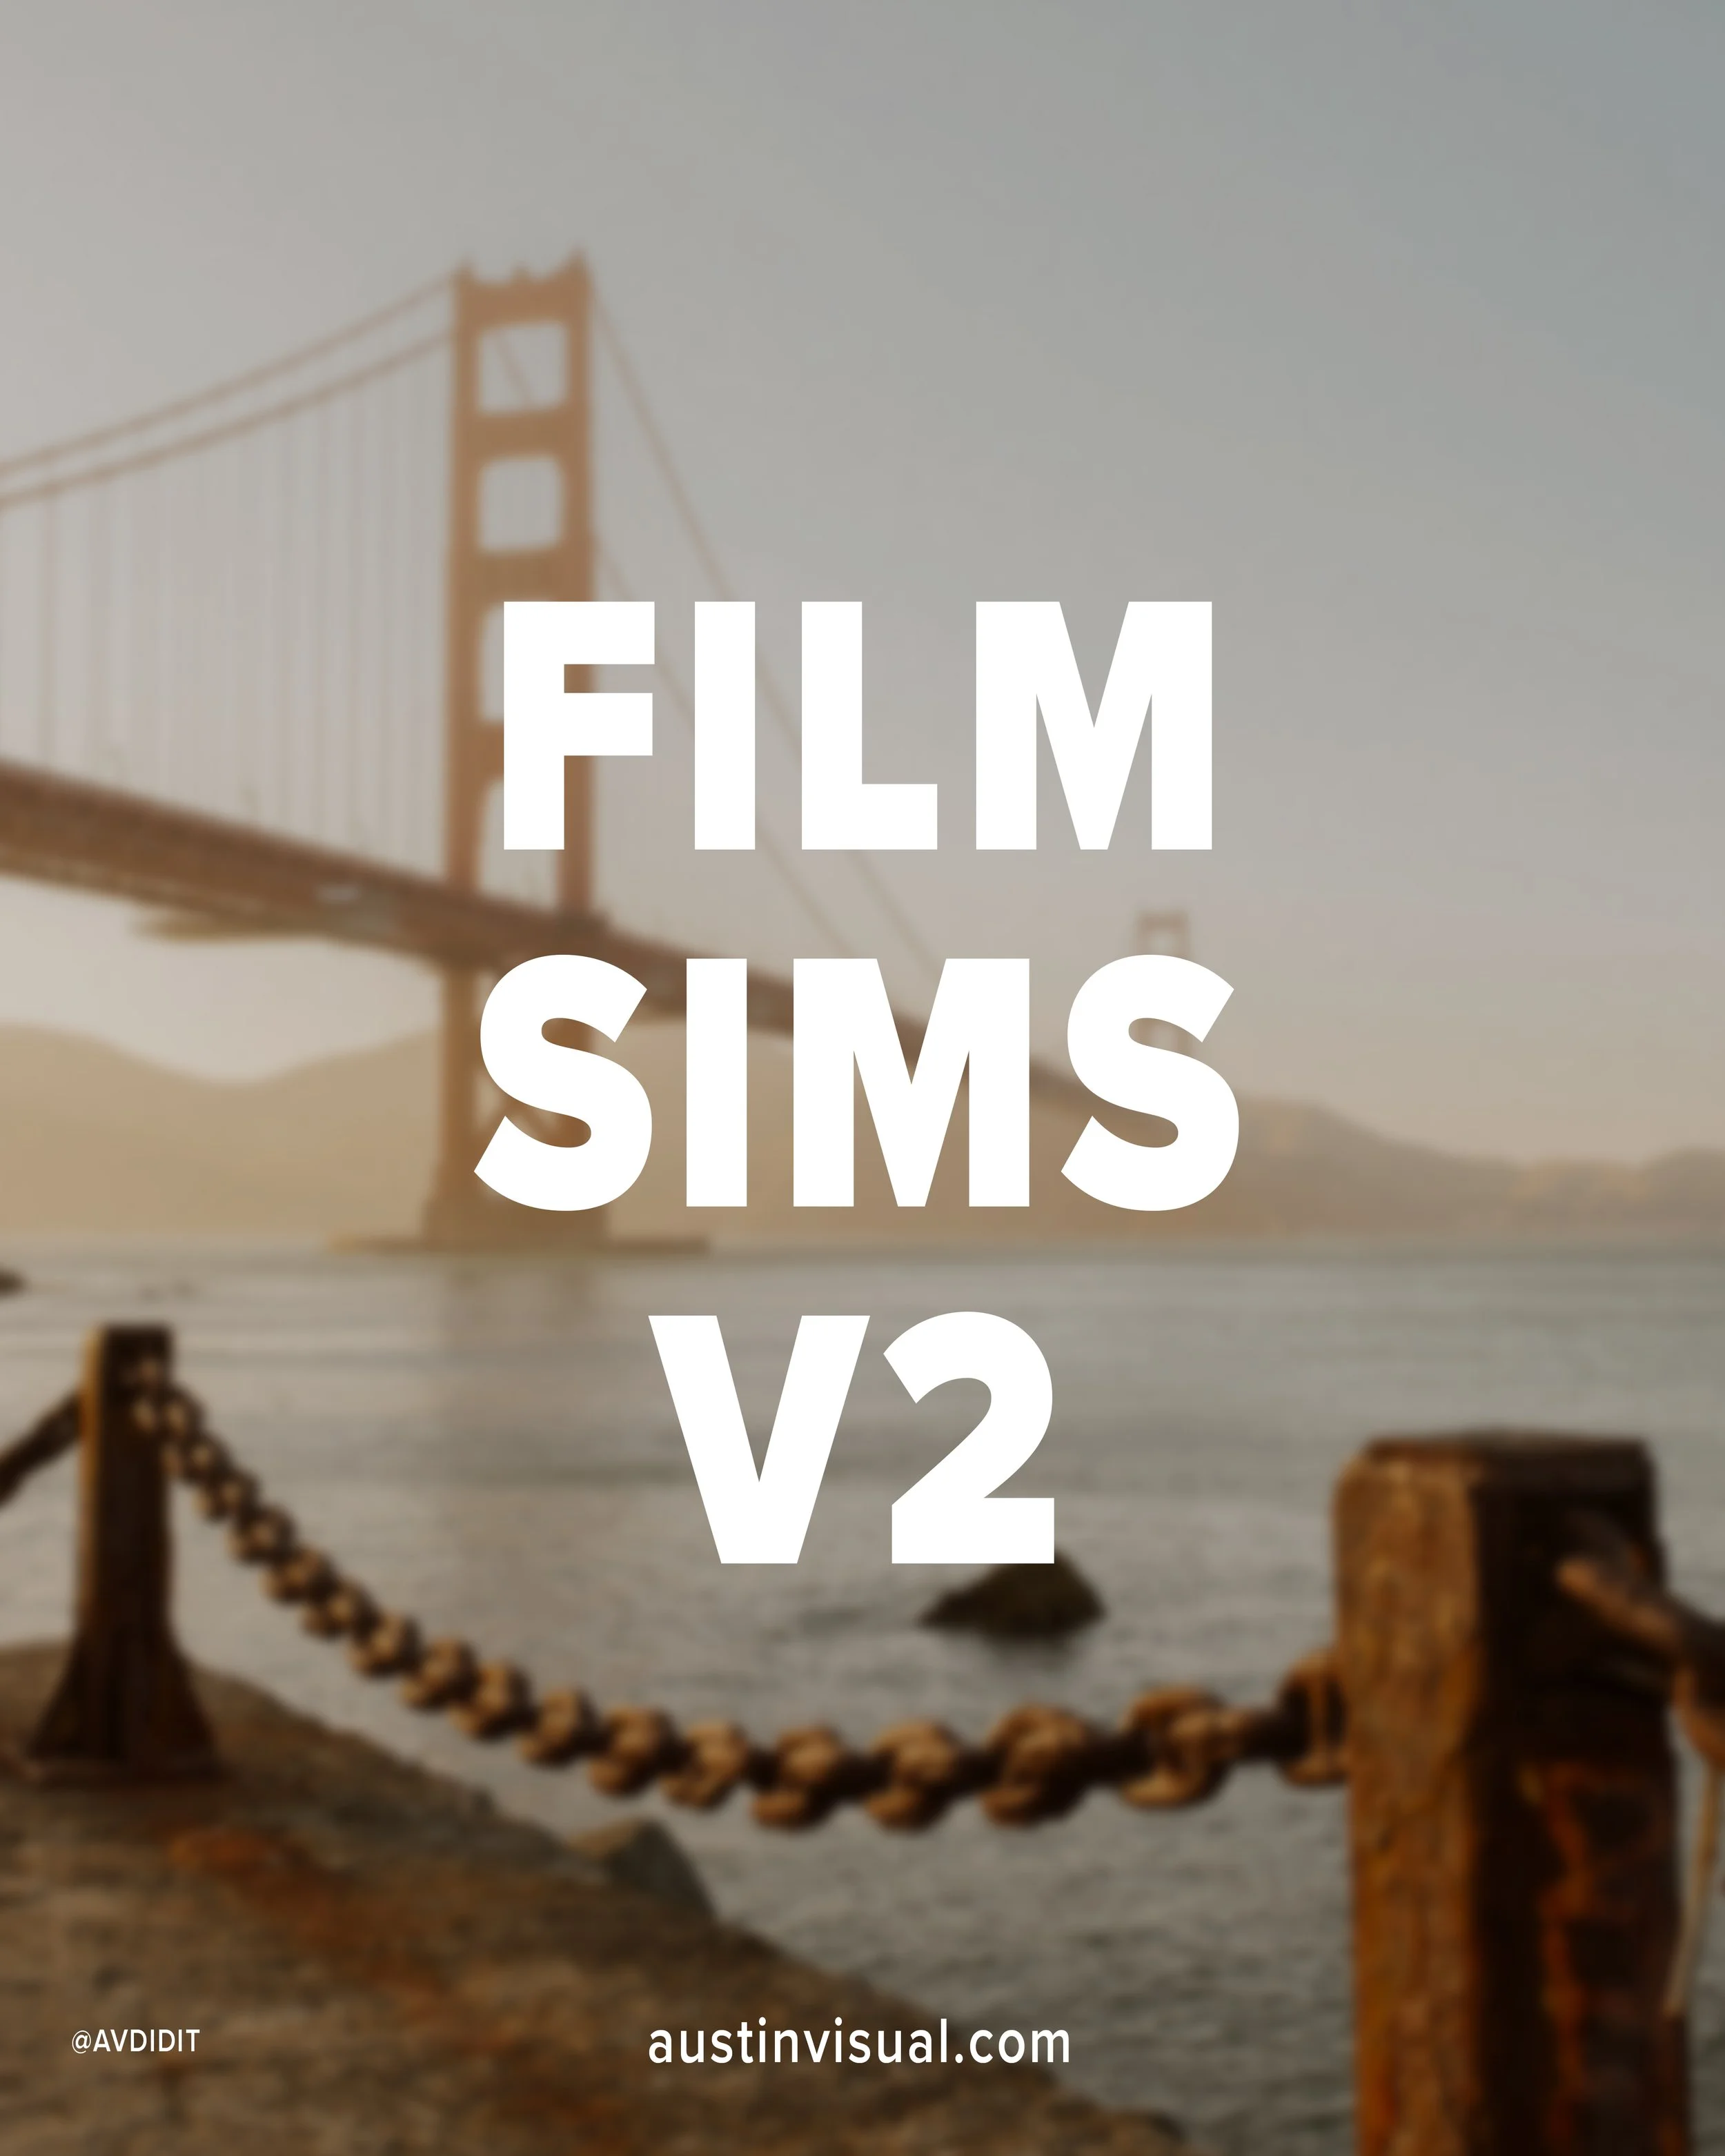
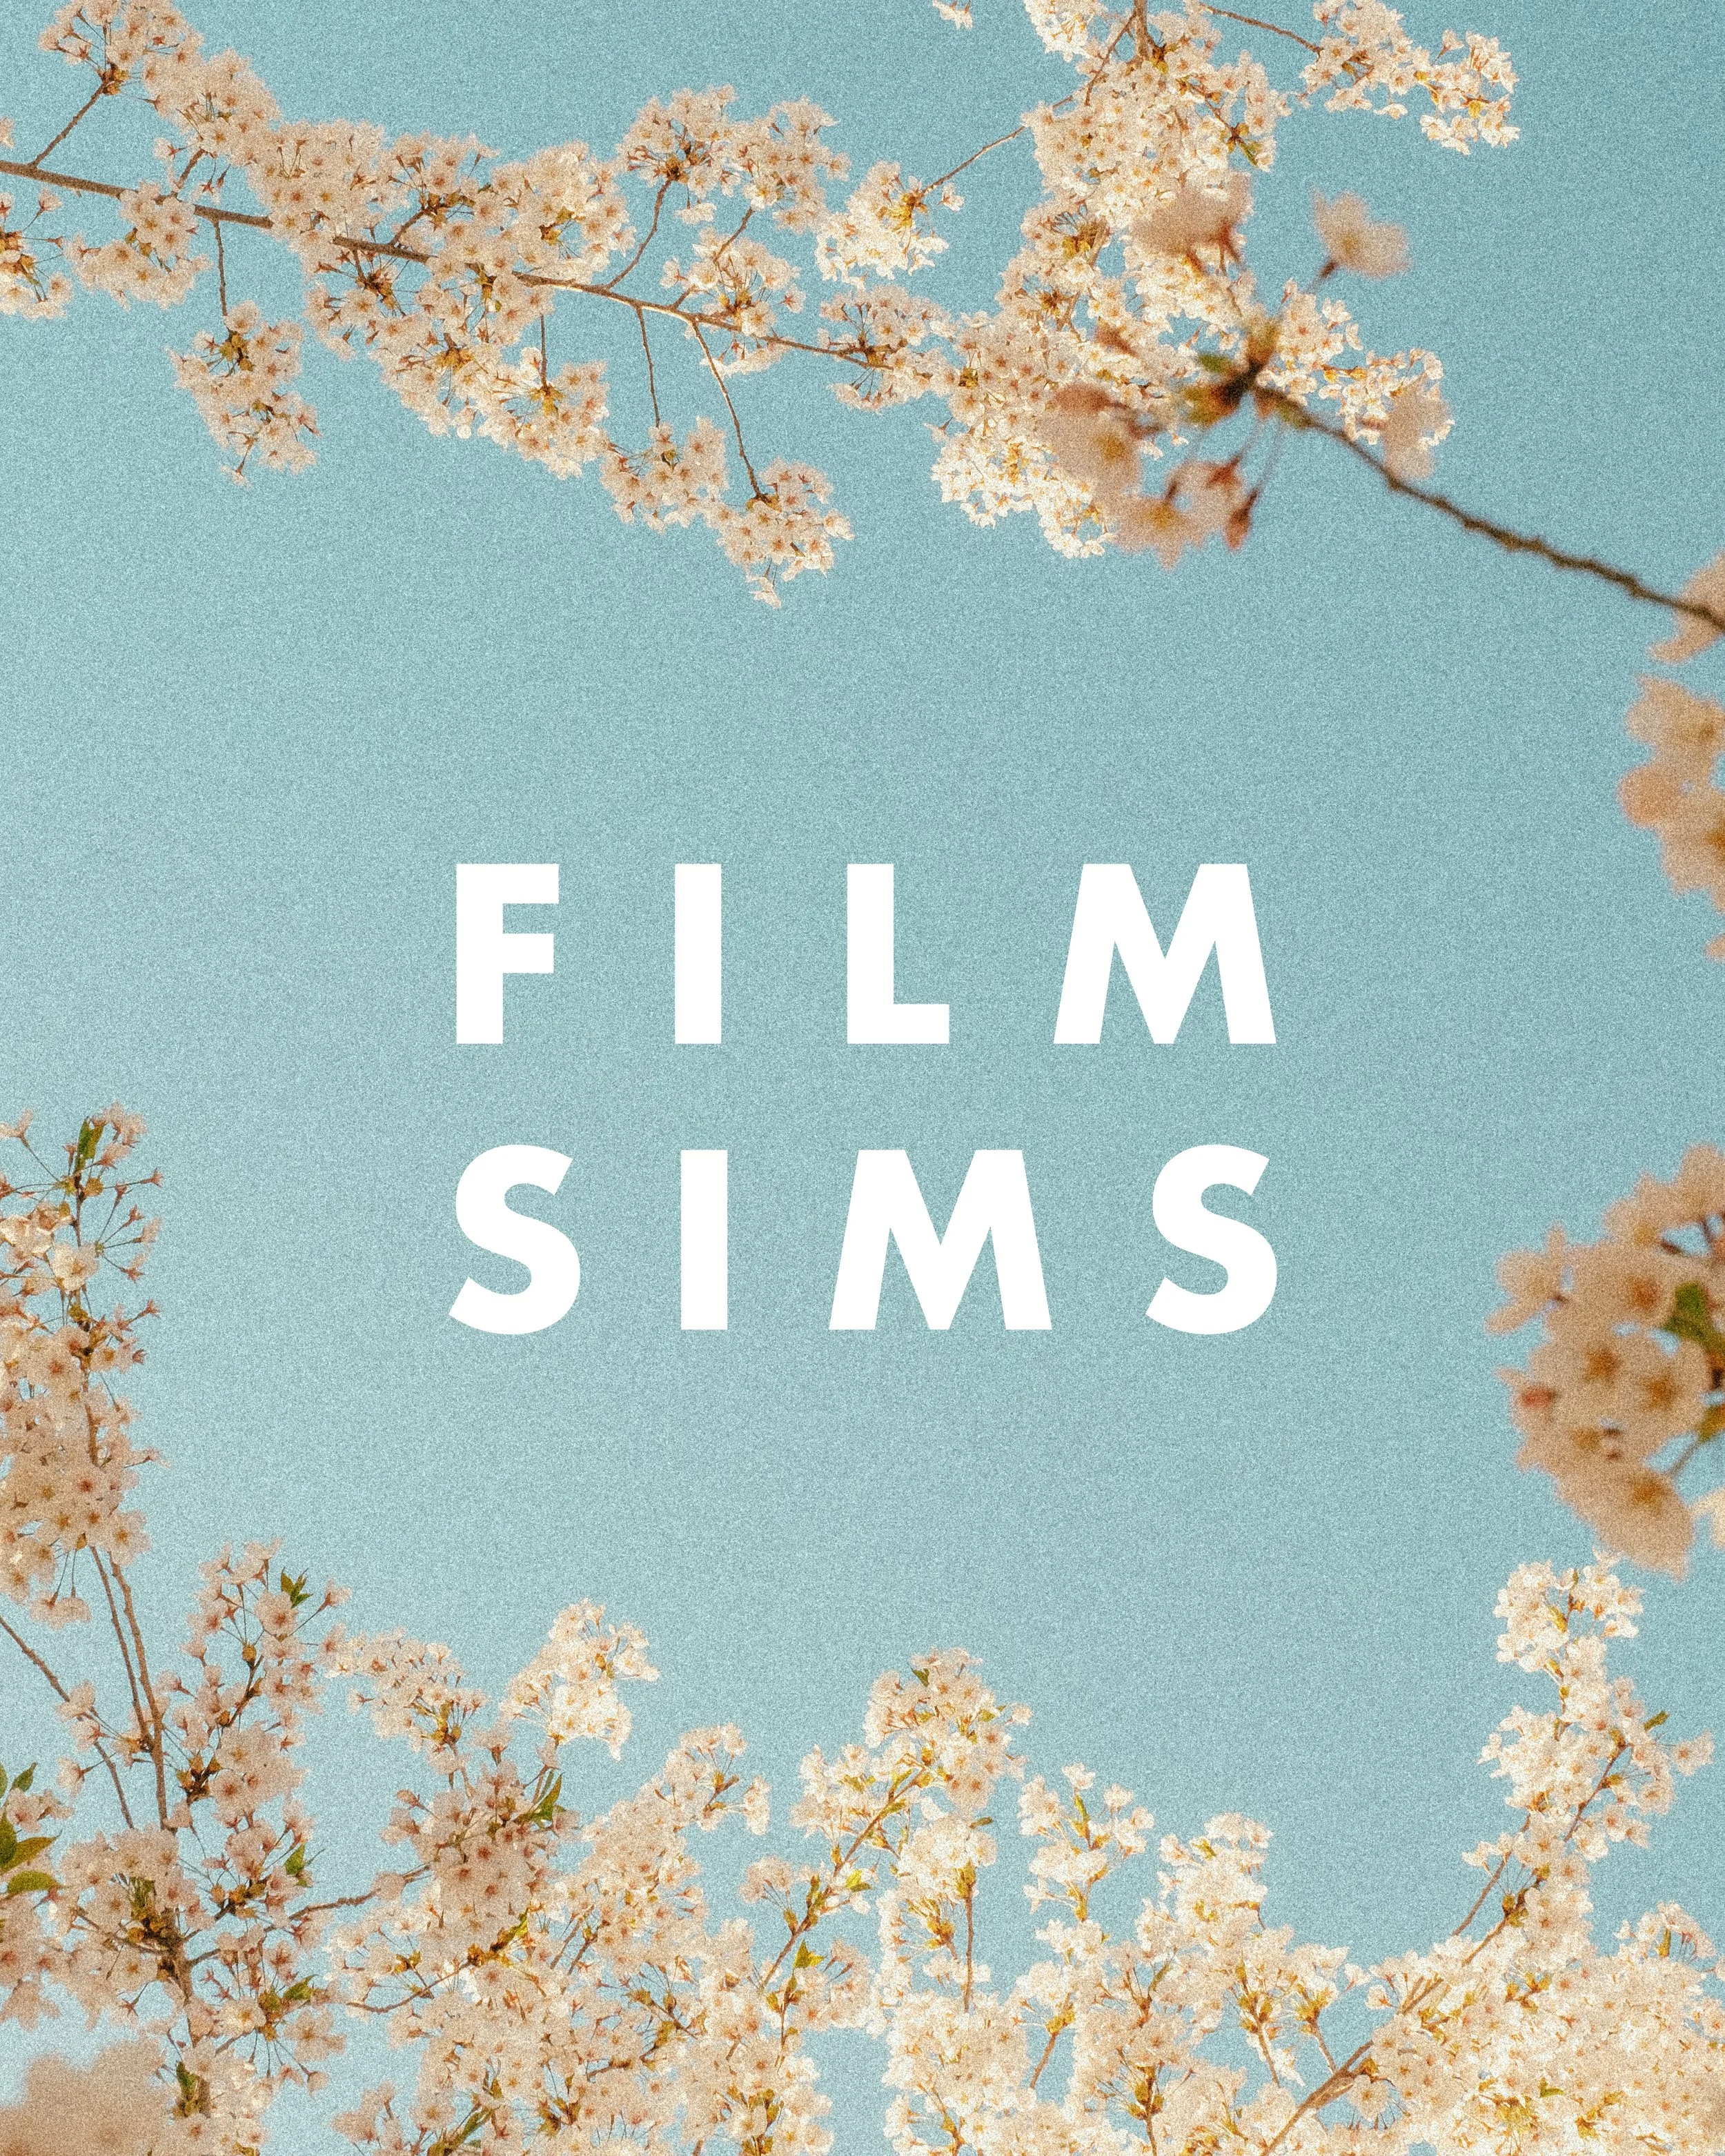

This pack provides 3 Lightroom presets inspired by film looks that should give you a solid base to work with in just a few clicks using Lightroom. This pack is the 4th and final installment of my ongoing “AV FILM SIMS” preset suite. The full suite (see bundle) includes this pack and the 3 others, giving you the base looks I use on almost all of my edits as scene on Instagram/Youtube, etc.
Each look is outlined below:
Winter - a cool blue preset created using heavy Color Tone Curve edits, inspired by winters spent in the Utah desert, but applicable to most moody, rainy, or winter scenes.
Wyoming - a clean, filmic day-light focused preset inspired by my travels to the Grand Tetons of Wyoming. Great for road trip scenes, landscapes, and mid-day photo walks.
Moab - inspired by kodak film-stocks, this preset is meant to create a soft, colorful and film-like look in one click. Inspired by some of my earliest visits to Moab, and specifically Arches, but I’ve been using it on a lot of NYC work as well!
Note: these are for DESKTOP. I use them on Lightroom Classic. These are NOT mobile presets. They do work in Lightroom Cloud via importing, and if applied to a DNG, they CAN work on Mobile, but they are not optimized for this purpose.
How to download & install:
Once you checkout from my site, you will be given access to the digital download.
Download & unzip the “zip” file.
Open LR -> File -> Import Develop Profiles and Presets.
Navigate to the unzipped folders and select them.
Click “Import.”
How to edit photos with this pack:
Ensure the image is properly exposed. Adjust the exposure slider (increase or decrease) until your exposure is even.
Explore the pack by highlighting each of the 3 looks - before clicking any, hover over each to see how they feel on your image. Click to apply the preset you like.
Make other adjustments as needed. If you have my other packs, try combining these looks with the tool kits from those! Experiment with making small slider adjustments to the tones, mess with color grading, but don’t go TOO far. Less is more with editing.
You’re done! Export & share.
Presets are non-refundable. Absolutely no re-selling under any circumstances.
Reminder: these are for LIGHTROOM CLASSIC. They are not optimized for mobile app.
When ordering, you’ll get a 24-hour download code. If you lose this code or forget to download, email me & I’ll get you another.
Be sure to sign up for my newsletter/updates with your email at checkout to receive discounts/free stuff in the future!
Not affiliated with or endorsed by any camera company.