4 Essential Tips for Street Photography

Lessons from a Year of Street Photography in NYC
I don’t consider myself a dedicated street photographer. Instead, I enjoy exploring various environments—landscapes, cityscapes, small towns, and, of course, the bustling streets of New York City. This September marks one year since I started focusing on street photography in NYC. As I look back at the photos I've taken, I see a noticeable improvement in my work, especially when viewed chronologically.
Over this year, I've picked up specific street photography techniques that have significantly enhanced my photos. These tips may also help you, whether you're just starting out or looking to refine your skills.
Quick Note: I've shot street photography in other cities before, so this isn't my first rodeo. However, it's the first time I've devoted a full year to this genre. I'm not an expert, but I love the craft, and I'm constantly looking for ways to improve. This blog is written in that spirit, hoping you'll find something useful for your own street photography journey.
Have a Reason for Every Photo
Picture this: you're on the street, you take a photo of someone, and they notice. They approach you, asking why you took their picture. For many, this is a daunting situation. After spending a year in NYC, I've had this happen multiple times. And I'm still here, unharmed, because I always have a clear, communicable reason for each photo I take, especially when it involves people.
Knowing why you're taking a photo makes it easier to manage any interactions and explain yourself. Let’s take a look at this photo here - I got a photo of a man feeding pigeons at Washington Square Park. If he had asked, I could easily explain that his unique action drew me to the scene, making it worthy of a photograph.

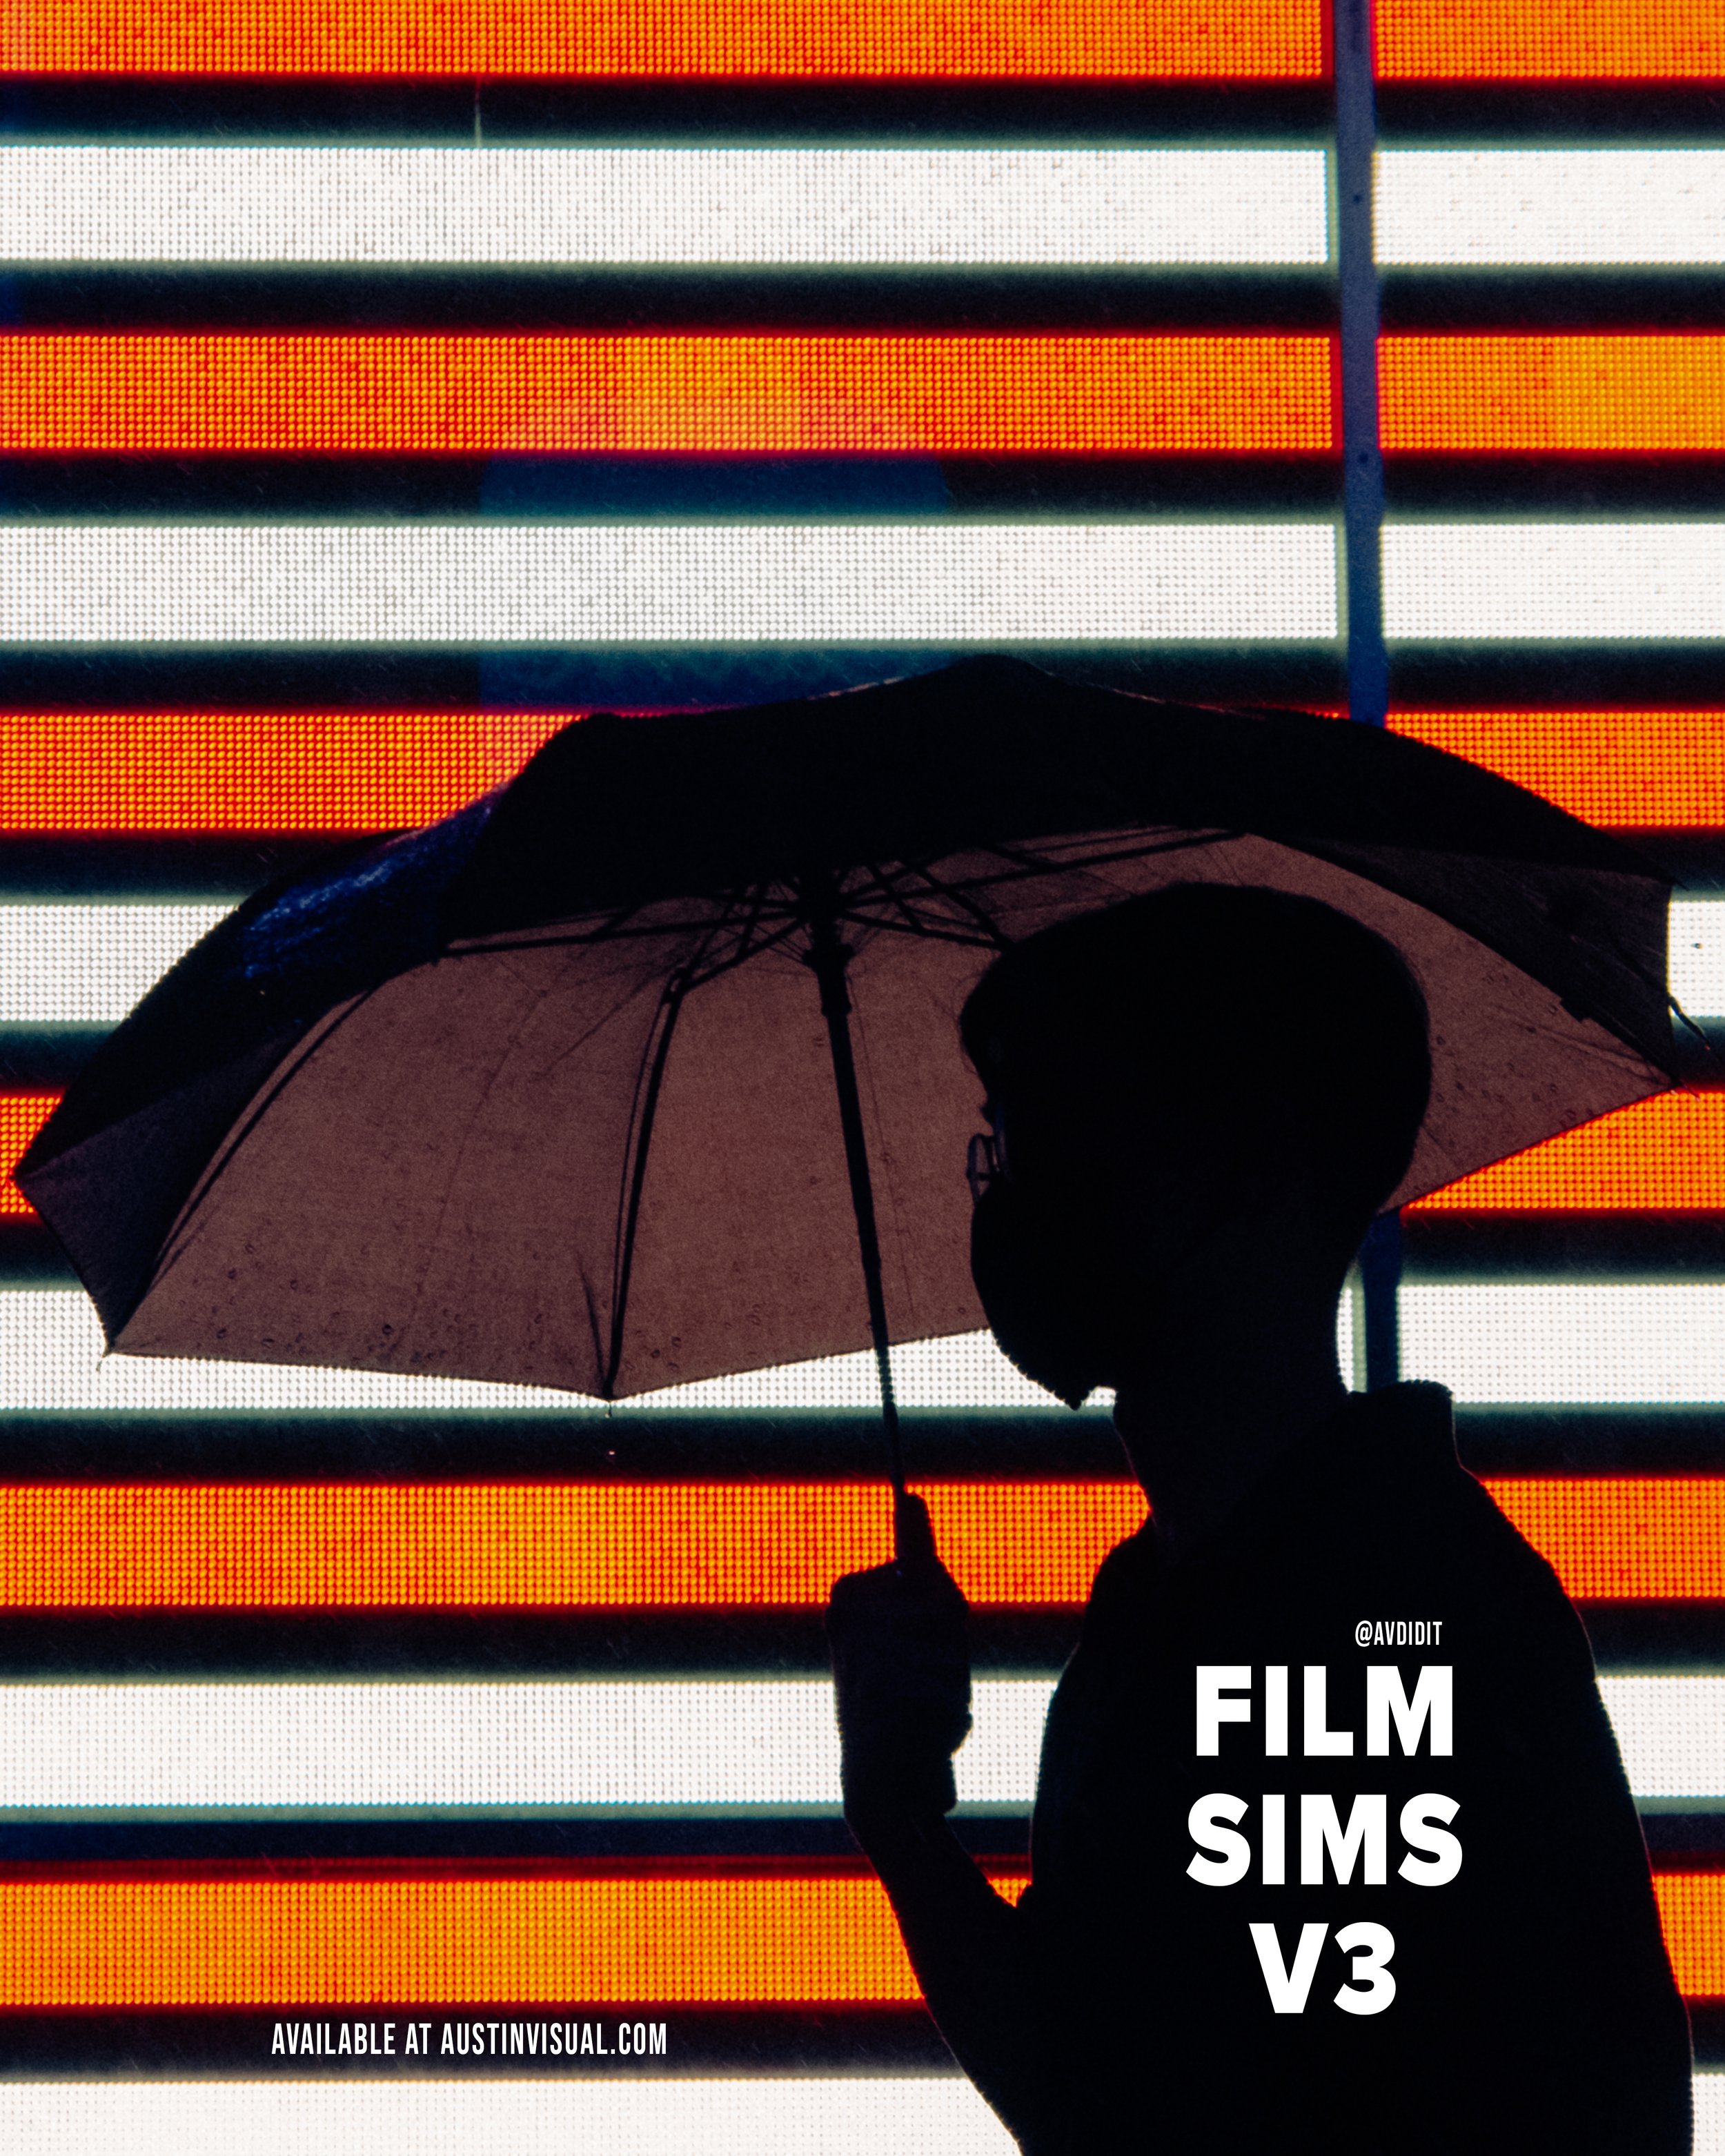
Let’s take a look at another example - I photographed a family silhouetted against a bright, colorful screen in Times Square back in February. The aesthetic appeal of their silhouettes against the brightly lit sign was my reason for taking the shot. If they ask, I’d simply explain that to them, or even just show my them screen, since I’m shooting with digital cameras.

Being able to articulate the 'why' behind your photos not only helps in potentially awkward situations but also adds a layer of intentionality to your work. If you're shooting film, be even more prepared to explain, as you can't show them the image immediately.
Commit to One Focal Length

While I still use a zoom lens occasionally, I've found that sticking to a single prime lens for photography, especially street photography, has significantly improved my work and made the process a whole lot easier.
There are a couple reasons why using a prime lens for street photography has helped me:
Consistency: Focal lengths greatly impact the look and feel of your images. By committing to one, you can build a consistent style across your portfolio.
Creativity: The constraint of using just one lens forces you to think creatively, and put in a little work to get the proper composition. Instead of relying on zoom, you move your body to get the perfect shot. This process has pushed me to explore different angles and perspectives, making my compositions stronger.
Mastery: The more you use one focal length, the closer you get to mastering it. For me, sticking to a 23mm lens has been a game-changer, and it might be worth trying for you as well.
Less gear = less weight: There’s nothing worse than carrying a giant camera bag around a city for a day. One of the best things about using a prime lens and sticking with it is… you don’t have to carry a bunch of other gear.
Photograph a Variety of Subjects

When people think of street photography, they often imagine candid shots of people. While capturing people is a significant part of the genre, street photography can encompass much more. I define it as capturing any element that reflects human presence or urban life. This includes everything from people to still life objects, shapes, shadows, and reflections.
I've enjoyed photographing restaurants, cafes, and bars, often catching them in interesting lighting or with unique setups. Some of my favorite street photos have come from this approach. I also keep an eye out for textures, reflections, and abstract elements, which keep the experience fresh and exciting. If you're not comfortable photographing people, these other elements can offer a fulfilling alternative.


Repetition and Practice
Let's face it: most days, you won't capture a perfect shot. My goal is usually to get just one "shareable" image per session—something good enough for Instagram or to share with friends. Many days, even that modest goal is tough to achieve.
That's why repetition is key. The more you go out and shoot, the more opportunities you have to capture something special. I've noticed that the more time I spend on the streets, the better my photos become. It’s all about putting in the miles and honing your skills.
This also helps you become more comfortable in your environment. The first few times I shot in NYC, I was a bit nervous. But as the days went by, I felt more and more at ease, like I belonged there. The more time you spend on street photography, the more confident and creative you'll become.
Conclusion
That about wraps it up for this blog. Don't forget to subscribe to my newsletter (see the box below) if you enjoyed this content and want more content like this in the future!
Visit my youtube for more content as well: https://www.youtube.com/@avdidit
Help support my work by exploring the available products below!
This pack provides 3 Lightroom presets inspired by film looks that should give you a solid base to work with in just a few clicks using Lightroom. This pack is the 4th and final installment of my ongoing “AV FILM SIMS” preset suite. The full suite (see bundle) includes this pack and the 3 others, giving you the base looks I use on almost all of my edits as scene on Instagram/Youtube, etc.
Each look is outlined below:
Winter - a cool blue preset created using heavy Color Tone Curve edits, inspired by winters spent in the Utah desert, but applicable to most moody, rainy, or winter scenes.
Wyoming - a clean, filmic day-light focused preset inspired by my travels to the Grand Tetons of Wyoming. Great for road trip scenes, landscapes, and mid-day photo walks.
Moab - inspired by kodak film-stocks, this preset is meant to create a soft, colorful and film-like look in one click. Inspired by some of my earliest visits to Moab, and specifically Arches, but I’ve been using it on a lot of NYC work as well!
Note: these are for DESKTOP. I use them on Lightroom Classic. These are NOT mobile presets. They do work in Lightroom Cloud via importing, and if applied to a DNG, they CAN work on Mobile, but they are not optimized for this purpose.
How to download & install:
Once you checkout from my site, you will be given access to the digital download.
Download & unzip the “zip” file.
Open LR -> File -> Import Develop Profiles and Presets.
Navigate to the unzipped folders and select them.
Click “Import.”
How to edit photos with this pack:
Ensure the image is properly exposed. Adjust the exposure slider (increase or decrease) until your exposure is even.
Explore the pack by highlighting each of the 3 looks - before clicking any, hover over each to see how they feel on your image. Click to apply the preset you like.
Make other adjustments as needed. If you have my other packs, try combining these looks with the tool kits from those! Experiment with making small slider adjustments to the tones, mess with color grading, but don’t go TOO far. Less is more with editing.
You’re done! Export & share.
Presets are non-refundable. Absolutely no re-selling under any circumstances.
Reminder: these are for LIGHTROOM CLASSIC. They are not optimized for mobile app.
When ordering, you’ll get a 24-hour download code. If you lose this code or forget to download, email me & I’ll get you another.
Be sure to sign up for my newsletter/updates with your email at checkout to receive discounts/free stuff in the future!
Not affiliated with or endorsed by any camera company.