Fujifilm X-T5 vs X-H2S: WHICH IS RIGHT FOR YOU?
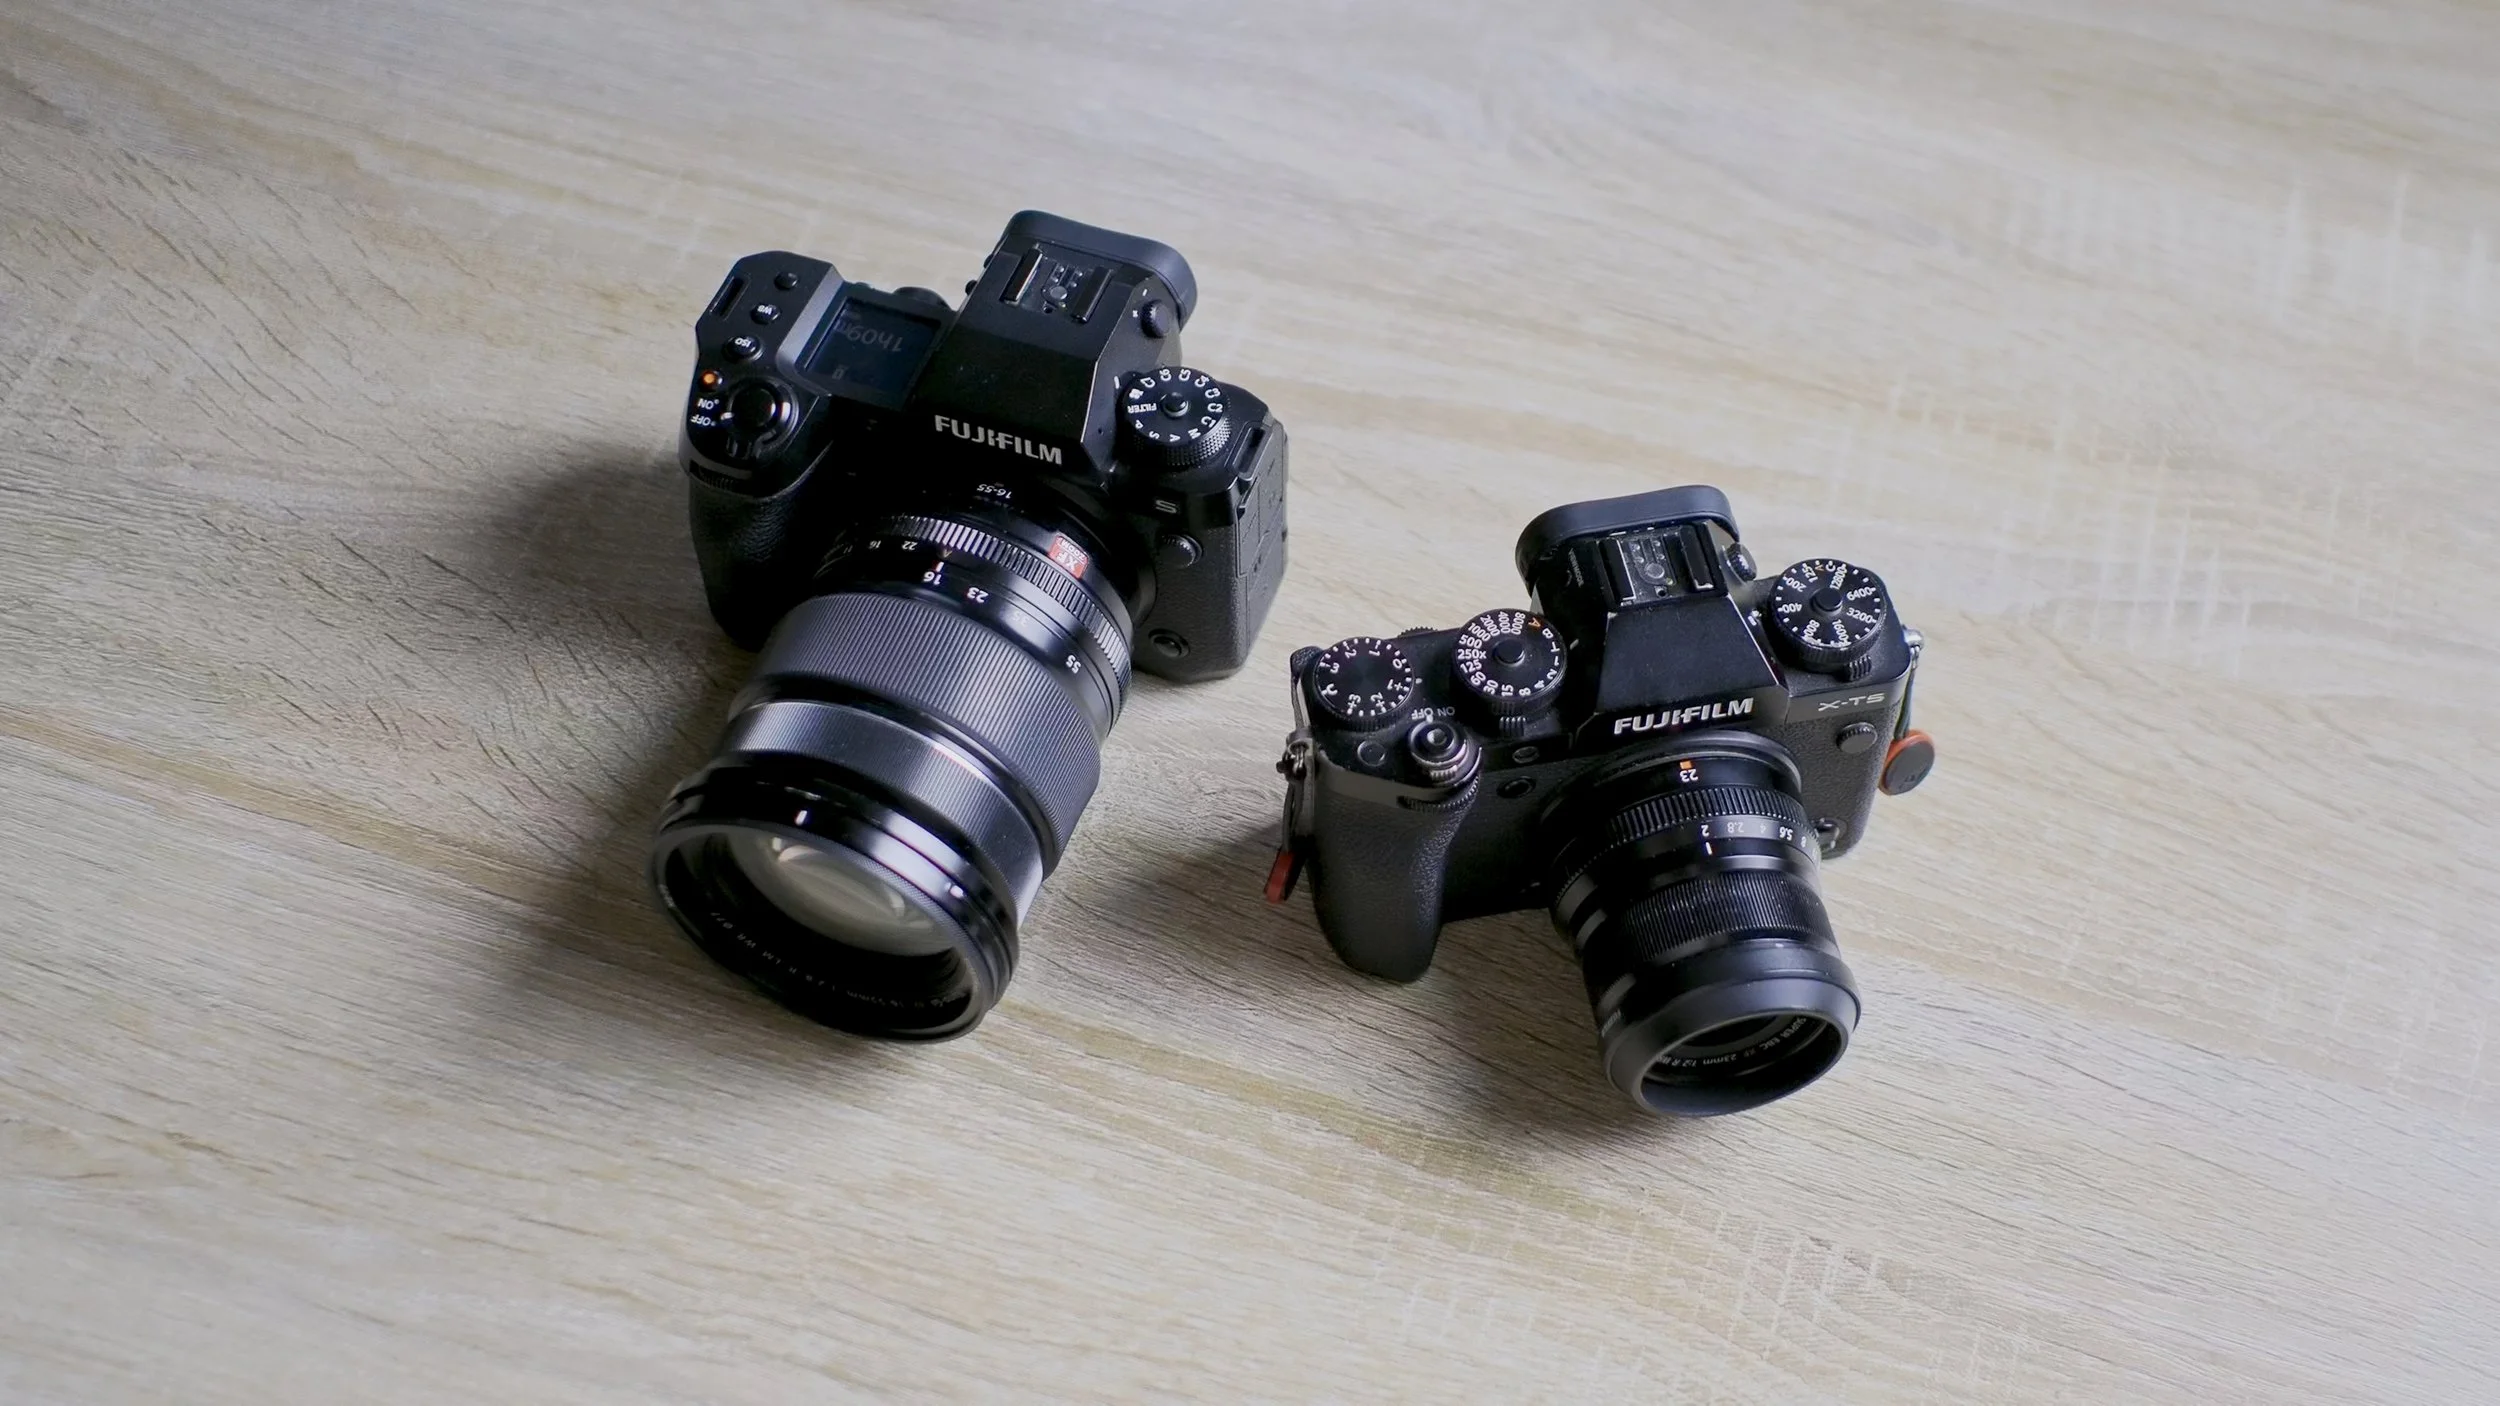
This post contains Amazon affiliate links. If you make a purchase through these links, I may earn a small commission at no additional cost to you.Last fall, I added both the Fujifilm X-T5 and X-H2S to my kit and have since been using them in tandem as my main cameras. Now that I’ve spent several months with both, I wanted to share my perspective, talk through some key differences, and explain which situations make me prioritize one over the other.
If you’re considering picking up either of these cameras, I hope this post helps you make a decision. I know this might be a bit late in the product life cycle, but since neither camera has confirmed successors yet, I figure this comparison could still be useful to some folks exploring the Fuji market. After all, these two still remain the top of the Fujifilm lineup.
Both cameras boast flagship-level features but come with their own strengths and weaknesses. And of course, there are notable differences in their respective designs, and of course, in their photo and video capabilities.
Note - this blog is not going to be a perfect or complete spec-by-spec comparison, but rather a focus on the aspects I’ve noticed in my own work that impact the experience most.
Design & Ergonomics: ThE BASICS
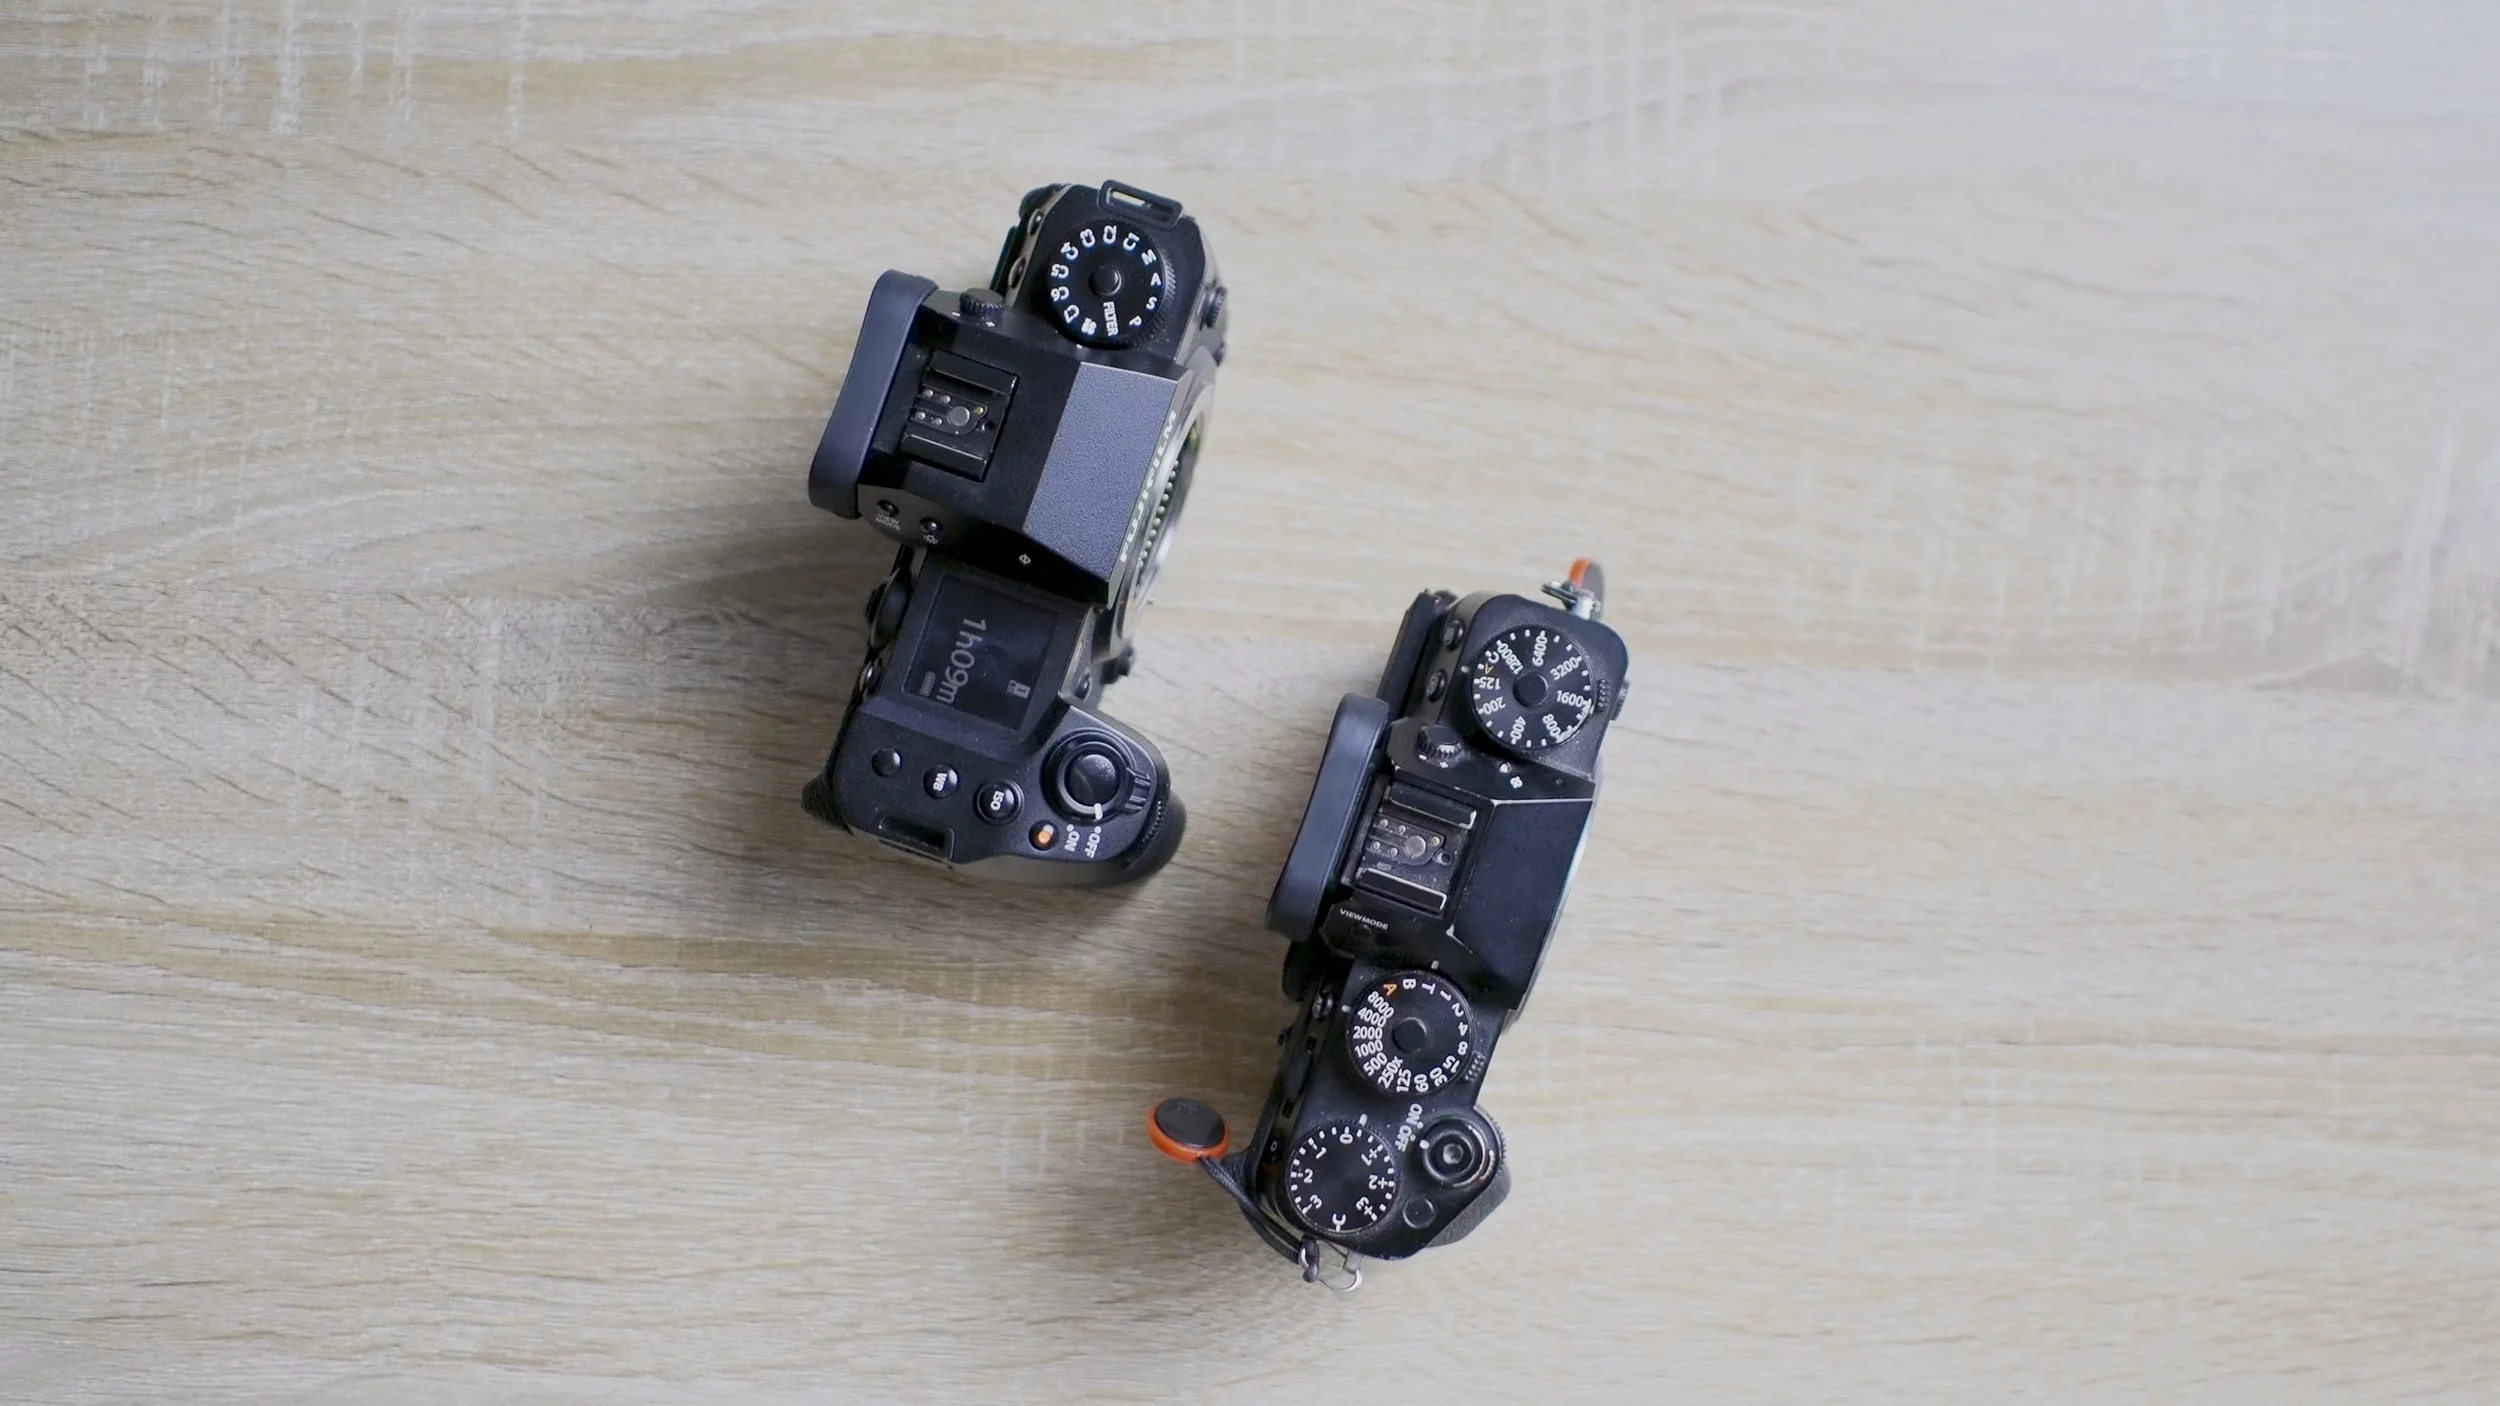
The most obvious differences are in their design and feel.
X-H2S: Bigger, about 100 grams heavier than the X-T5, and has a bulkier DSLR-style build. It has a deep grip that feels balanced, especially with larger lenses. The body is clearly designed for function over anything else, featuring a main shooting mode dial on the left, including still, movie, other shooting modes, and seven customizable mode slots you can bake your own settings into.
X-T5: Smaller, lighter, and with a classic film camera-inspired body, including physical film-like dials across the top for exposure settings. It lacks physical custom mode dials but includes a unique Still/Movie switch on the shutter speed dial, allowing instant switching between photo and video without looking or navigating menus — a feature I use constantly for hybrid shooting.
The X-H2S’s custom modes let me pre-program settings for different scenarios, like daylight 4K log video or tungsten-balanced log video, so I can quickly switch without missing moments.
Contrastly, although it doesn’t offer a physical dial for custom modes, the X-T5’s STILL/MOVIE dial has been incredibly useful for someone like me who wants to quickly swap between photo & video on the go so I can get both photographs and some b-roll at a scene.
Screen Differences BETWEEN THE X-H2S AND X-T5
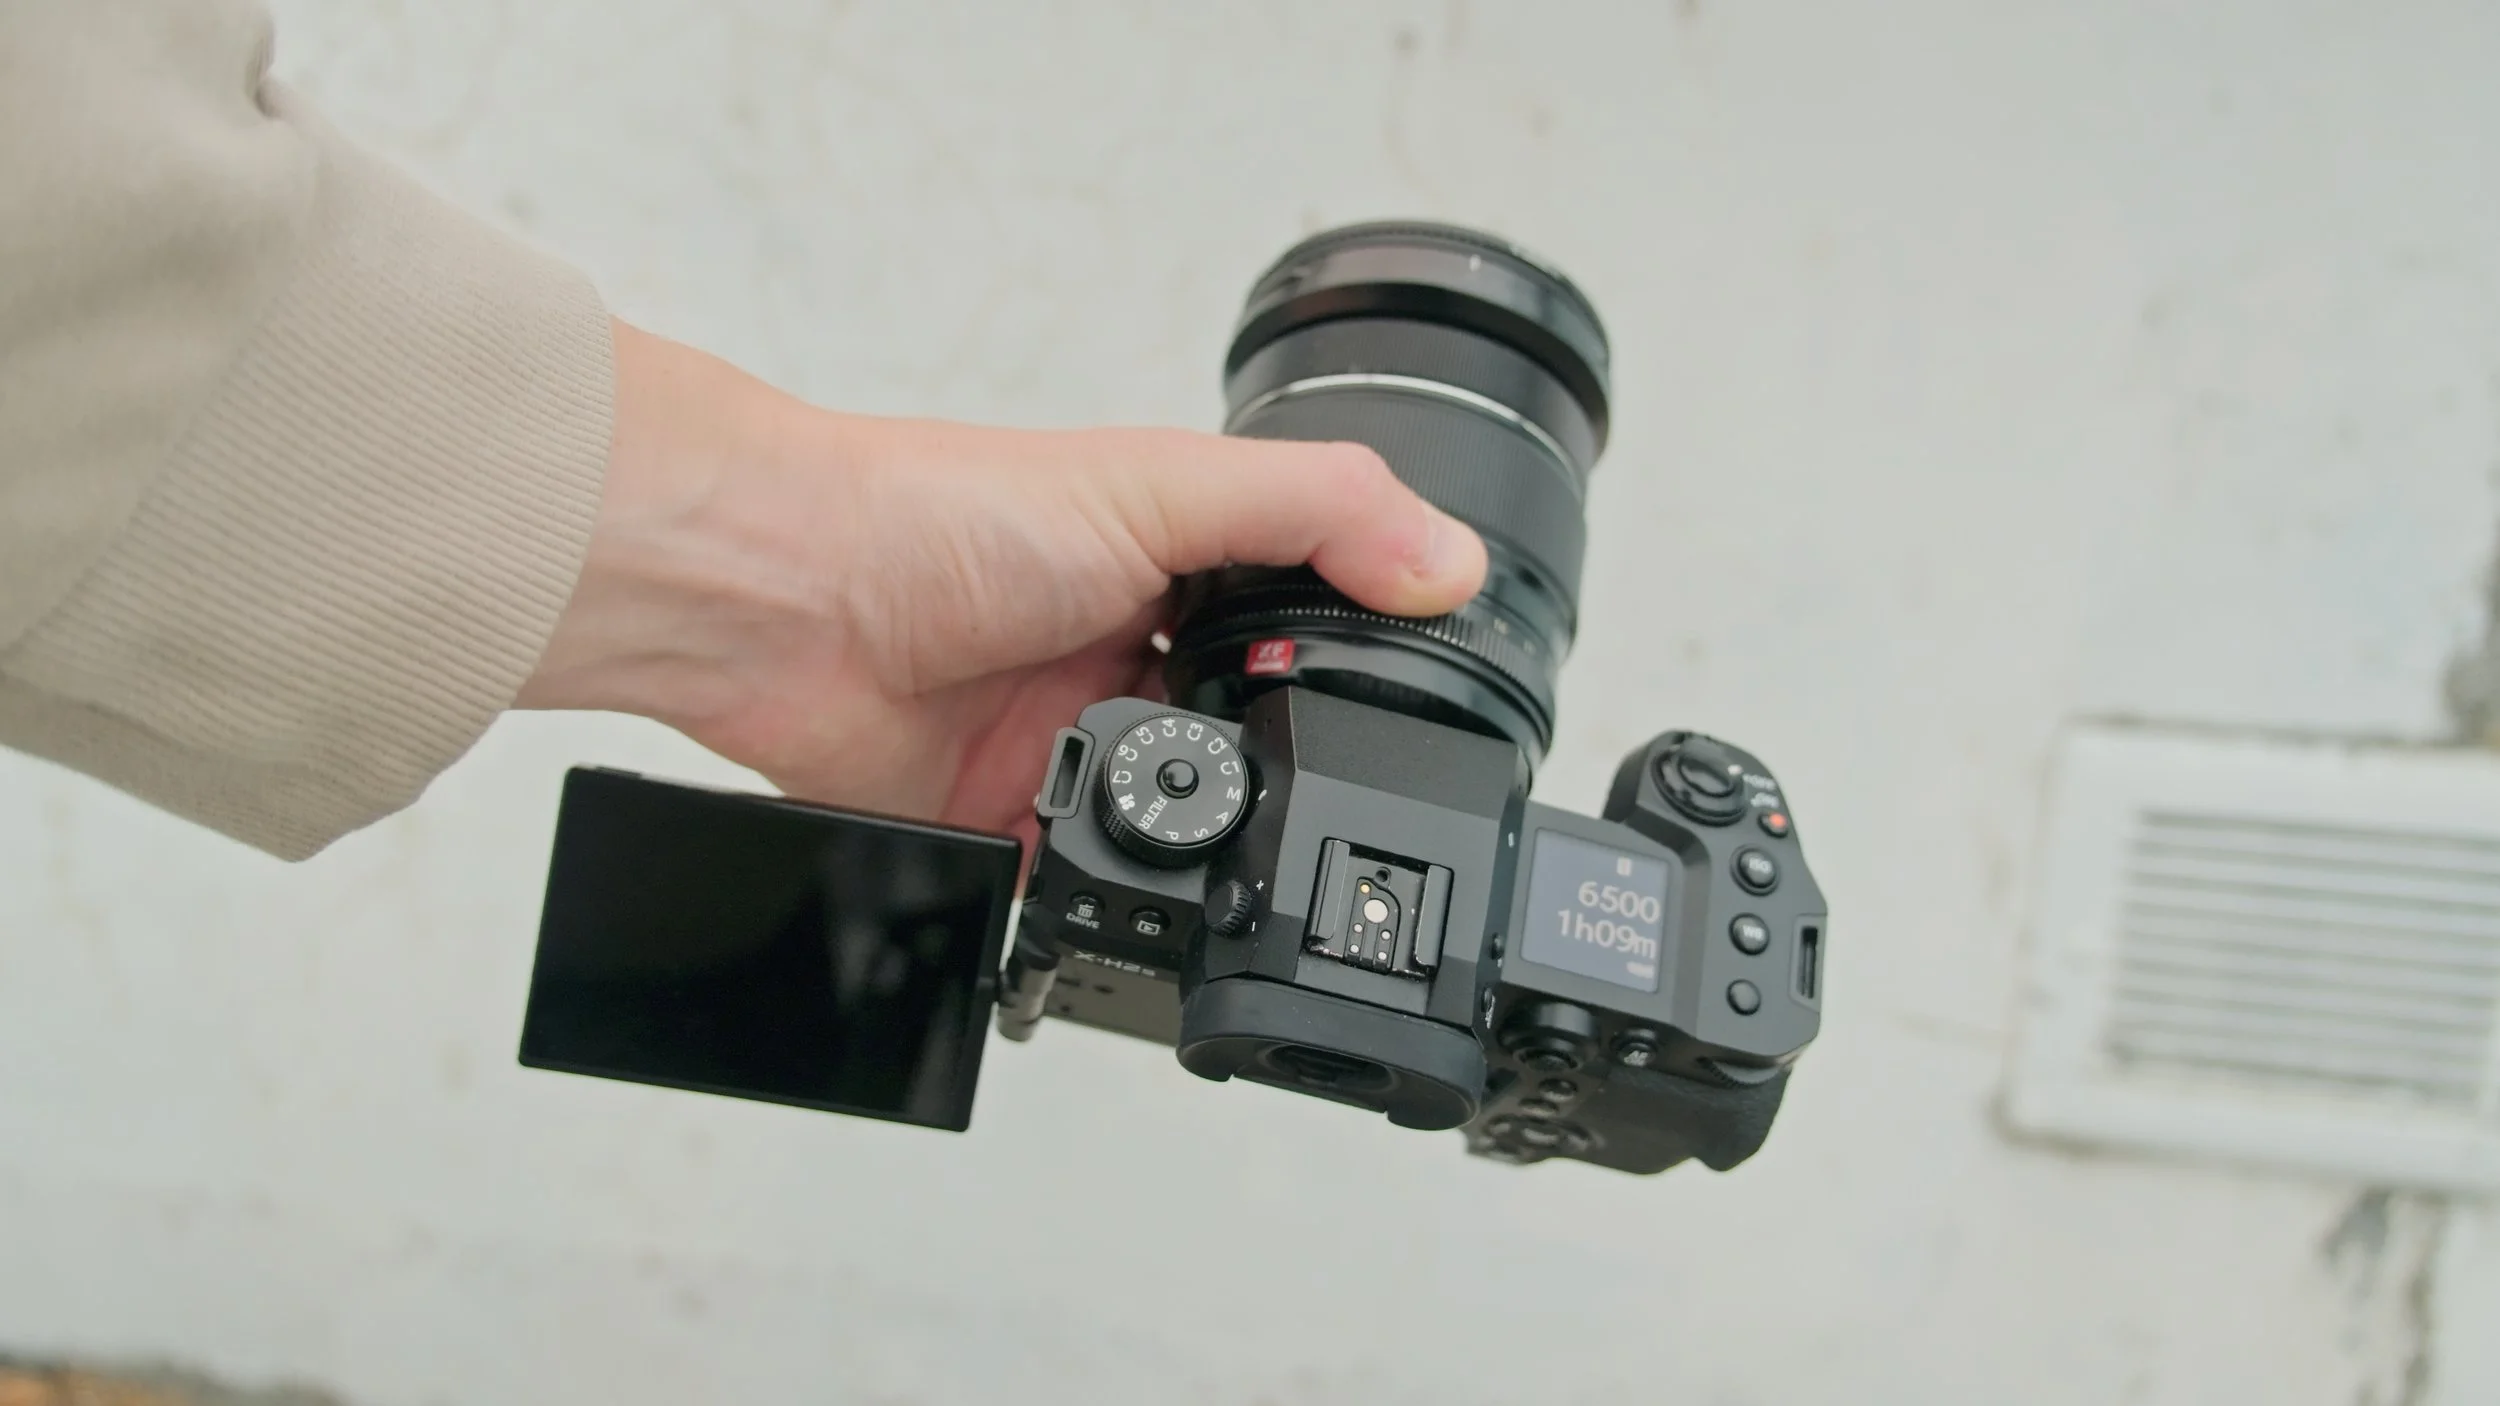
The X-H2S has an articulating screen, which is great for filming yourself or shooting at tricky angles. This screen has been a god-send for my A-ROLL clips on my YouTube channel, and in general, anytime I want to capture video of myself either in my office or out in the field.
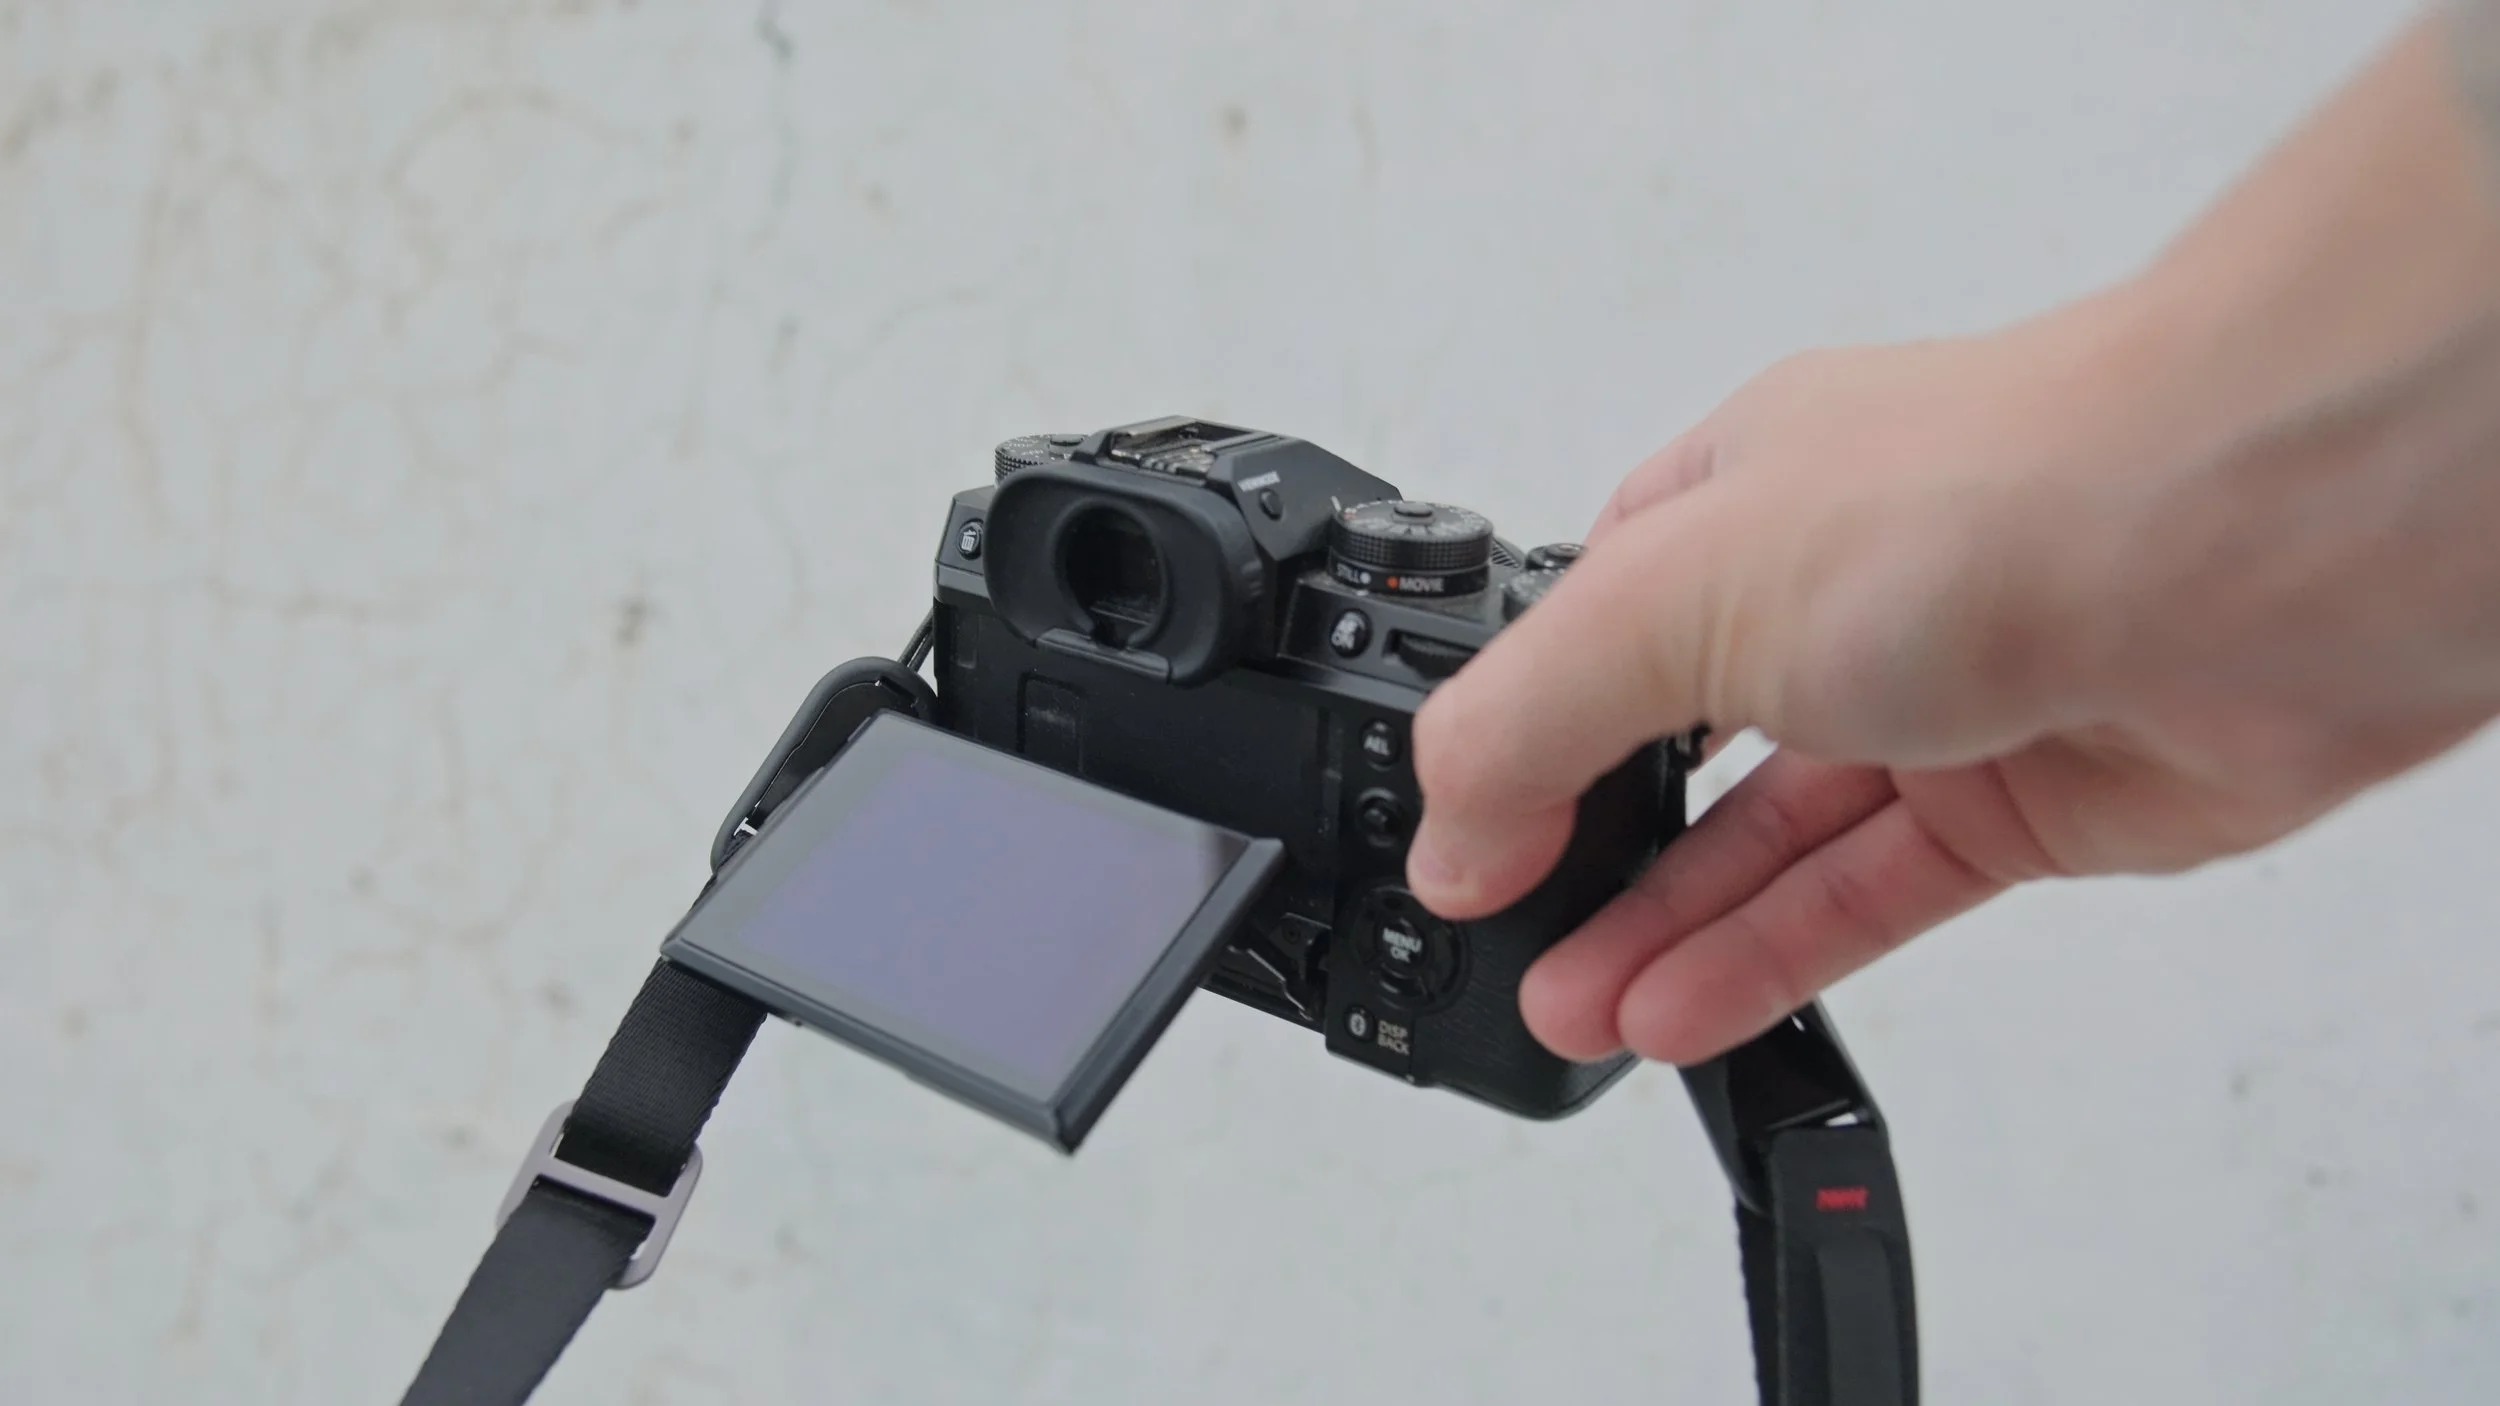
The X-T5 has a tilting LCD that moves up/down and sideways, great for waist-level or overhead shooting in both portrait and landscape. Good enough for most cases.
I personally prefer the X-T5’s screen for street photography because the articulating screen on the X-H2S sometimes gets in the way when pulled out. But for content creation and client work, the flexibility of the X-H2S’s screen is a game changer and acts as another indication of this camera being designed as a “workhorse.”
Handling & Workflow
The X-T5’s design encourages slow, deliberate adjustments—much like shooting film—which I find makes me a more thoughtful photographer. The X-H2S feels more streamlined for quick work, making it ideal for client shoots or fast-paced projects.
Image Quality Specs

The biggest spec difference when it comes to image quality is sensor resolution.
The Fujifilm X-T5 has a 40 megapixel sensor, with the X-H2S coming in with a 26 megapixel sensor.
Honestly, I don’t stress too much about image quality these days since modern cameras all produce excellent results. However, I do appreciate the extra resolution on the X-T5, especially for cropping heavily in street photography, which I’ve been doing a LOT lately, especially with my tighter, detail-focused street photos.
Regarding low-light performance, although many say the X-H2S is better, and from a “technical” perspective, it likely is, I actually prefer the noise and character of the X-T5’s files at higher ISOs. The way those images render suits my editing style better.
At the end of the day, both of these cameras have very good still photo image quality. 26 megapixels is more than enough for 99% of situations, and 40 megapixels could arguably even be overkill in some cases.
Video Capabilities
Although both have solid image quality, video specs are where the X-H2S clearly stands out as the workhorse:
It offers full open gate 6.2K recording, a feature I’ve been using more often, especially for client projects. This gives incredible flexibility for cropping and different aspect ratios later in post production.
4K up to 120fps for slow motion. I honestly don’t use this alot, but the fact that you could… cool.
The X-T5 may not have AS strong of a video spec suite, but it’s no joke:
The X-T5 can shoot up to 6.2K or 4K 60fps but with a crop and no open gate.
Both cameras support F-Log and F-Log 2. The X-H2S’s base ISO in F-Log 2 is 1250 (versus 1000 on the X-T5), which I find more useful in low light.
On my channel, I’ve been mixing footage from both cameras - usually b-roll from the X-T5 and A-roll from the X-H2S, but in a lot of cases, its a mix across both. If I had to choose based on video specs alone, the X-H2S is the clear winner, but I’ve never had an issue with either camera’s video files in post production, color grading, or playback after export.
I’ve also found that Fujifilm’s LOG profiles are pretty consistent across both cameras, so 2 videos shot in the same scene from each camera can pretty easily be color graded to match without any fuss. This makes integrating footage from across both incredibly easy.
When Do I Use Each?
X-T5:
Primarily when photography is my main focus.
Great for travel, street photography, and landscapes.
Offers high resolution and files with character I love.
More fun and comfortable to use.
Ideal for day-to-day carry when shooting mostly stills, with video as a nice bonus.
X-H2S:
My go-to for video-heavy shoots and client projects.
Perfect when I need a reliable, workhorse camera.
More professional features geared toward efficient workflow.
Feels more clinical and DSLR-like — less inspiring but more dependable.
Better suited for commercial or hybrid photo/video work.
Which Should You Pick?
If forced to pick one, I’d choose the X-T5 — not because it’s better overall, but because it inspires me more and feels better in my hands. It has the classic film dial layout and emotional ties (the X-T3 was my first Fujifilm camera and favorite for years).
Summary:
Choose the X-T5 if you’re primarily a photographer looking for portability, resolution, and a fun shooting experience.
Choose the X-H2S if you’re more focused on video or hybrid shooting, especially commercial or professional work, where features and speed matter.
Both cameras are well equipped and capable, and either will produce great photos and videos. You’ll likely be happy with whichever you pick.
Help support my work by exploring my products below!

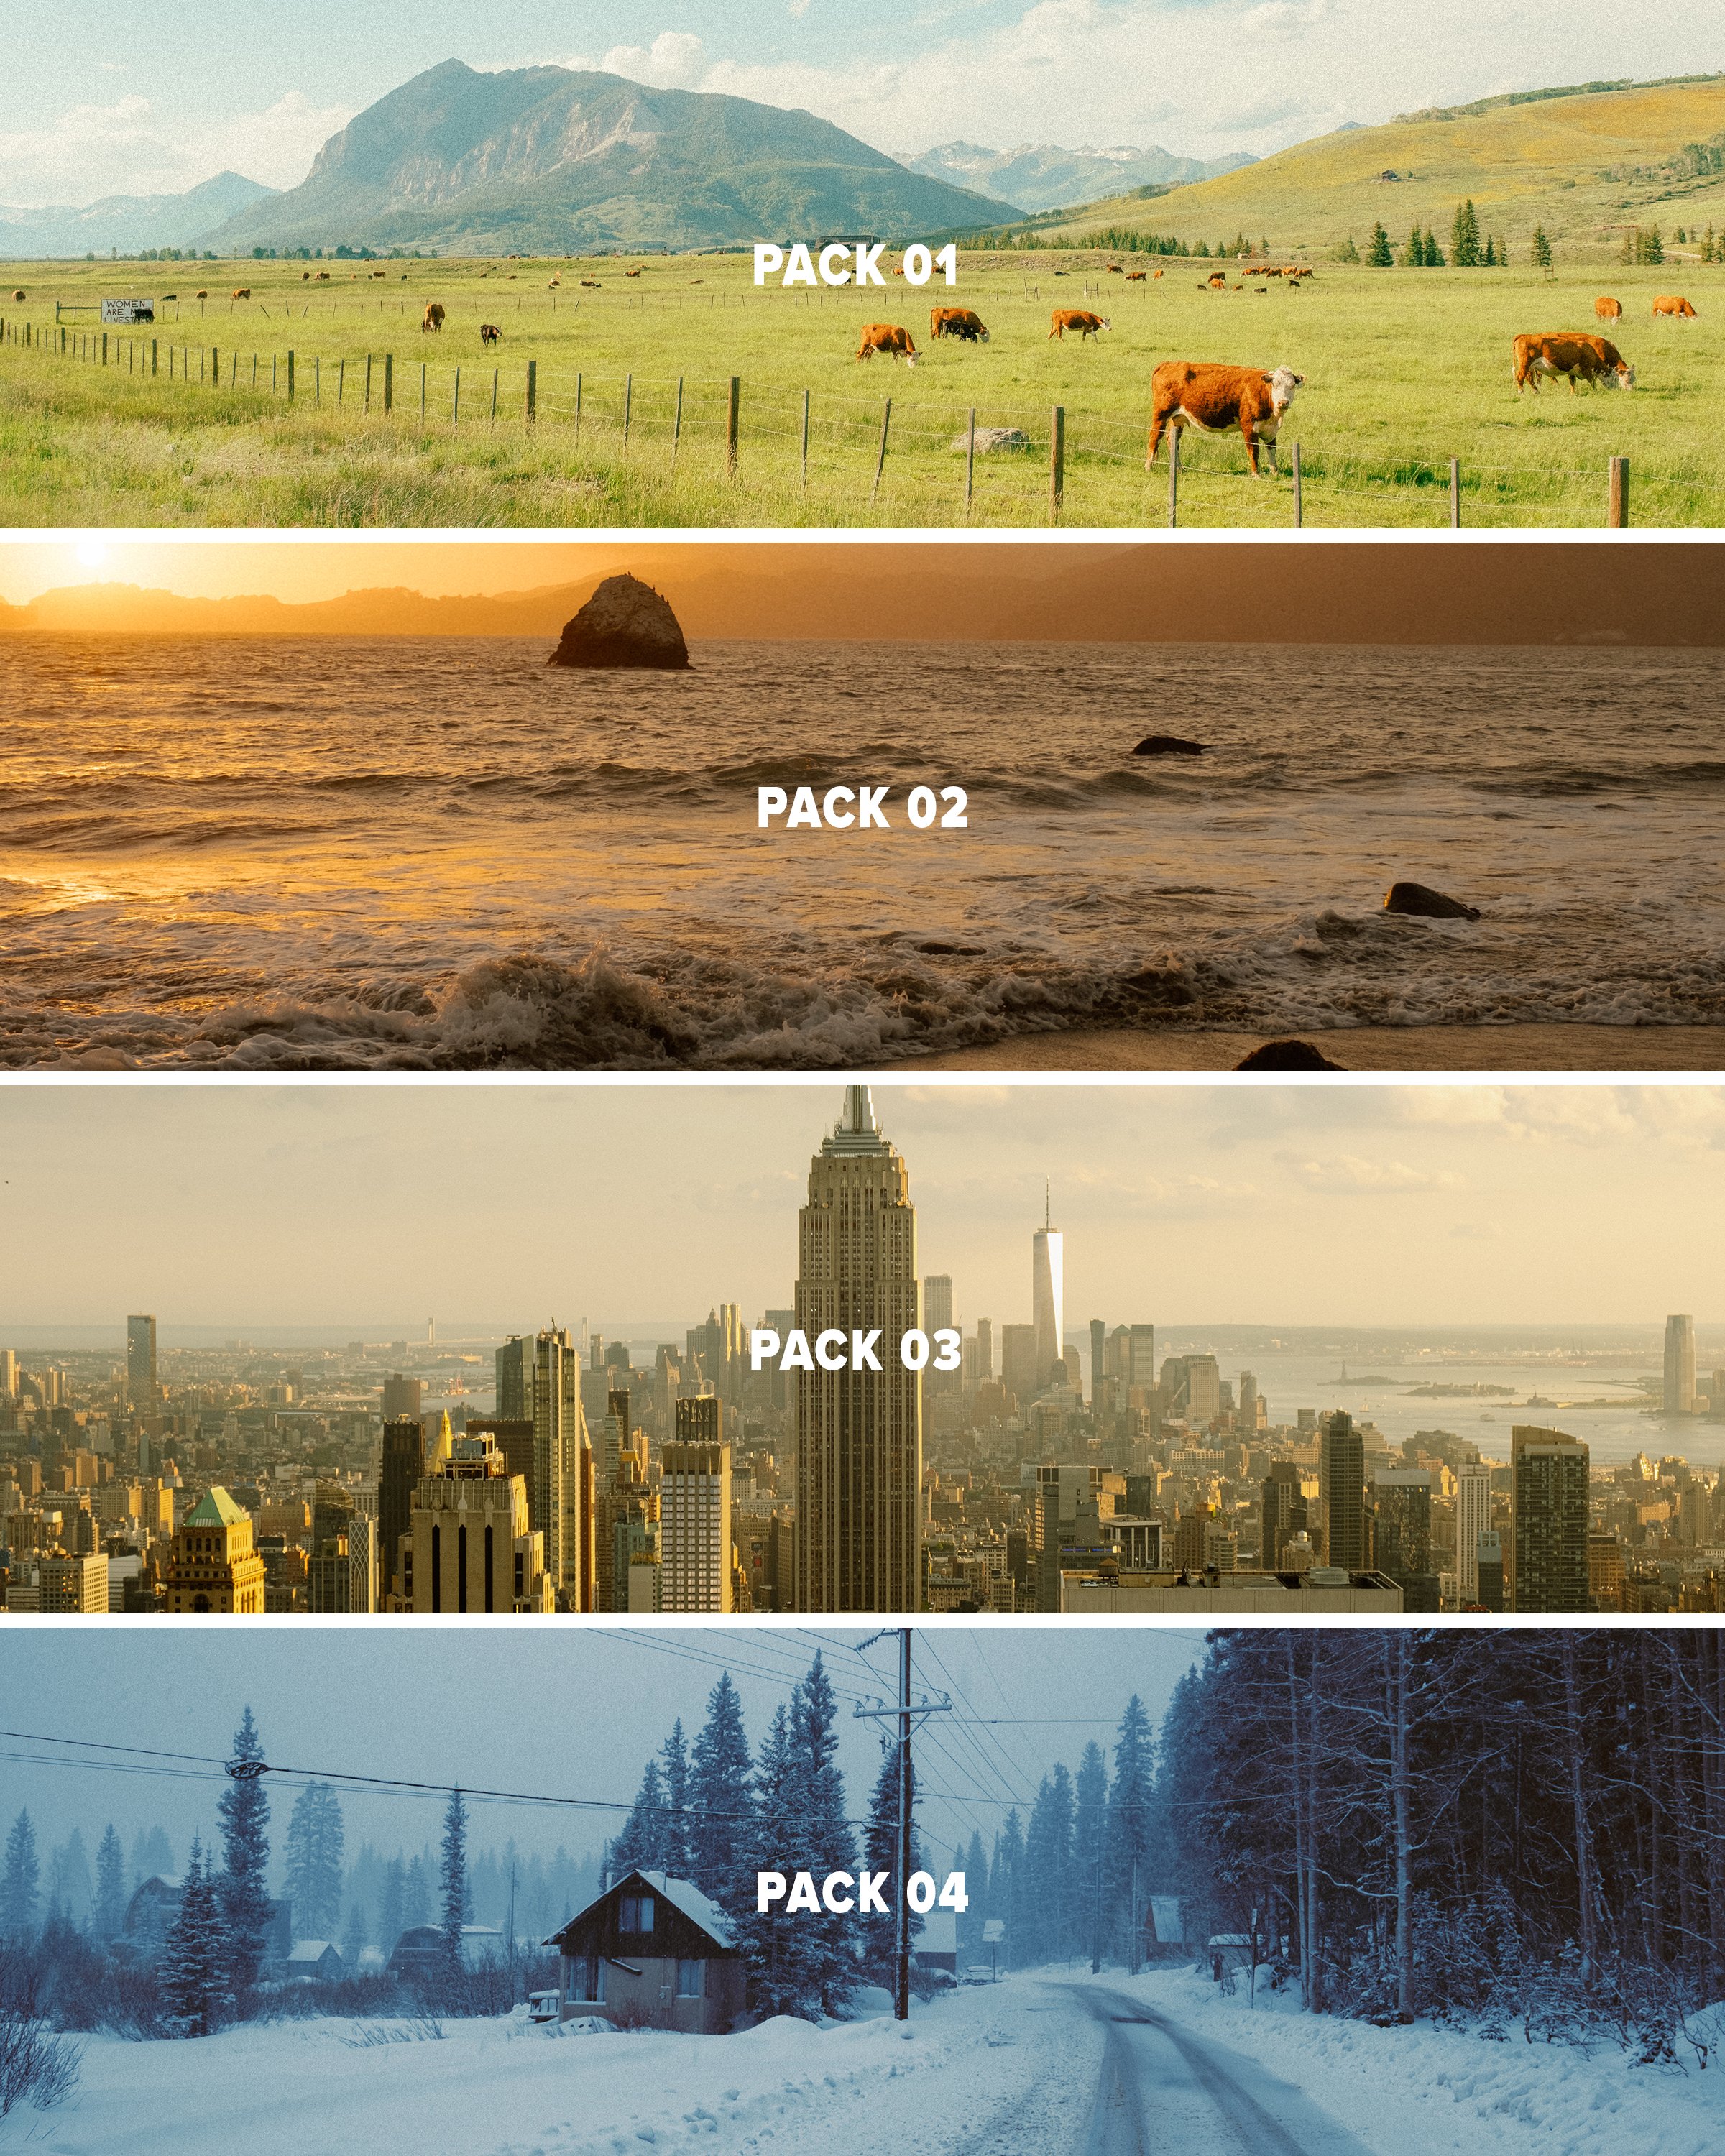

This pack provides 3 Lightroom presets inspired by film looks that should give you a solid base to work with in just a few clicks using Lightroom. This pack is the 4th and final installment of my ongoing “AV FILM SIMS” preset suite. The full suite (see bundle) includes this pack and the 3 others, giving you the base looks I use on almost all of my edits as scene on Instagram/Youtube, etc.
Each look is outlined below:
Winter - a cool blue preset created using heavy Color Tone Curve edits, inspired by winters spent in the Utah desert, but applicable to most moody, rainy, or winter scenes.
Wyoming - a clean, filmic day-light focused preset inspired by my travels to the Grand Tetons of Wyoming. Great for road trip scenes, landscapes, and mid-day photo walks.
Moab - inspired by kodak film-stocks, this preset is meant to create a soft, colorful and film-like look in one click. Inspired by some of my earliest visits to Moab, and specifically Arches, but I’ve been using it on a lot of NYC work as well!
Note: these are for DESKTOP. I use them on Lightroom Classic. These are NOT mobile presets. They do work in Lightroom Cloud via importing, and if applied to a DNG, they CAN work on Mobile, but they are not optimized for this purpose.
How to download & install:
Once you checkout from my site, you will be given access to the digital download.
Download & unzip the “zip” file.
Open LR -> File -> Import Develop Profiles and Presets.
Navigate to the unzipped folders and select them.
Click “Import.”
How to edit photos with this pack:
Ensure the image is properly exposed. Adjust the exposure slider (increase or decrease) until your exposure is even.
Explore the pack by highlighting each of the 3 looks - before clicking any, hover over each to see how they feel on your image. Click to apply the preset you like.
Make other adjustments as needed. If you have my other packs, try combining these looks with the tool kits from those! Experiment with making small slider adjustments to the tones, mess with color grading, but don’t go TOO far. Less is more with editing.
You’re done! Export & share.
Presets are non-refundable. Absolutely no re-selling under any circumstances.
Reminder: these are for LIGHTROOM CLASSIC. They are not optimized for mobile app.
When ordering, you’ll get a 24-hour download code. If you lose this code or forget to download, email me & I’ll get you another.
Be sure to sign up for my newsletter/updates with your email at checkout to receive discounts/free stuff in the future!
Not affiliated with or endorsed by any camera company.