I CHANGED MY MIND ABOUT THE FUJIFILM X100VI
This post contains Amazon affiliate links. If you make a purchase through these links, I may earn a small commission at no additional cost to you.Fujifilm X100VI Review: A Camera That Changed My Mind
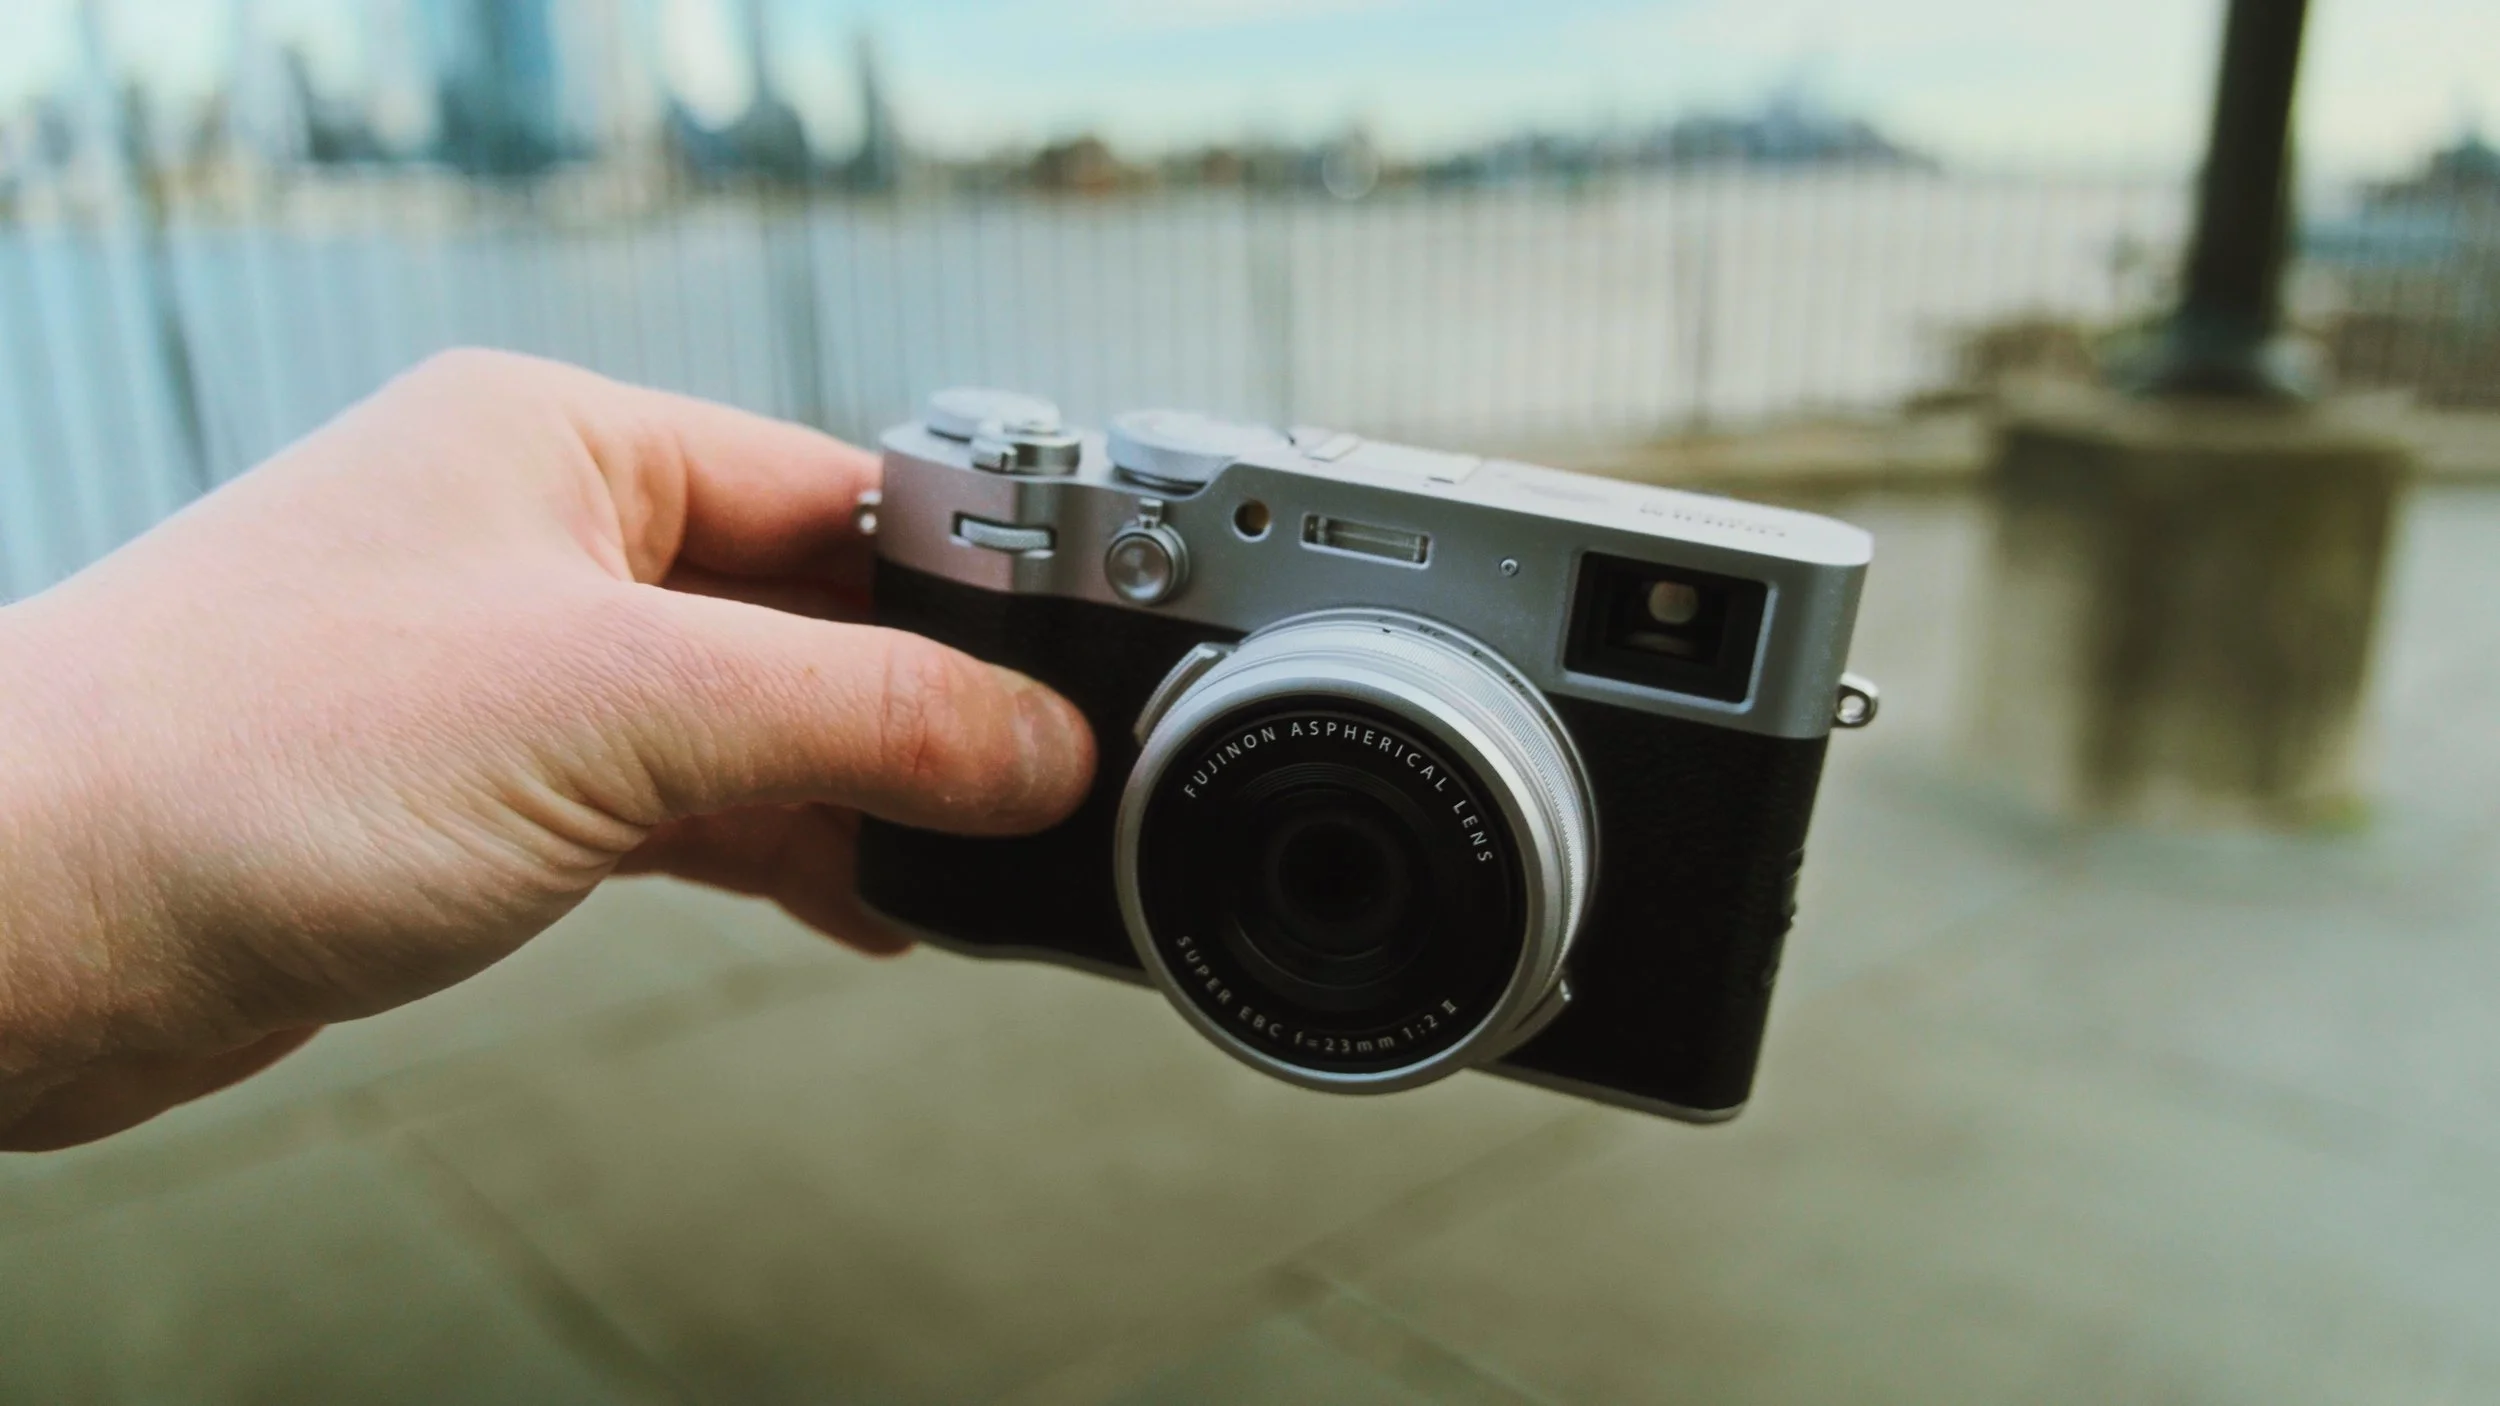
The Fujifilm X100VI.
The Fujifilm X100VI is a camera I’ve had some pretty strong opinions on in the past—mostly regarding its price point. When a fixed-lens camera is priced close to a flagship Fujifilm body like the X-T5, it raises the question: is it worth that price point?
After spending a few weeks using the it, my perspective has shifted, and although I don’t see myself spending the money to add it to my kit, I do understand the value it has, and why so many people swear by it.
I’ve also made a YouTube video about this camera. Check it out here!
A Shift in Perspective
One of the biggest reasons my opinion on the X100VI has changed comes from a conversation with a fellow photographer, Kyler. He referred to this camera as a “bundle deal,” and that stuck with me.
Yes, you’re locked into a single focal length, but you’re also getting a high-end body paired with an excellent lens. My initial hesitation came from viewing the X100VI as a limited system, but after using it more extensively, I started to appreciate it for what it is—a fully integrated experience rather than just another interchangeable-lens camera.
FAVORITE FEATURES OF THE FUJI X100VI
The Optical Viewfinder

Using the optical viewfinder on the Fuji X100VI.
One of the standout features of the X100VI is its hybrid optical/electronic viewfinder. I haven’t used an optical viewfinder in years, and getting back to one felt surprisingly refreshing. Unlike an EVF, where you're essentially looking at a digital preview, an optical viewfinder gives a direct, unfiltered view of the scene. This makes it easier to anticipate moments since you can see subjects entering the frame before they actually reach your composition. The experience feels more immersive, pulling you into the act of photography in a way modern screens often don’t.

Street photography with the Fujifilm X100VI.
Compact, Yet High-End
Internally, the X100VI is essentially a flagship Fujifilm camera in a smaller package. It shares the same sensor and processor as the X-T5, meaning you’re not sacrificing image quality. The build is premium, and ergonomically, it lands somewhere between the X-T5 and X-T50. While I typically prefer the deeper grip of the X-T5, I found the X100VI more comfortable than expected, especially for longer photo walks.

The Fuji X-T5 has a much deeper grip than the Fuji X-T50 or the Fuji X100VI.
Aesthetic and Functional Appeal
The camera’s design is another strong point. It carries the classic rangefinder look, and small details like the ISO dial add a nostalgic touch, reminiscent of older film cameras. There’s a certain charm in its simplicity—it’s a camera that invites you to focus on the creative process rather than get lost in endless settings adjustments.

The classic style ISO dial on the Fujifilm X100VI.
The Price Factor
Price has been one of my main criticisms of the X100VI, and it’s still a factor worth discussing. At its $1,600 MSRP, it sits in an interesting position—cheaper than a high-end body and lens combo but more expensive than many interchangeable-lens options.
However, after rethinking it as a bundled system, the cost feels more justifiable. If you were to buy an X-T5 with a 23mm f/2 lens separately, you’d end up in a similar price range. The issue comes with the resale market—right now, used prices are creeping up past $2,000, which is a tougher pill to swallow. But at retail price? It’s actually a fair deal for what you get.
Who Is This Camera For?
If you’re new to the Fuji ecosystem and want a premium, portable setup, the X100VI is a solid entry point. It’s a great everyday camera—small enough to take everywhere, yet powerful enough to deliver high-quality images. It also makes sense for those who want a casual, fixed-lens camera for street or travel photography.
However, if you already own an interchangeable Fujifilm body with a similar lens, the X100VI might be harder to justify. It’s a fun addition, but it doesn’t replace a more versatile system.
Final Thoughts
After spending time with the X100VI, I get the hype. The combination of a high-end sensor, great lens, and hybrid viewfinder makes it a compelling option for photographers who want a streamlined, distraction-free shooting experience.
Would I buy it? Probably not—mainly because I already own several Fuji cameras that give me more flexibility. But if I could get one at a lower price, I’d seriously consider it.
If you’re on the fence, my advice is to think about how you’d use it. If you love the idea of a high-quality, no-fuss camera that’s always ready to go, the X100VI might be exactly what you’re looking for.
If you enjoy the look of my work and want to try out my editing style, I have preset packs available below! Supporting me through purchasing one of these packs is the best way to keep this blog ad-free and allow me to continue sharing editing tips.
Help support my work by exploring the available products below!
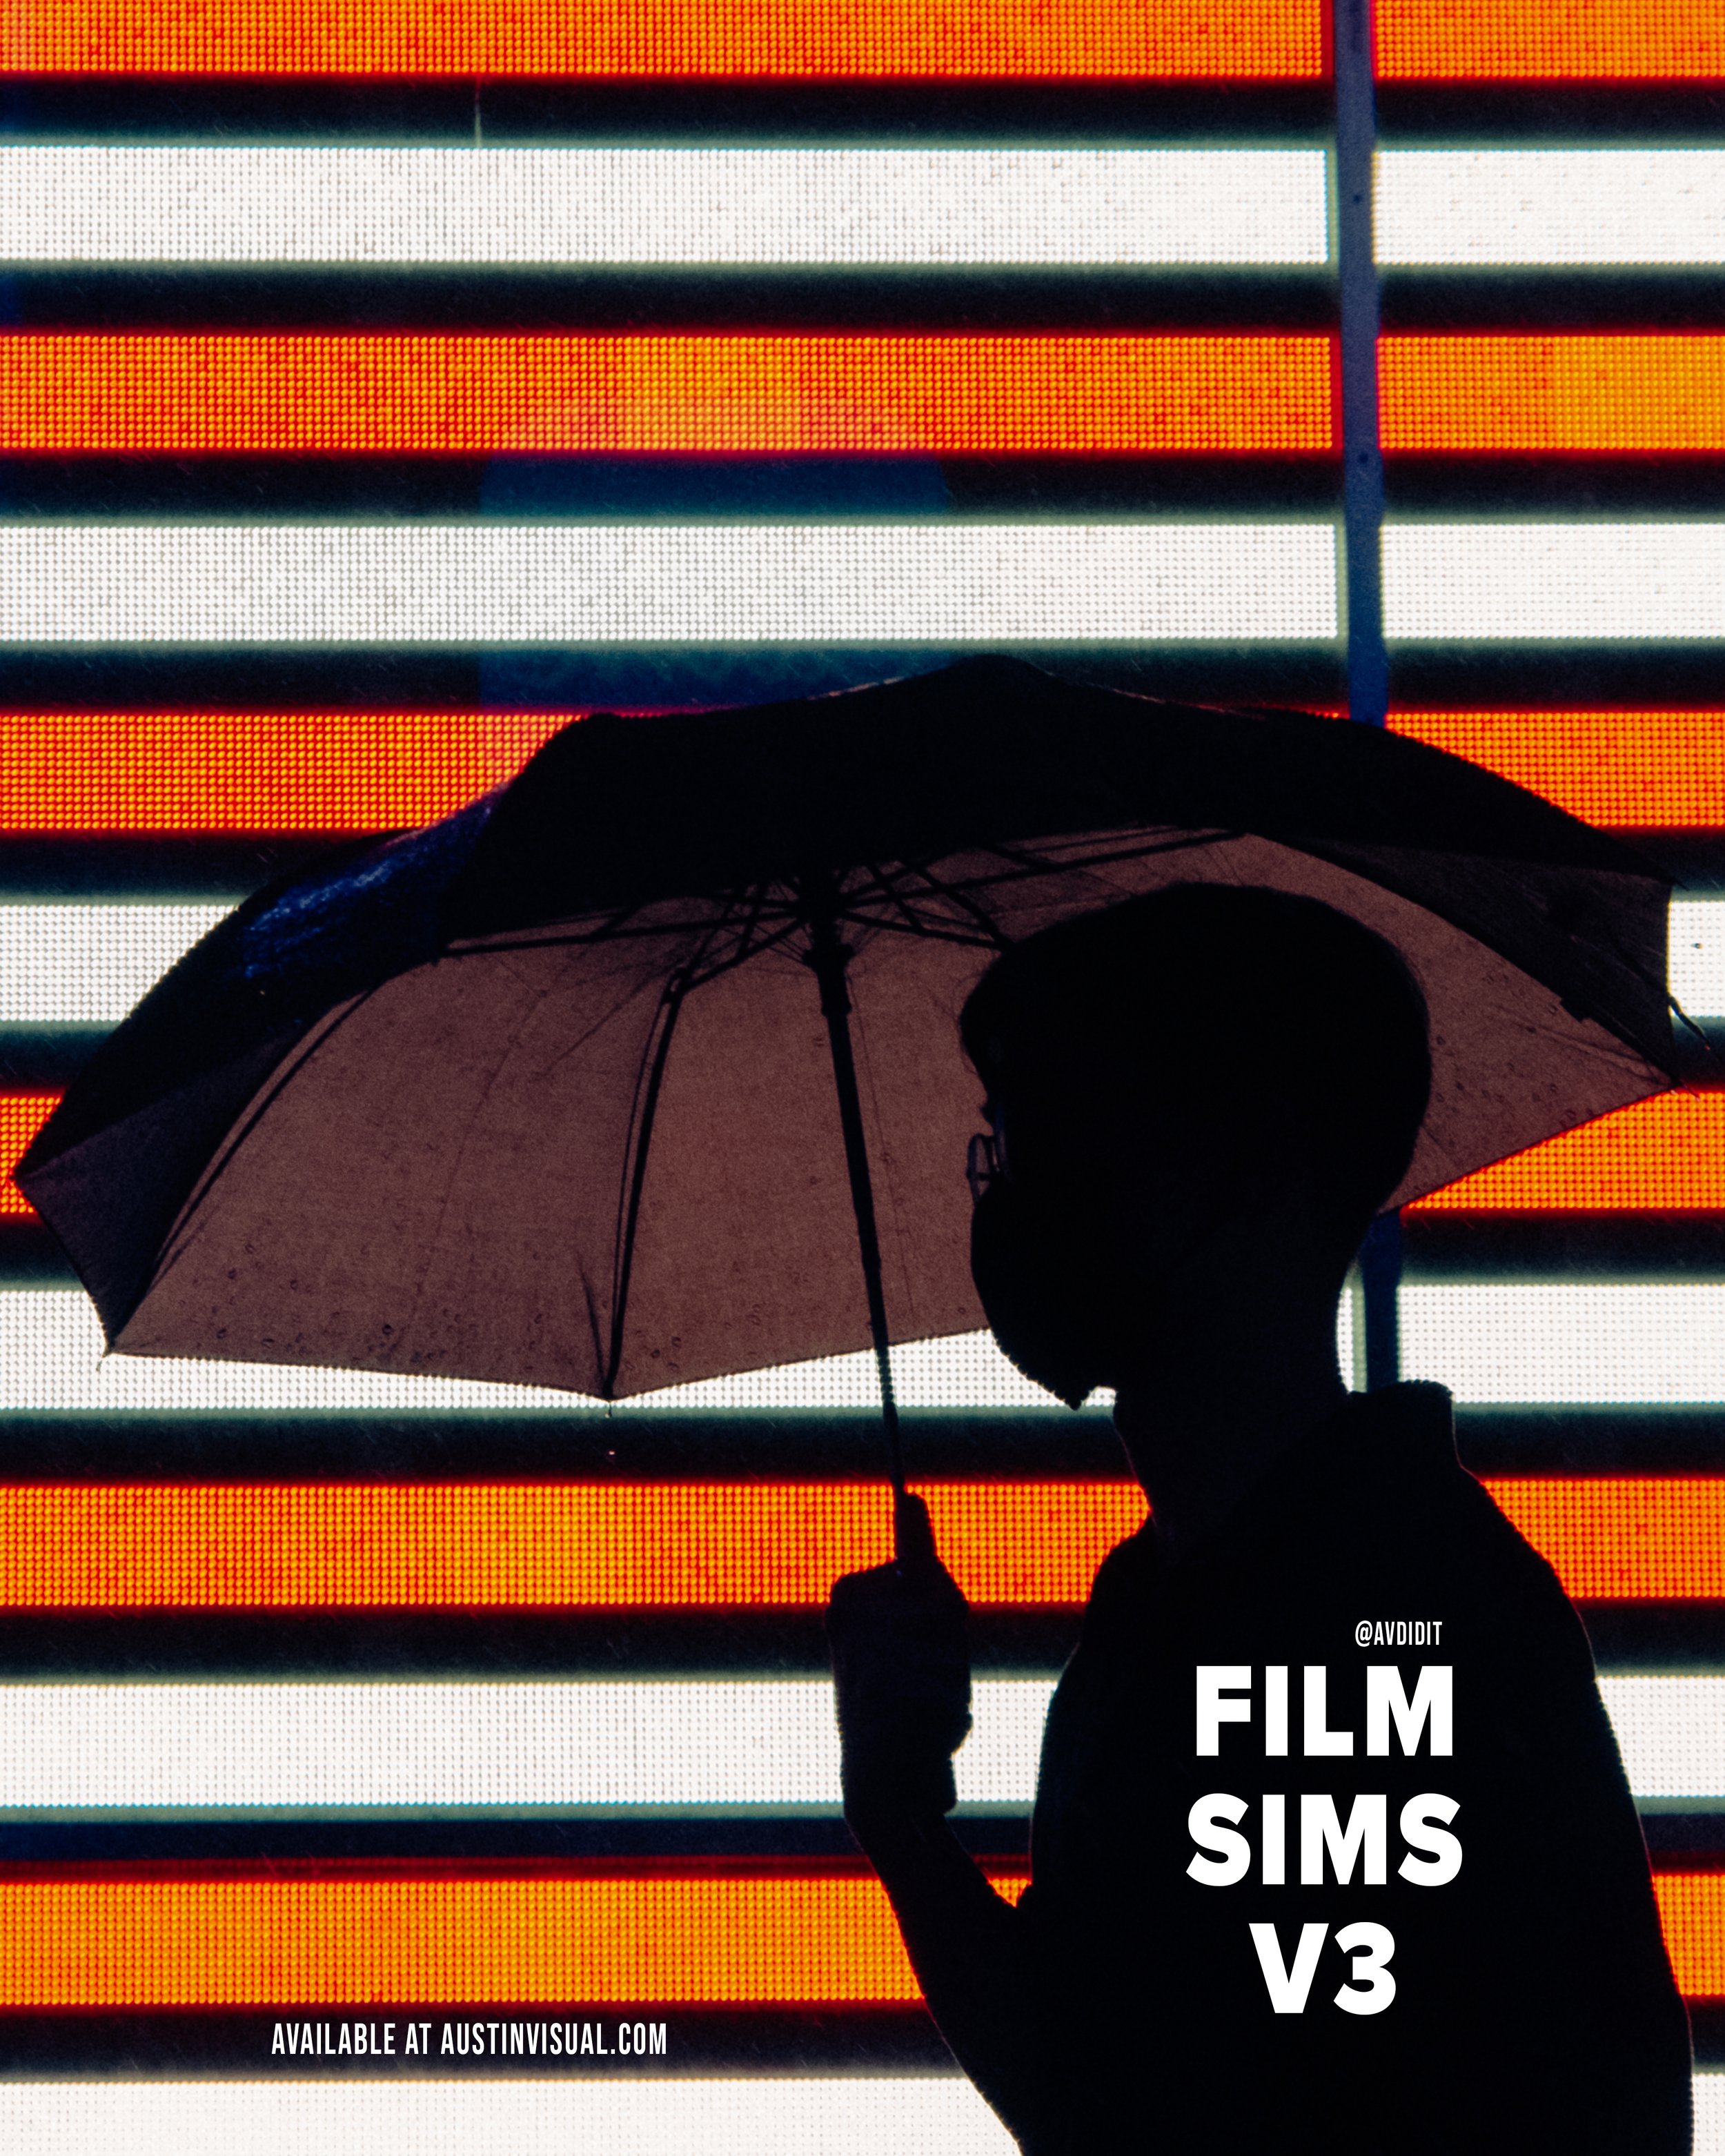
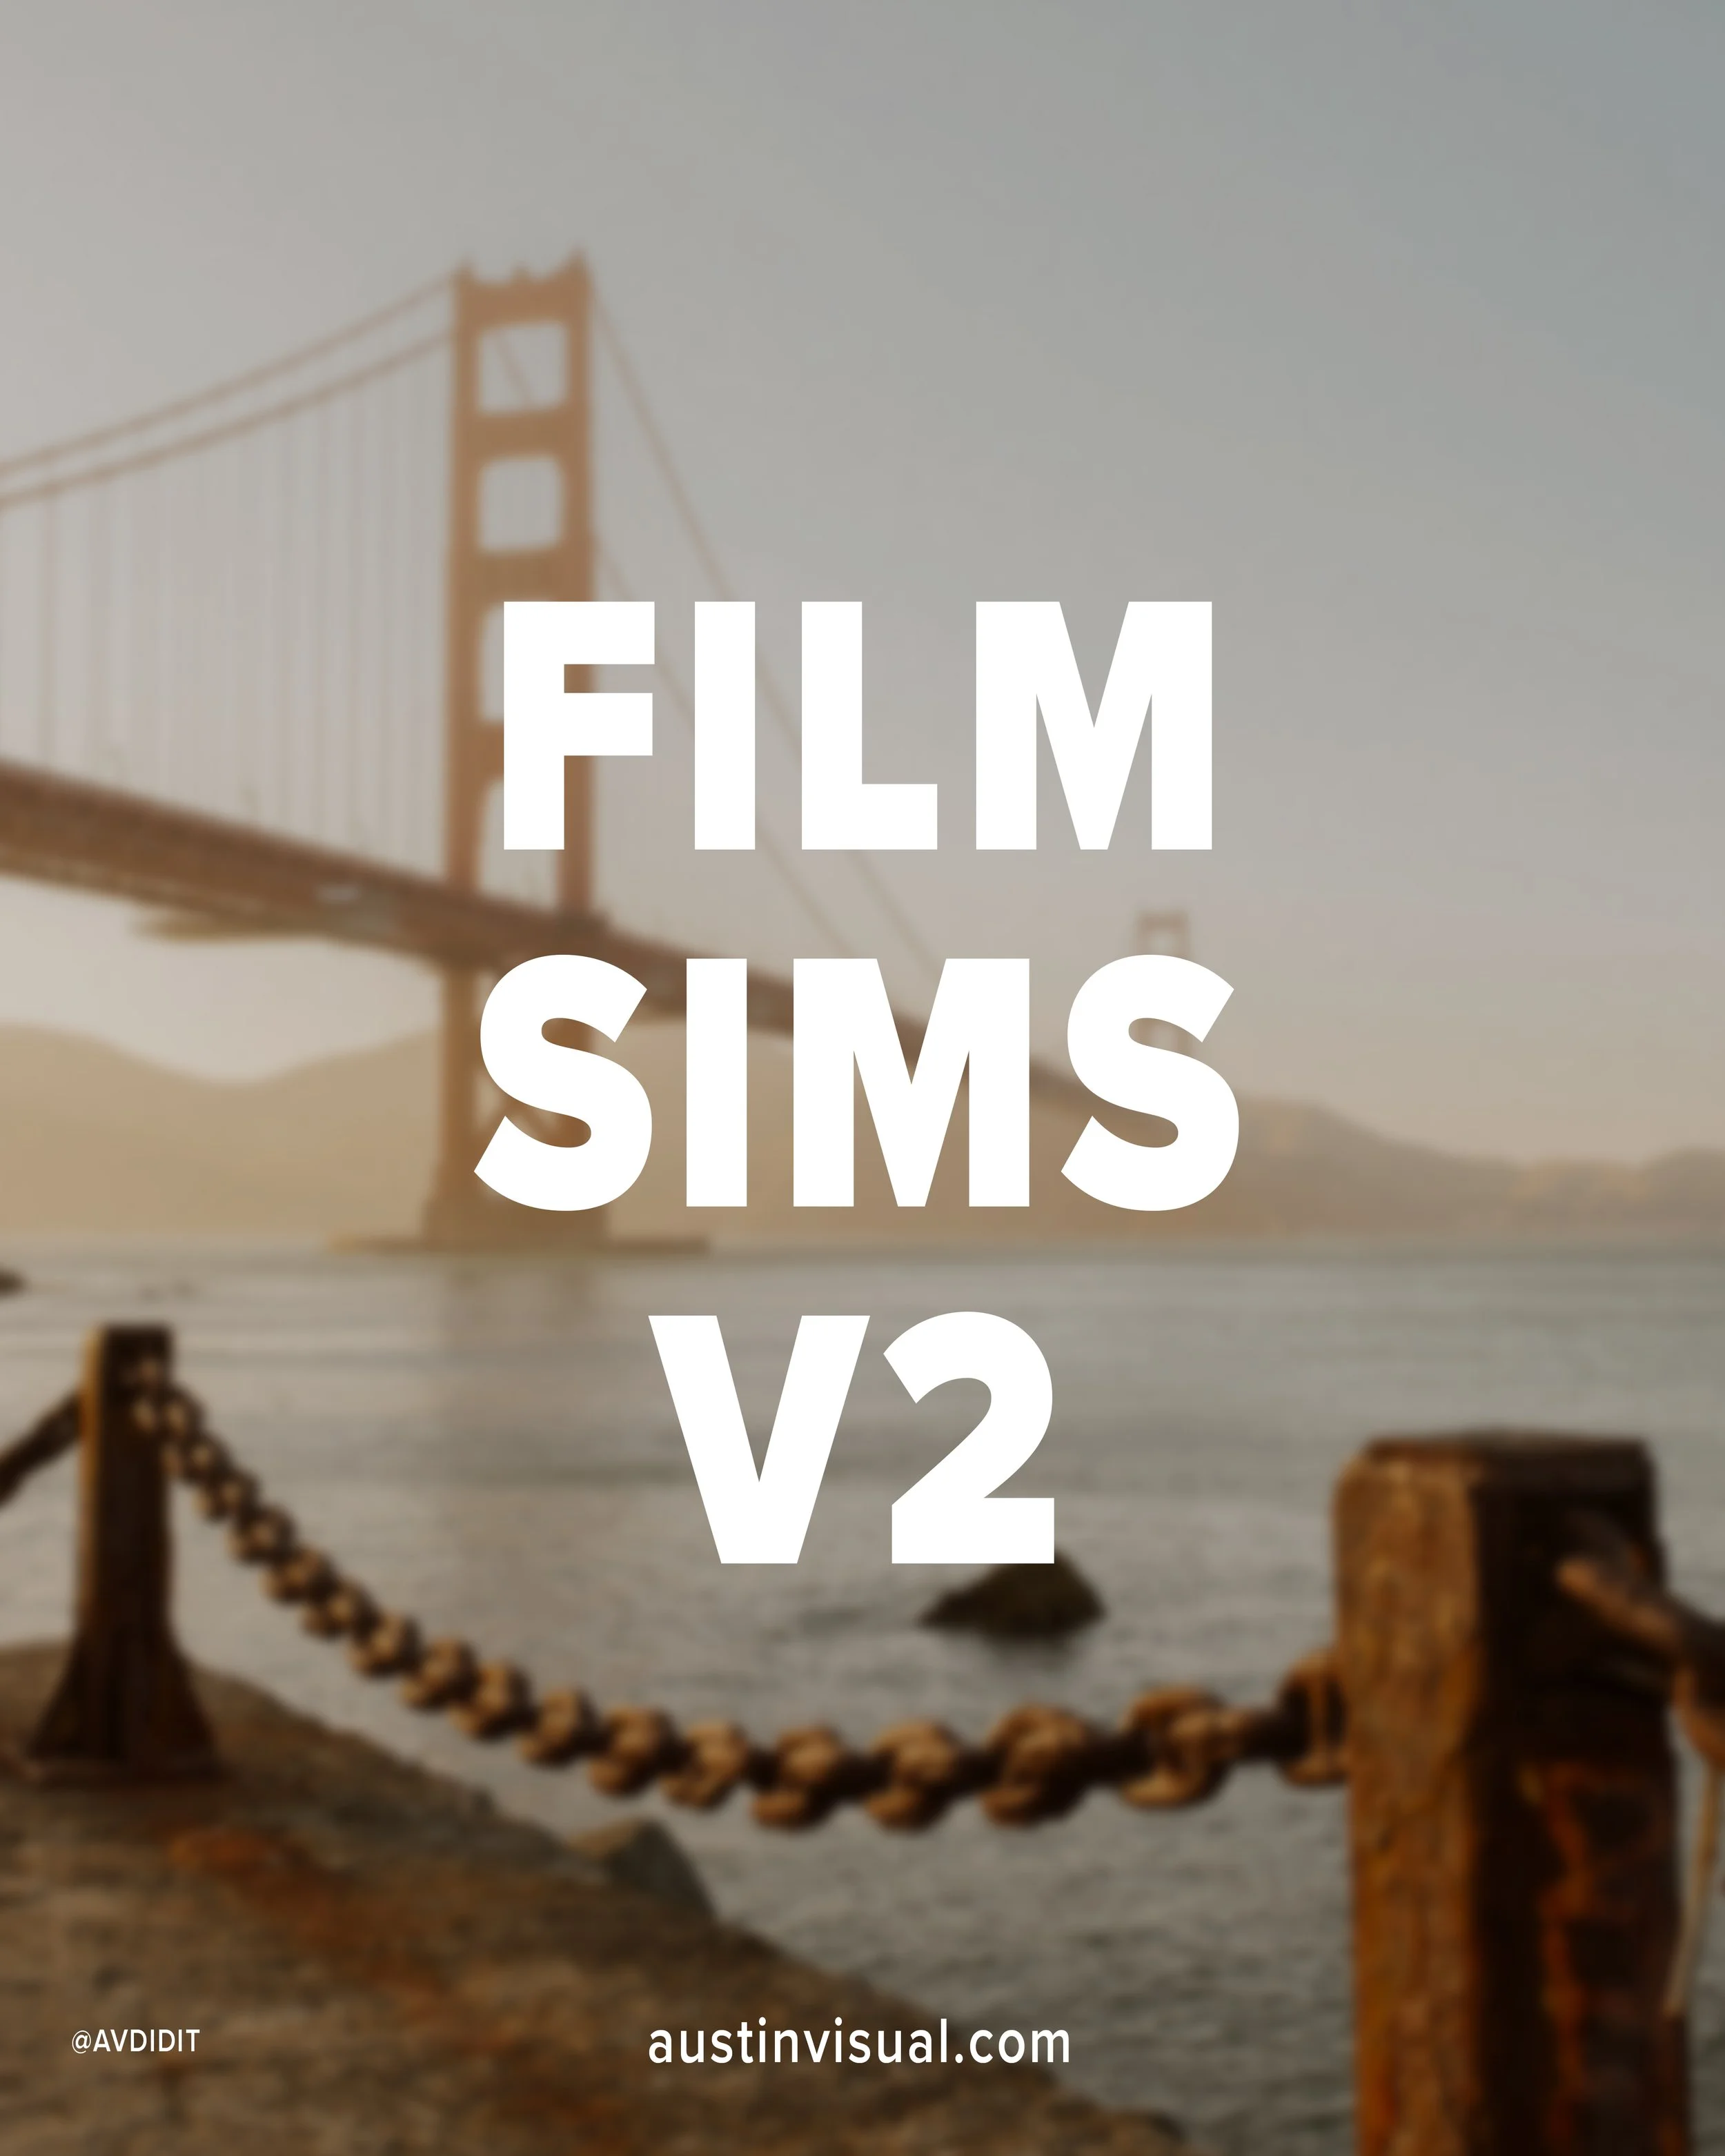
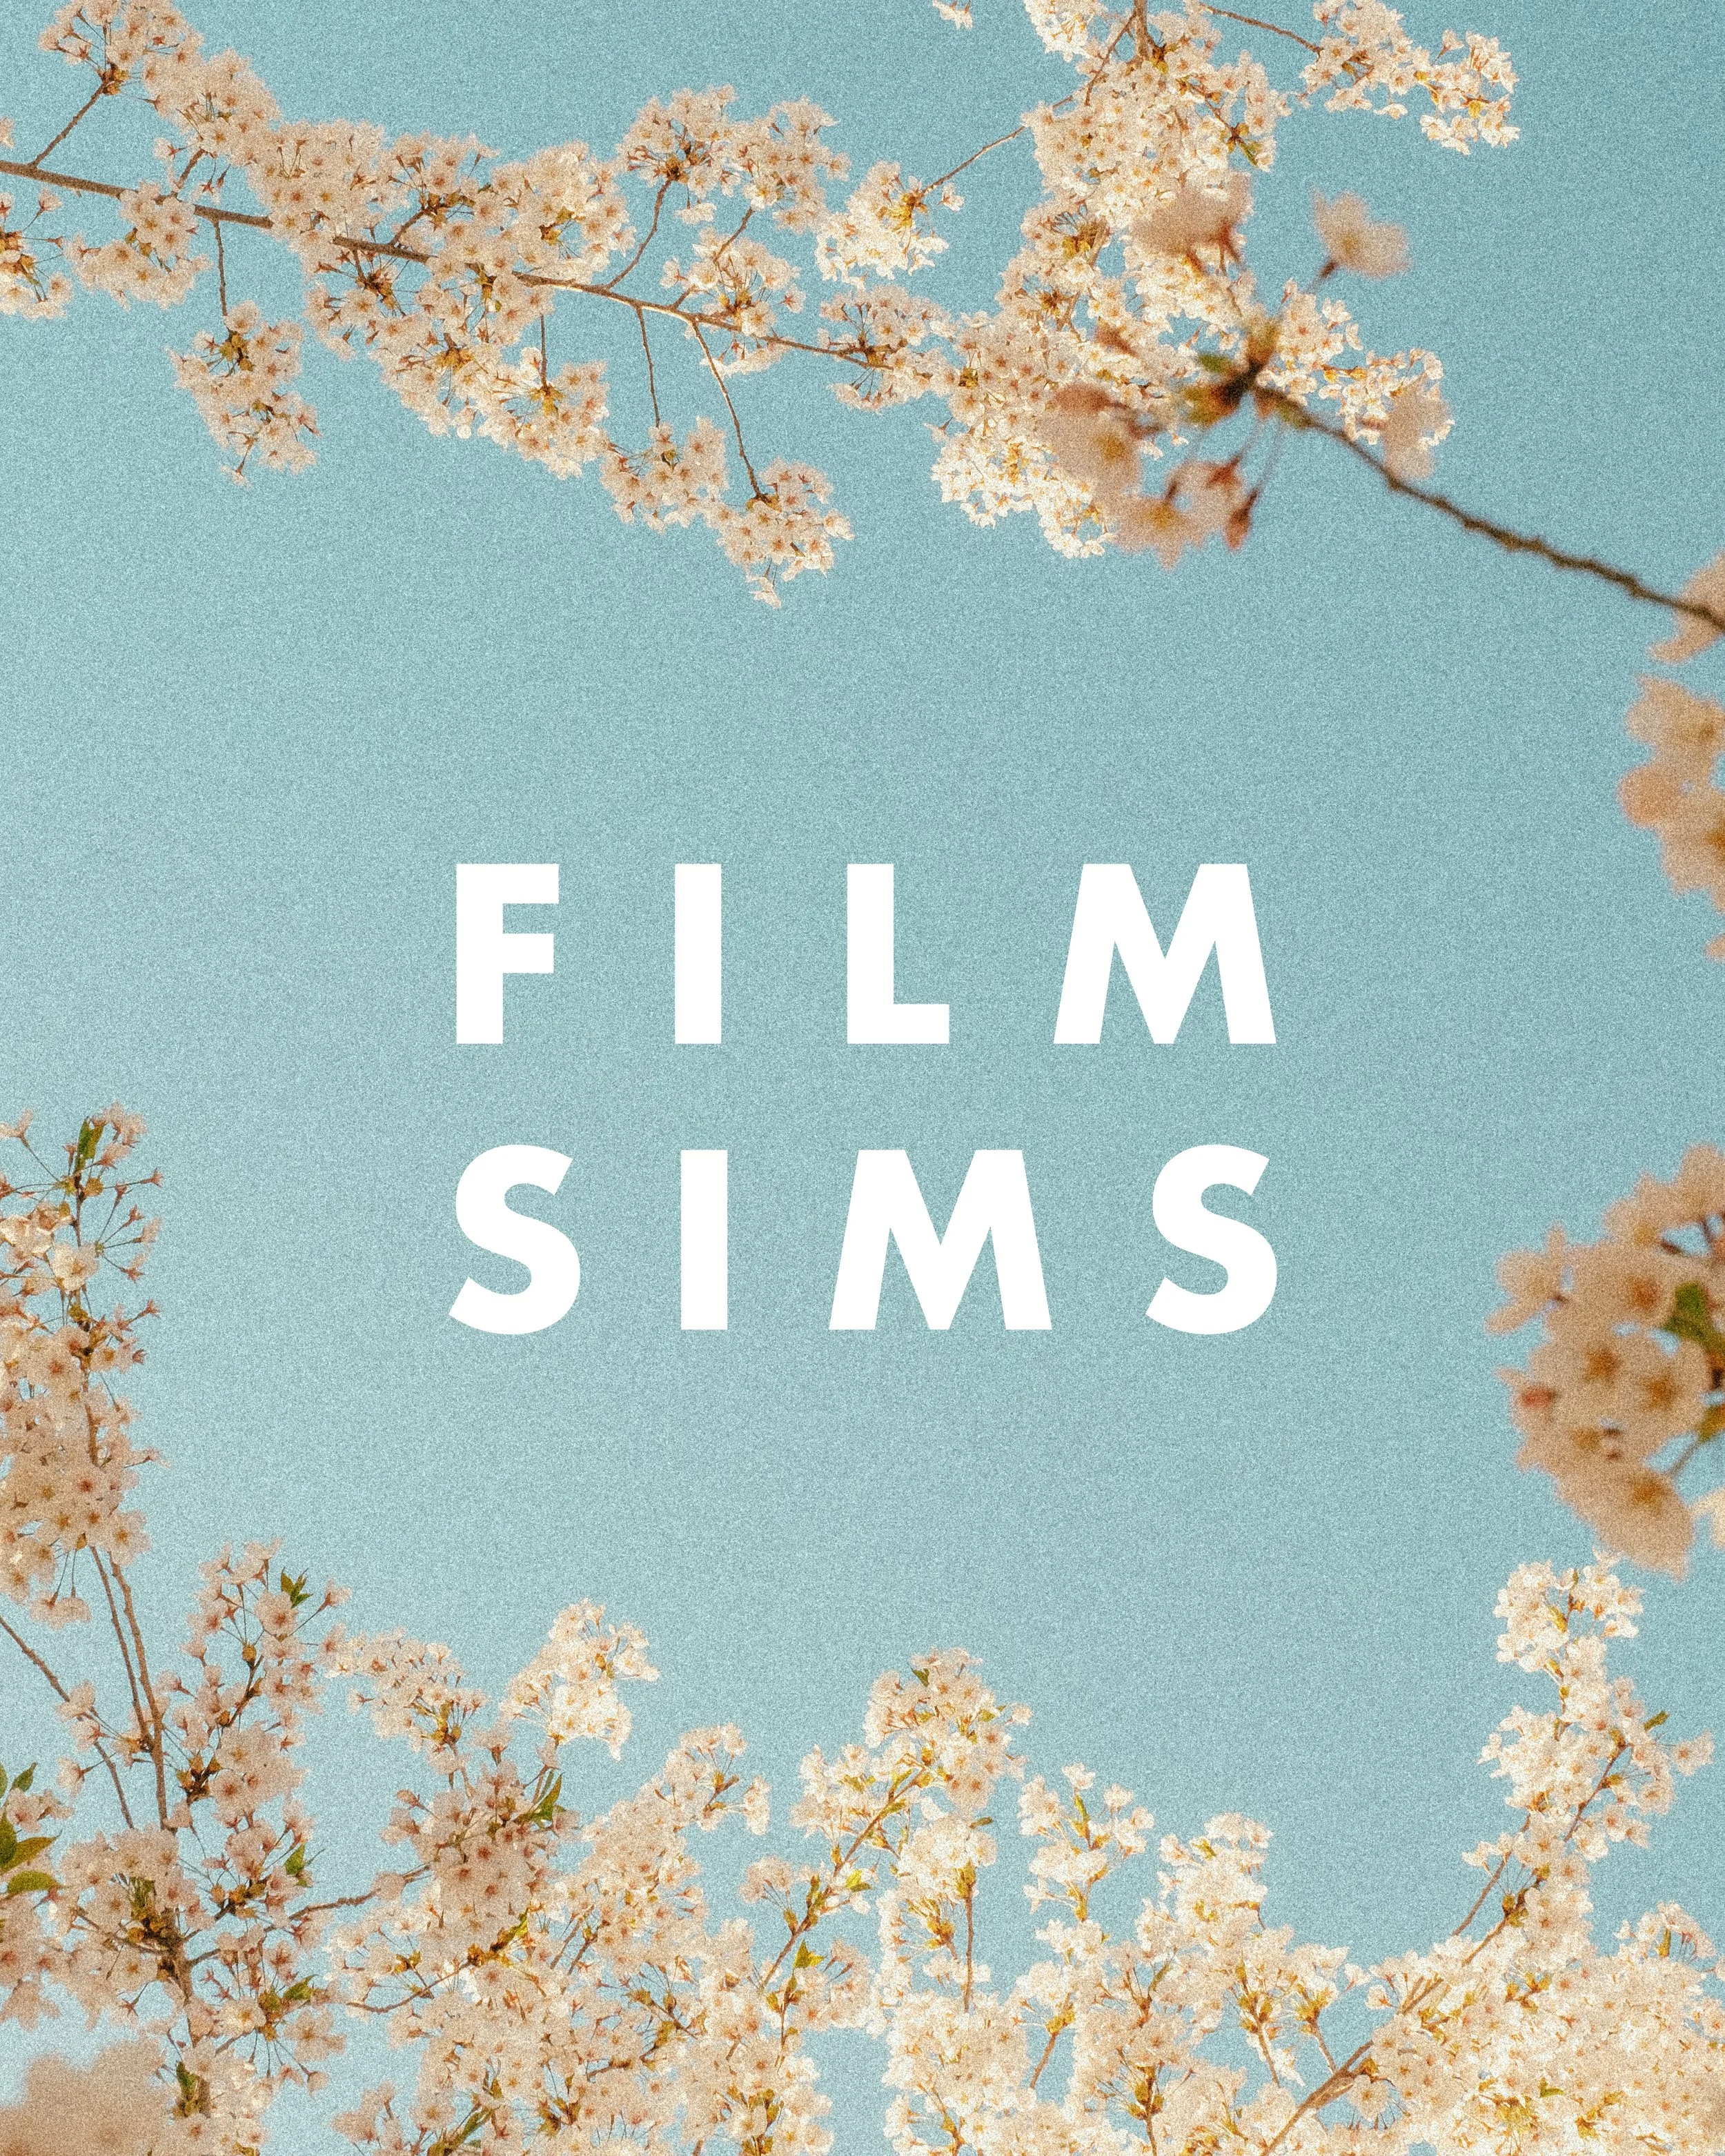
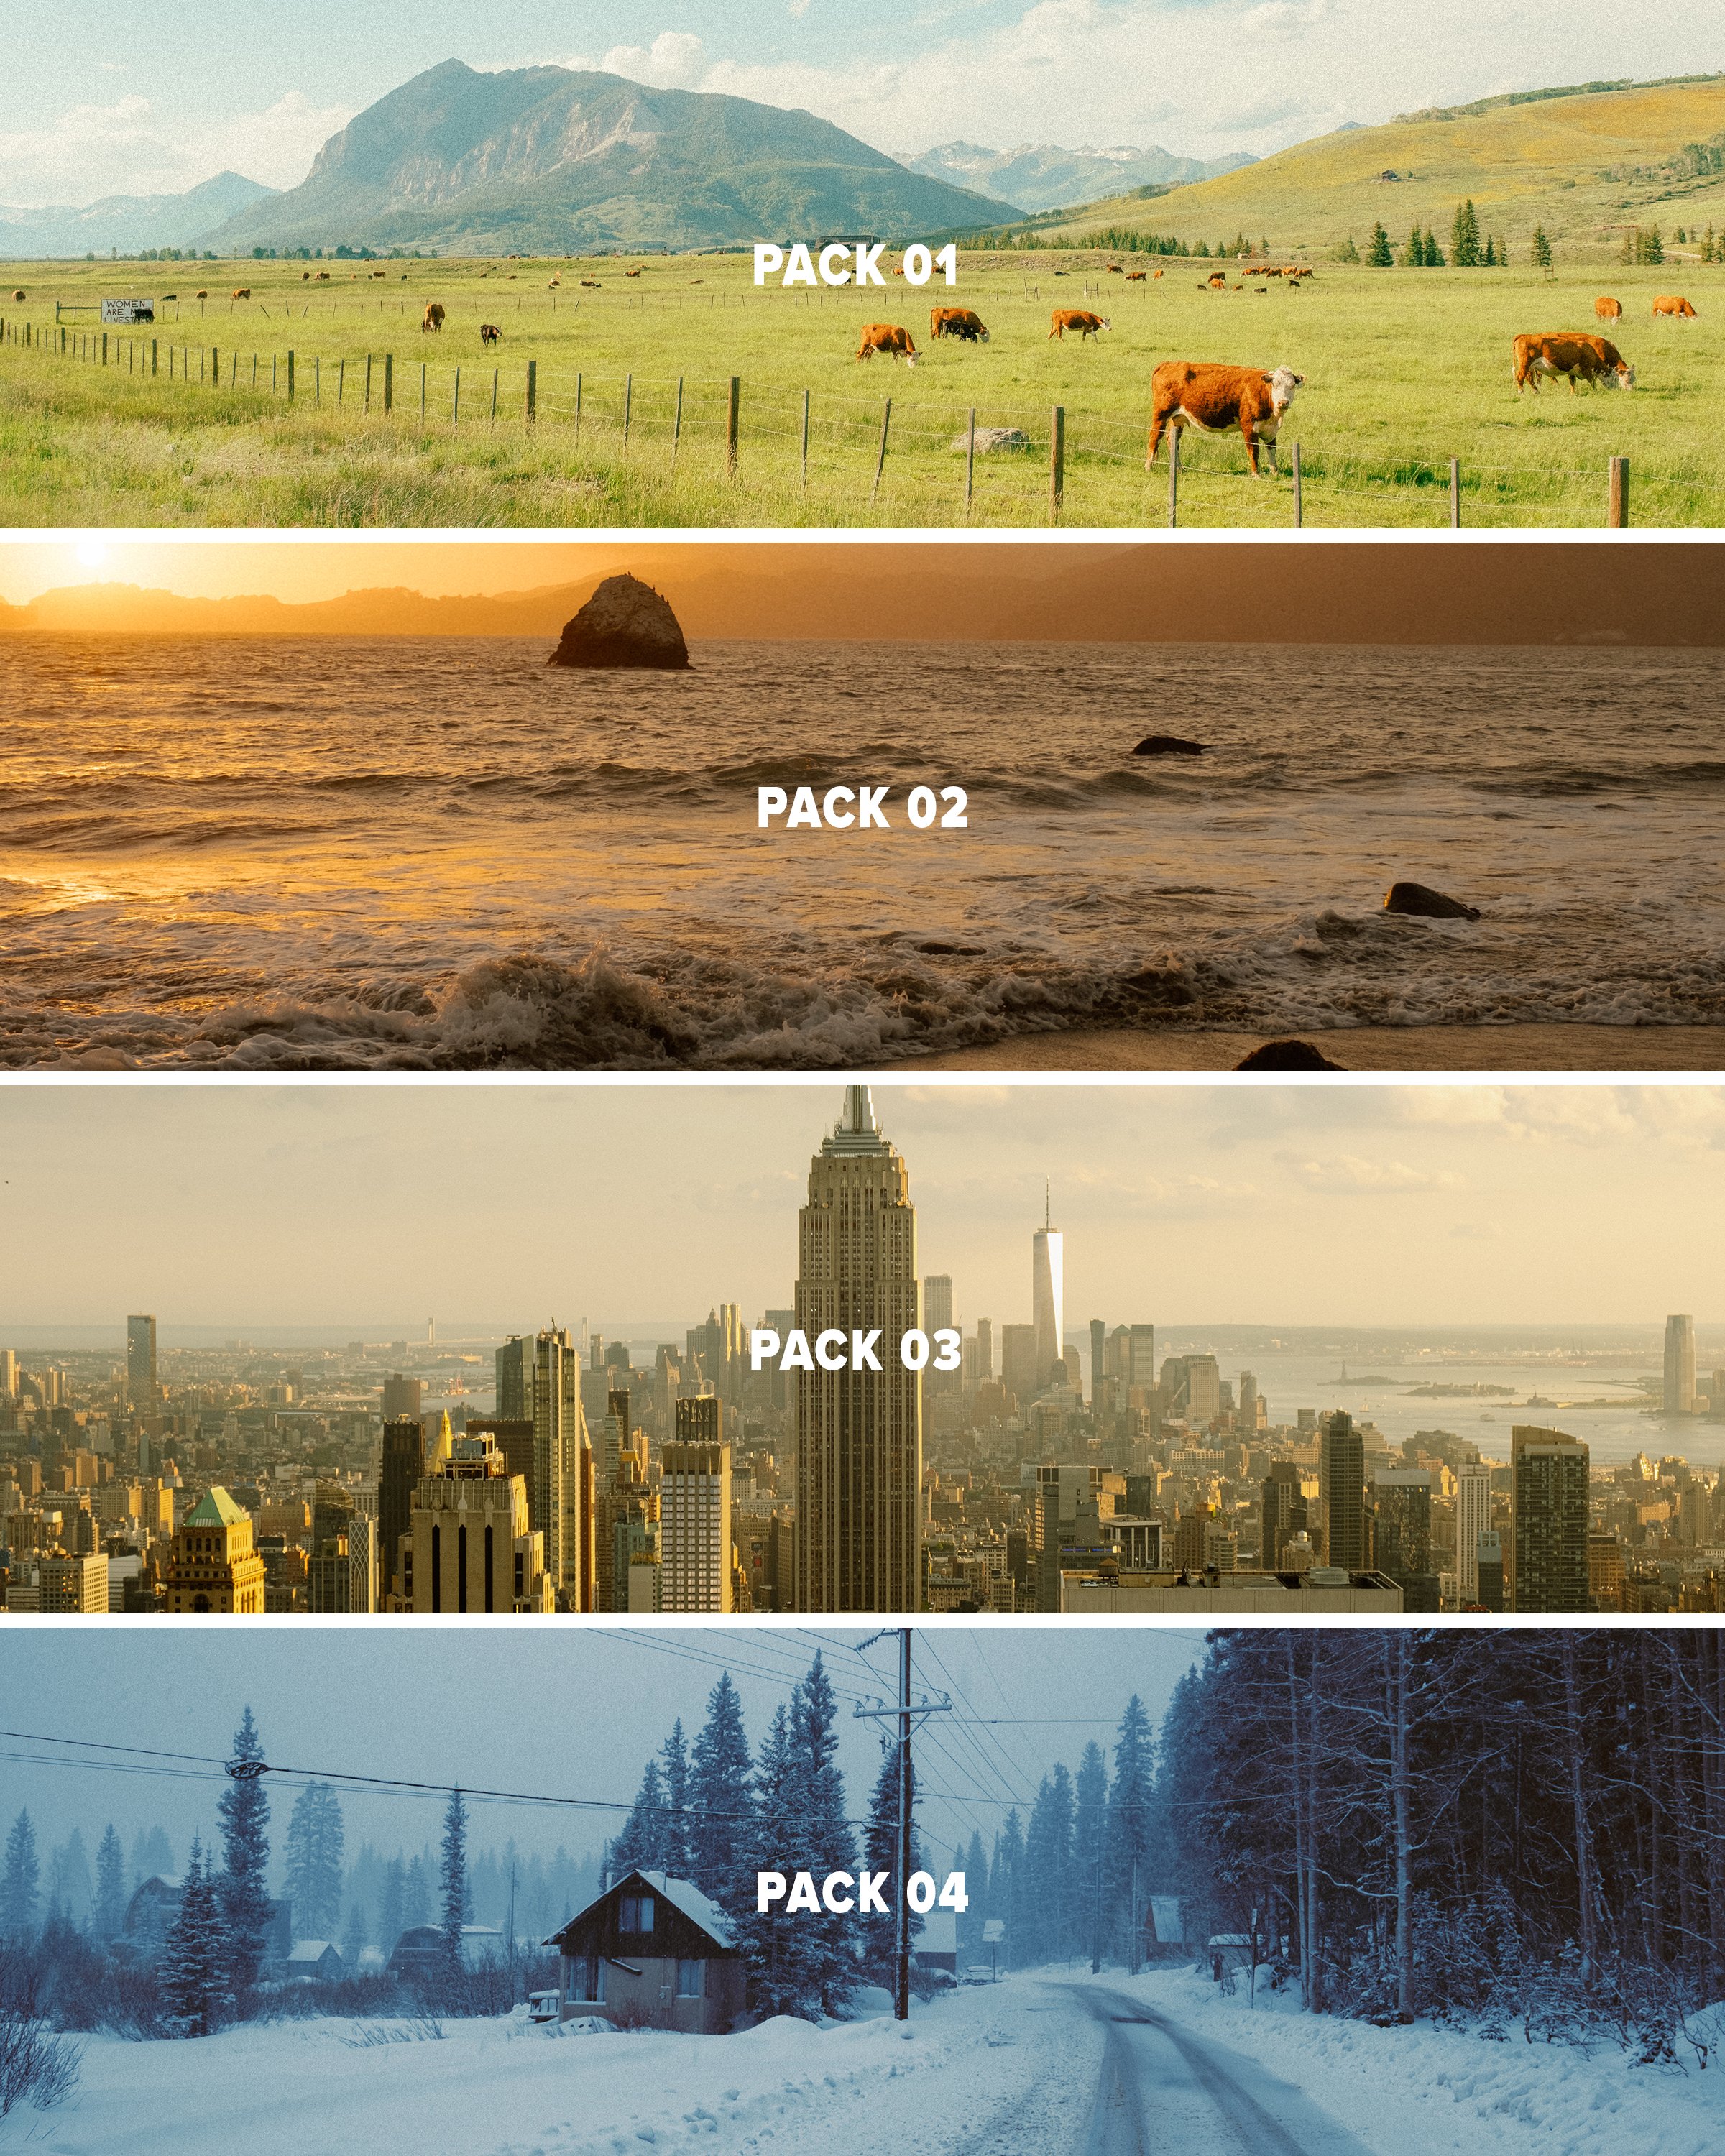

This pack provides 3 Lightroom presets inspired by film looks that should give you a solid base to work with in just a few clicks using Lightroom. This pack is the 4th and final installment of my ongoing “AV FILM SIMS” preset suite. The full suite (see bundle) includes this pack and the 3 others, giving you the base looks I use on almost all of my edits as scene on Instagram/Youtube, etc.
Each look is outlined below:
Winter - a cool blue preset created using heavy Color Tone Curve edits, inspired by winters spent in the Utah desert, but applicable to most moody, rainy, or winter scenes.
Wyoming - a clean, filmic day-light focused preset inspired by my travels to the Grand Tetons of Wyoming. Great for road trip scenes, landscapes, and mid-day photo walks.
Moab - inspired by kodak film-stocks, this preset is meant to create a soft, colorful and film-like look in one click. Inspired by some of my earliest visits to Moab, and specifically Arches, but I’ve been using it on a lot of NYC work as well!
Note: these are for DESKTOP. I use them on Lightroom Classic. These are NOT mobile presets. They do work in Lightroom Cloud via importing, and if applied to a DNG, they CAN work on Mobile, but they are not optimized for this purpose.
How to download & install:
Once you checkout from my site, you will be given access to the digital download.
Download & unzip the “zip” file.
Open LR -> File -> Import Develop Profiles and Presets.
Navigate to the unzipped folders and select them.
Click “Import.”
How to edit photos with this pack:
Ensure the image is properly exposed. Adjust the exposure slider (increase or decrease) until your exposure is even.
Explore the pack by highlighting each of the 3 looks - before clicking any, hover over each to see how they feel on your image. Click to apply the preset you like.
Make other adjustments as needed. If you have my other packs, try combining these looks with the tool kits from those! Experiment with making small slider adjustments to the tones, mess with color grading, but don’t go TOO far. Less is more with editing.
You’re done! Export & share.
Presets are non-refundable. Absolutely no re-selling under any circumstances.
Reminder: these are for LIGHTROOM CLASSIC. They are not optimized for mobile app.
When ordering, you’ll get a 24-hour download code. If you lose this code or forget to download, email me & I’ll get you another.
Be sure to sign up for my newsletter/updates with your email at checkout to receive discounts/free stuff in the future!
Not affiliated with or endorsed by any camera company.