How to Get Realistic Film Grain in Lightroom (Without Plugins)


How To Get Realistic Film Grain in Lightroom Only
I've been editing in Lightroom for going on 10 years now ( andPhotoshop for almost 15), and I’ve always had the most fun trying to land on new looks based on inspiration from movies, TV shows, posters, and even other photographers and artists.
In recent years, I’ve leaned heavily into a sort of “film aesthetic,” slowly developing my own colorful approach to film-like emulations, and I’m finally at a place where I’m happy with the results.
However, one area where I’ve always struggled with the film look is getting accurate, realistic-looking film grain in Lightroom.
Too often, people (myself included) crank up the grain effect to an extreme, making it look artificial and distracting, or they only adjust the amount without modifying size and roughness, leaving the effect uniform and easy to spot as fake.
I recently did some deeper research and figured out a modified workflow that actually makes Lightroom grain look far more like real film grain.
But before we get into that, we need to break down the fundamental difference between digital images and film images—because understanding how grain actually works is the key to replicating it digitally.
Why Lightroom’s Film Grain Isn’t Realistic
Photos above exxagerated for blog.
The problem with Lightroom’s grain feature is simple: it’s not real. It’s an effect designed to simulate film grain, but it lacks the organic randomness and depth of true film grain.
If you want authentic film grain, you need to shoot actual film. Full stop. Digital cannot replace that unique texture.
That said, we can get close. But first, let’s understand how grain behaves on a film strip.
THE BASIC PHYSICAL STRUCTURE OF FILM
The key component of film is the silver halide crystals suspended in the emulsion layer. These crystals react to light exposure when the shutter opens to capture an image. The size and distribution of these crystals determine the appearance of the grain. Unlike uniform digital pixels, these crystals are randomly scattered, contributing to the organic, natural texture of film.
WHY FILM GRAIN BEHAVES DIFFERENTLY
Film grain behaves uniquely depending on the tonal range of an image, due to how silver halide crystals react to light.
Highlights & Midtones: In areas with more light exposure, like highlights and midtones, the silver halide crystals react more strongly, making the grain more pronounced and textured.
Shadows: In darker areas, where there’s less light exposure, the reaction is weaker, resulting in finer, softer grain.
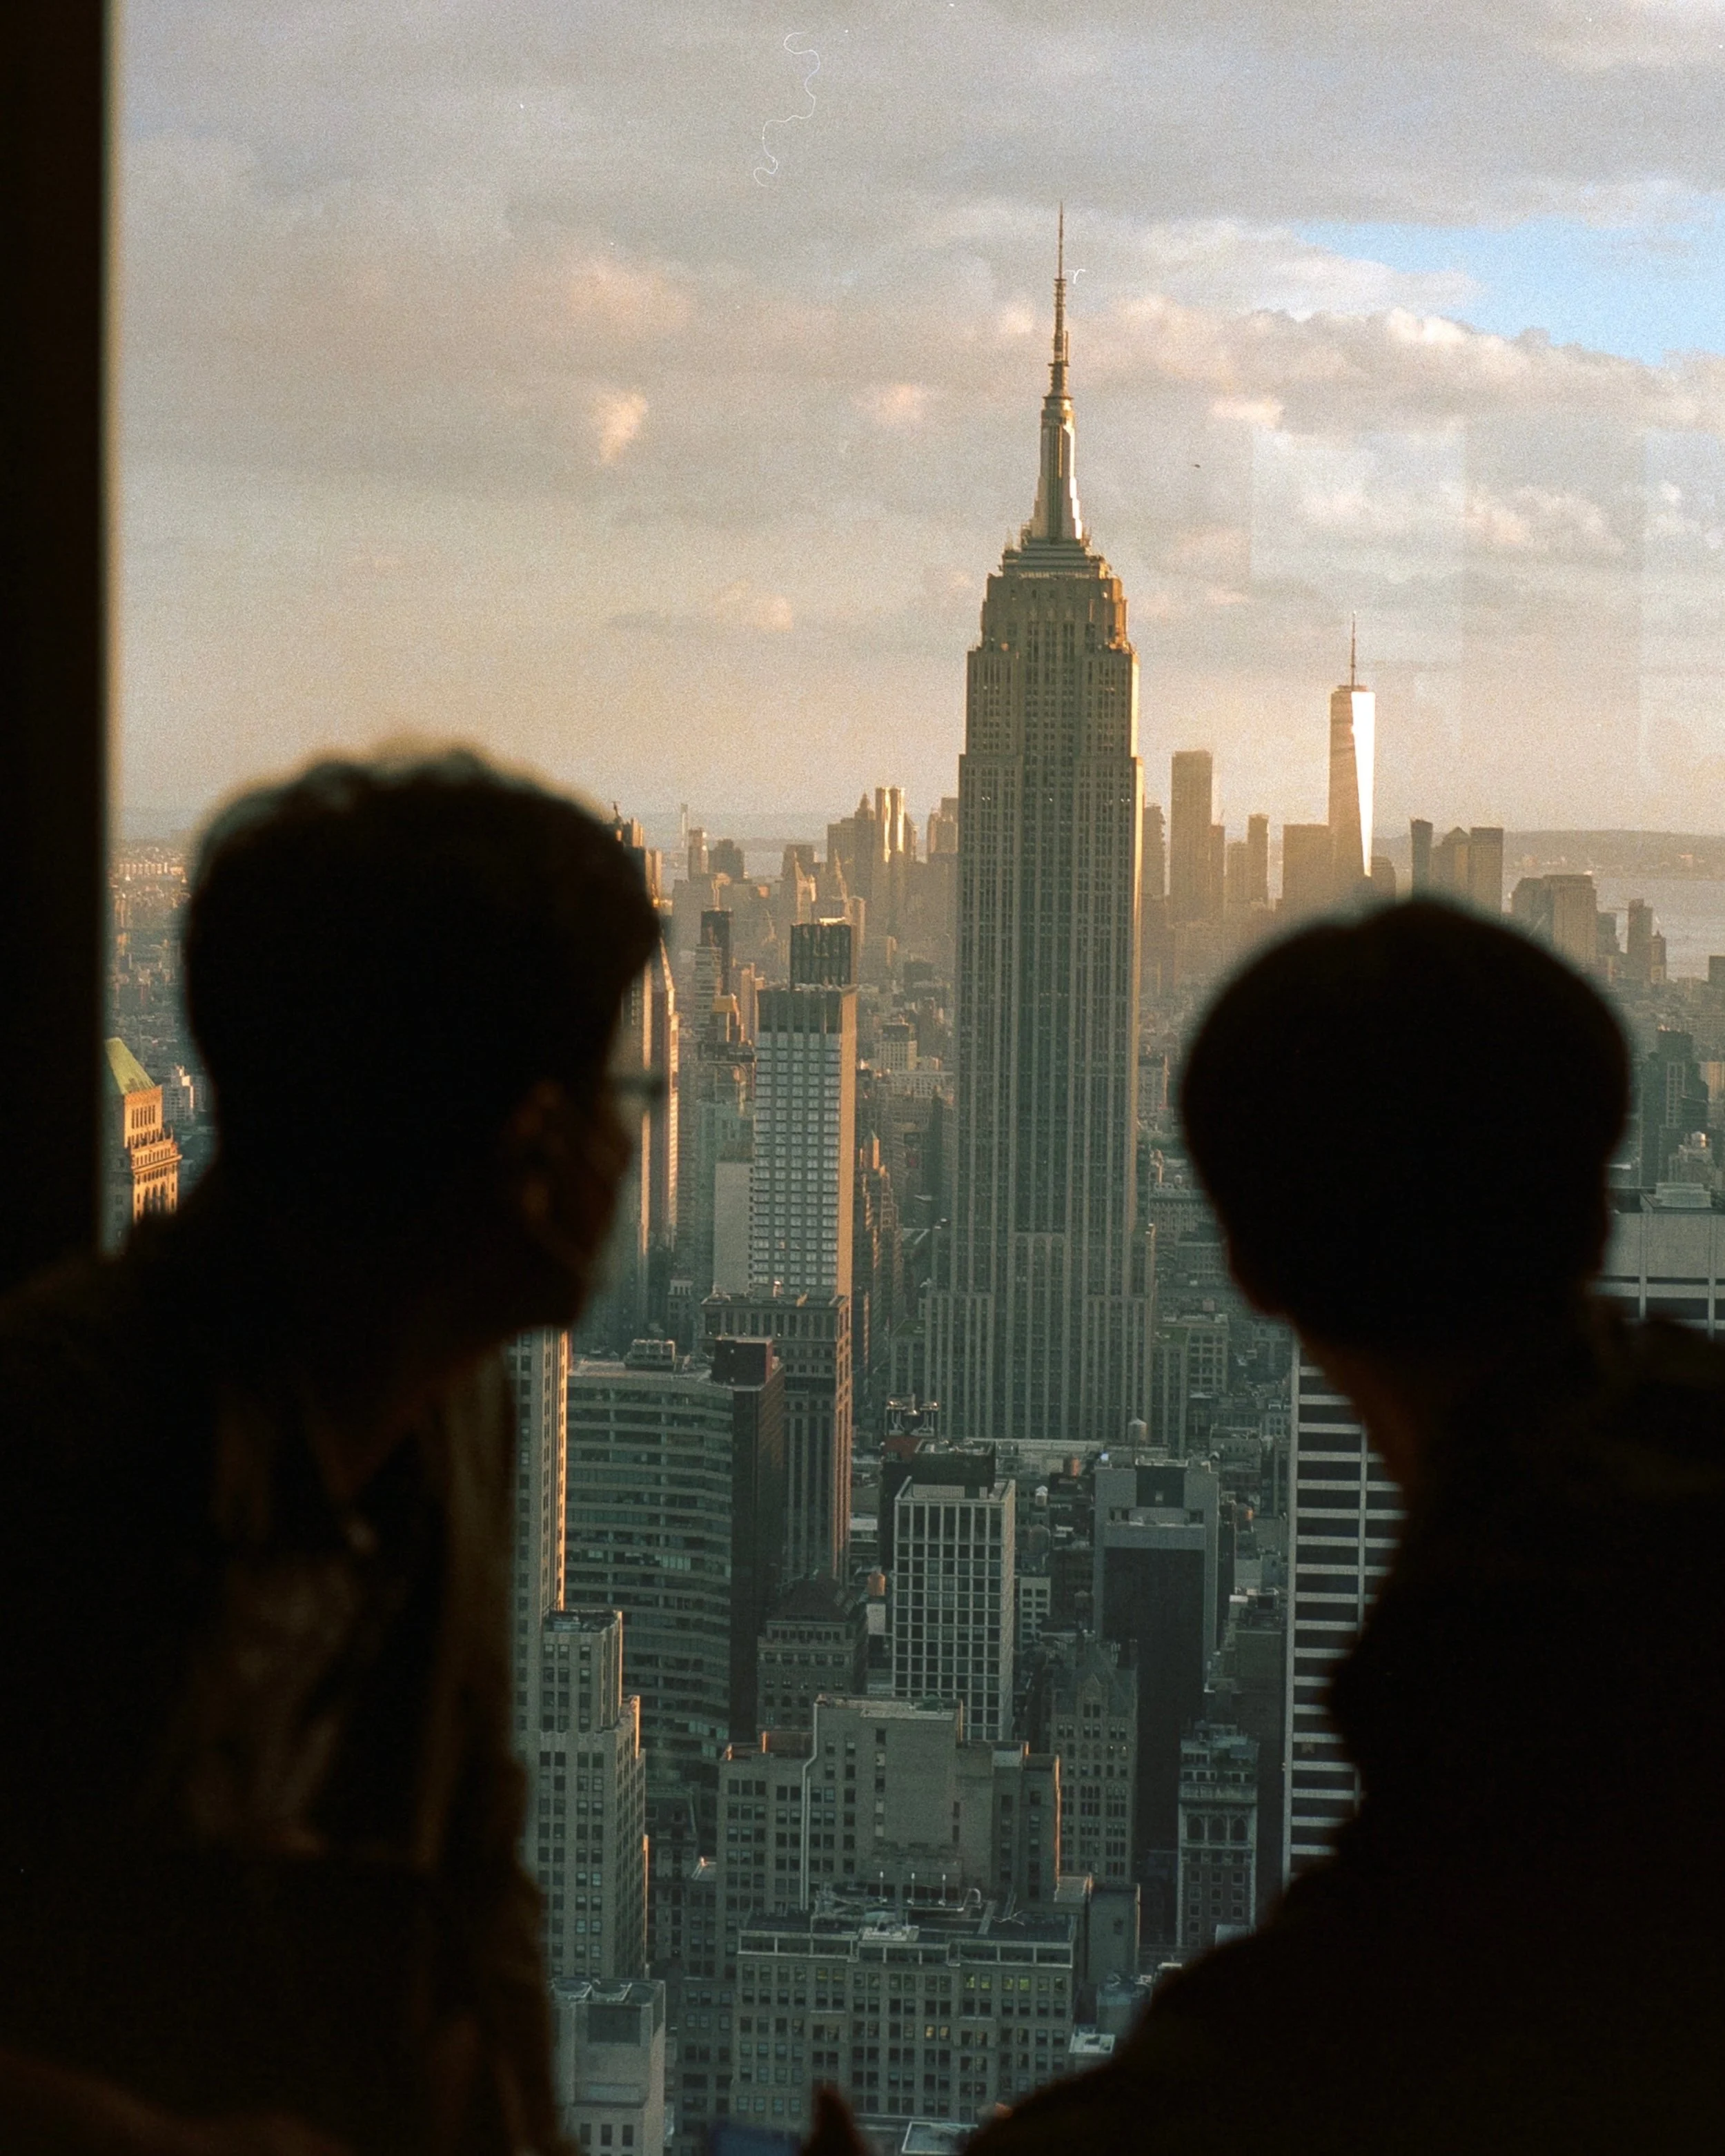

Photo by Jakob LR (https://www.instagram.com/portra_papi/)
This creates a natural, organic texture in the image, with more noticeable grain in the brighter areas and smoother grain in the shadows. This behavior differs from Lightroom’s digital grain feature, which often applies a more uniform texture without this tonal variation.
Now that we know more about how film grain behaves, we can better mimic it using Lightroom features.
How to Make Lightroom Film Grain Look More Realistic - Mimicking Real Film Grain
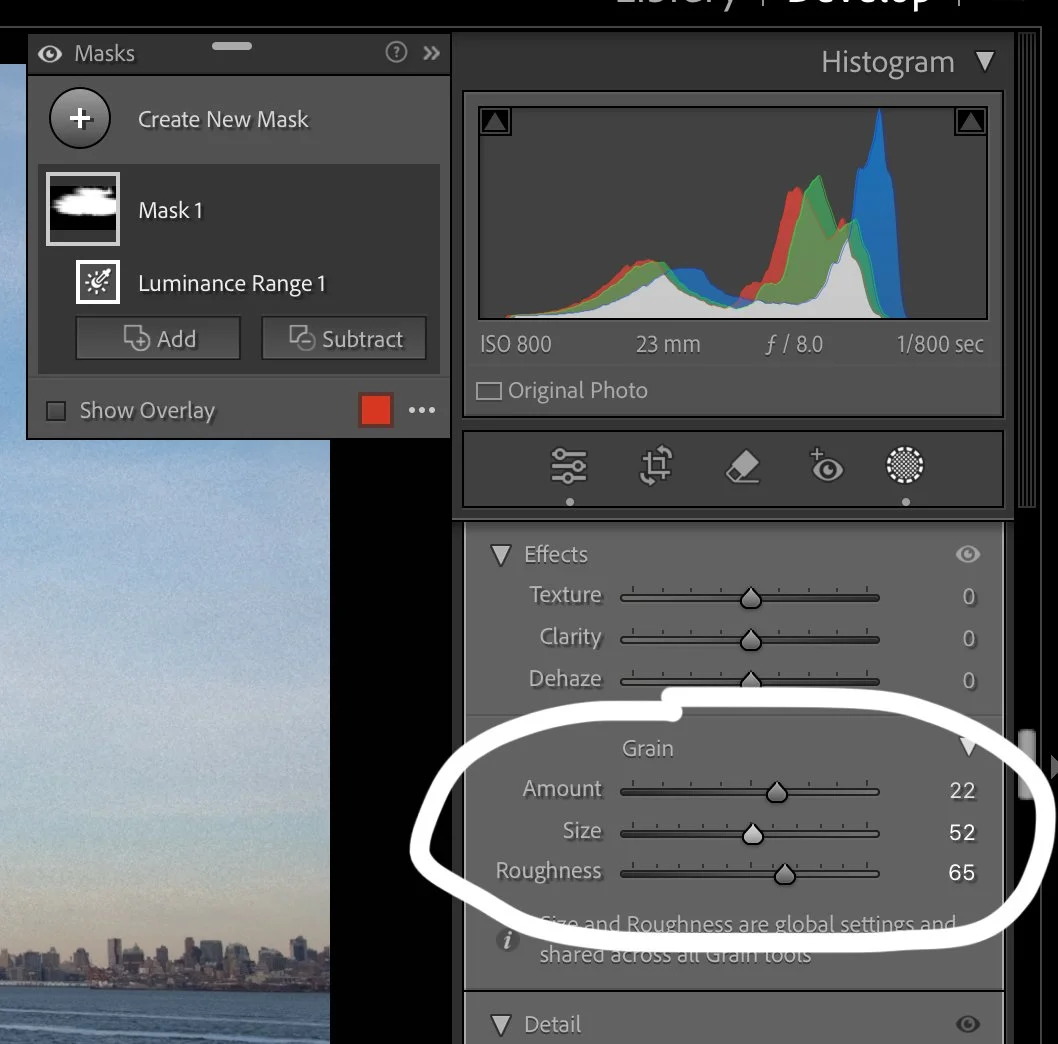
Step 1: Add a Base Level of Grain

Raw, unedited image.
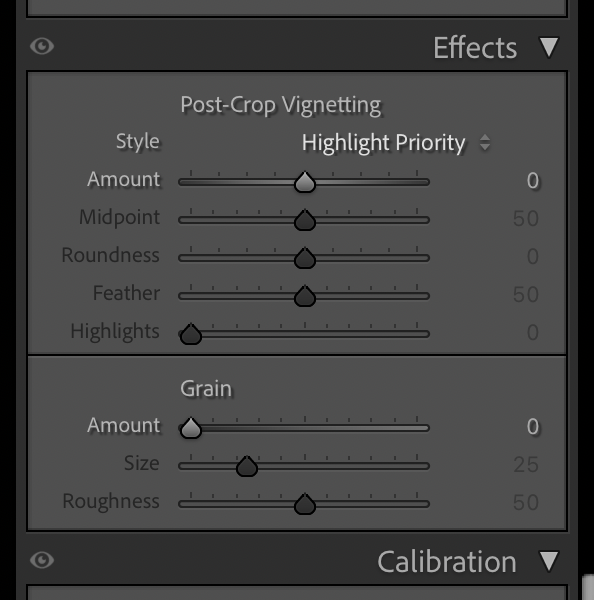
Before getting into masking, start by applying a subtle level of grain globally. I usually just add 5-10. Adjust the Amount, Size, and Roughness sliders in Lightroom’s Effects panel. I usually like a larger Size, something around 45, and a decent amount of Roughness, something like 60-70. This will serve as a foundation before fine-tuning the grain effect.

Note: I don’t recommend a Size value lower than Roughness. It can cause a really weird look in my opinion.
Step 2: Create Luminosity Masks for Highlights and Midtones
Since film grain is more prominent in highlights and midtones, we need to selectively apply additional grain to these areas.


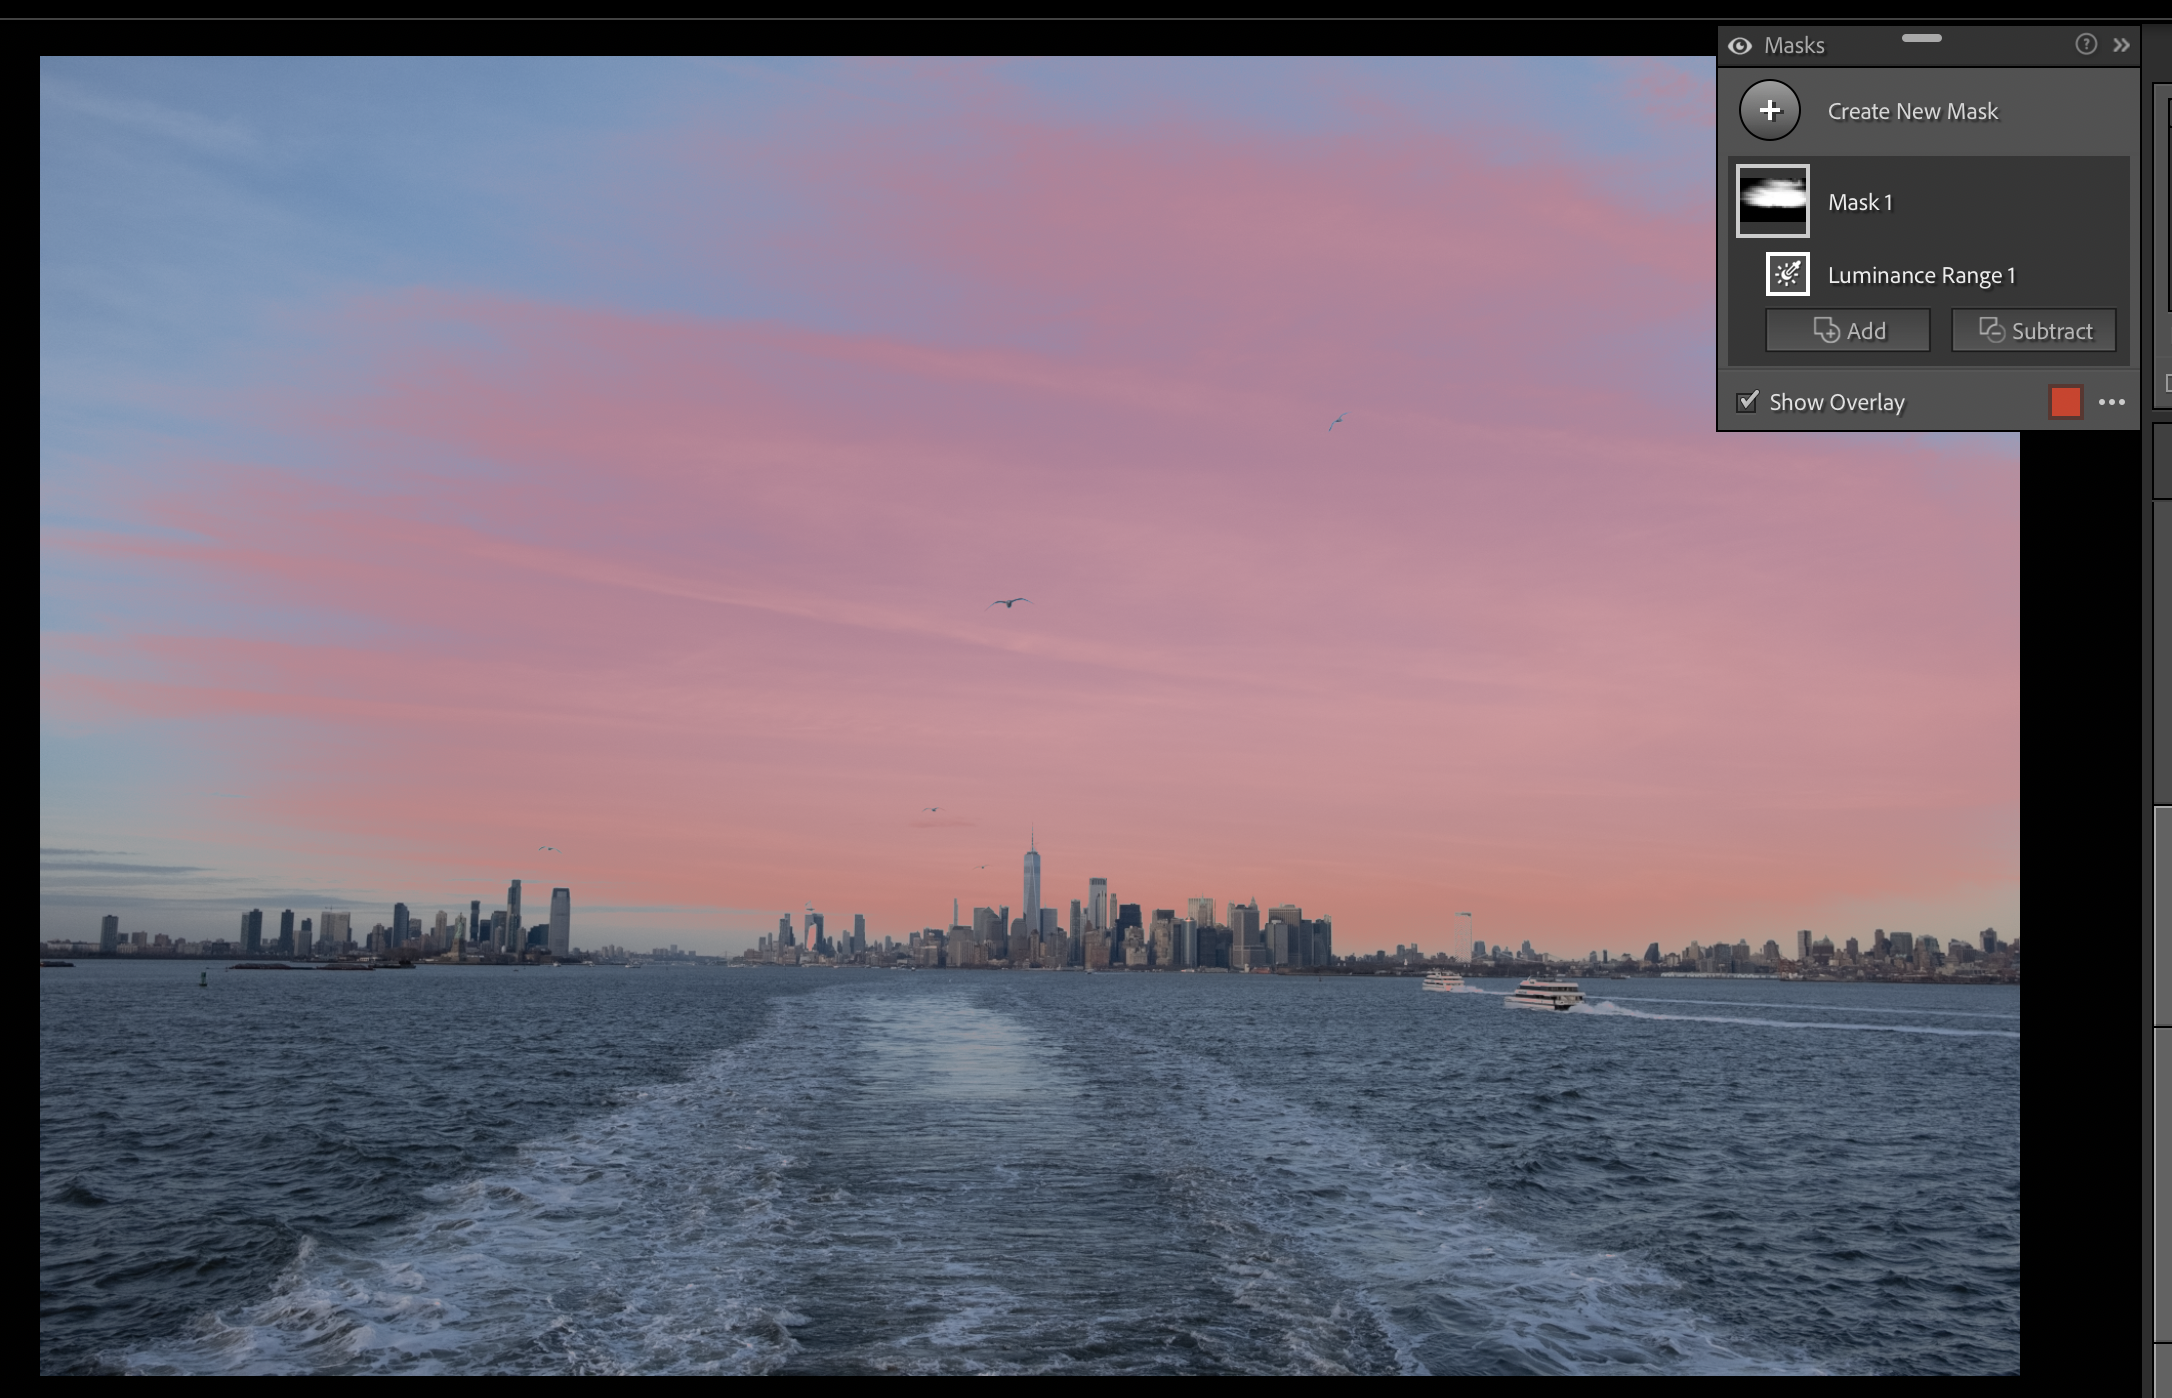
Red overlay showing the selection I made of the highlights using a Luminance Range Mask.
Go to the Masking Panel and create a new Luminance Range Mask.
Select the Highlights and adjust the range to isolate the brightest areas of your image.
Create another Luminance Range Mask for the Midtones.

Midtones - the tonal values between HL & SH. Notice, none of the darkest areas are selected. Neither are the brightest areas.
Step 3: Apply Additional Grain to Highlights and Midtones
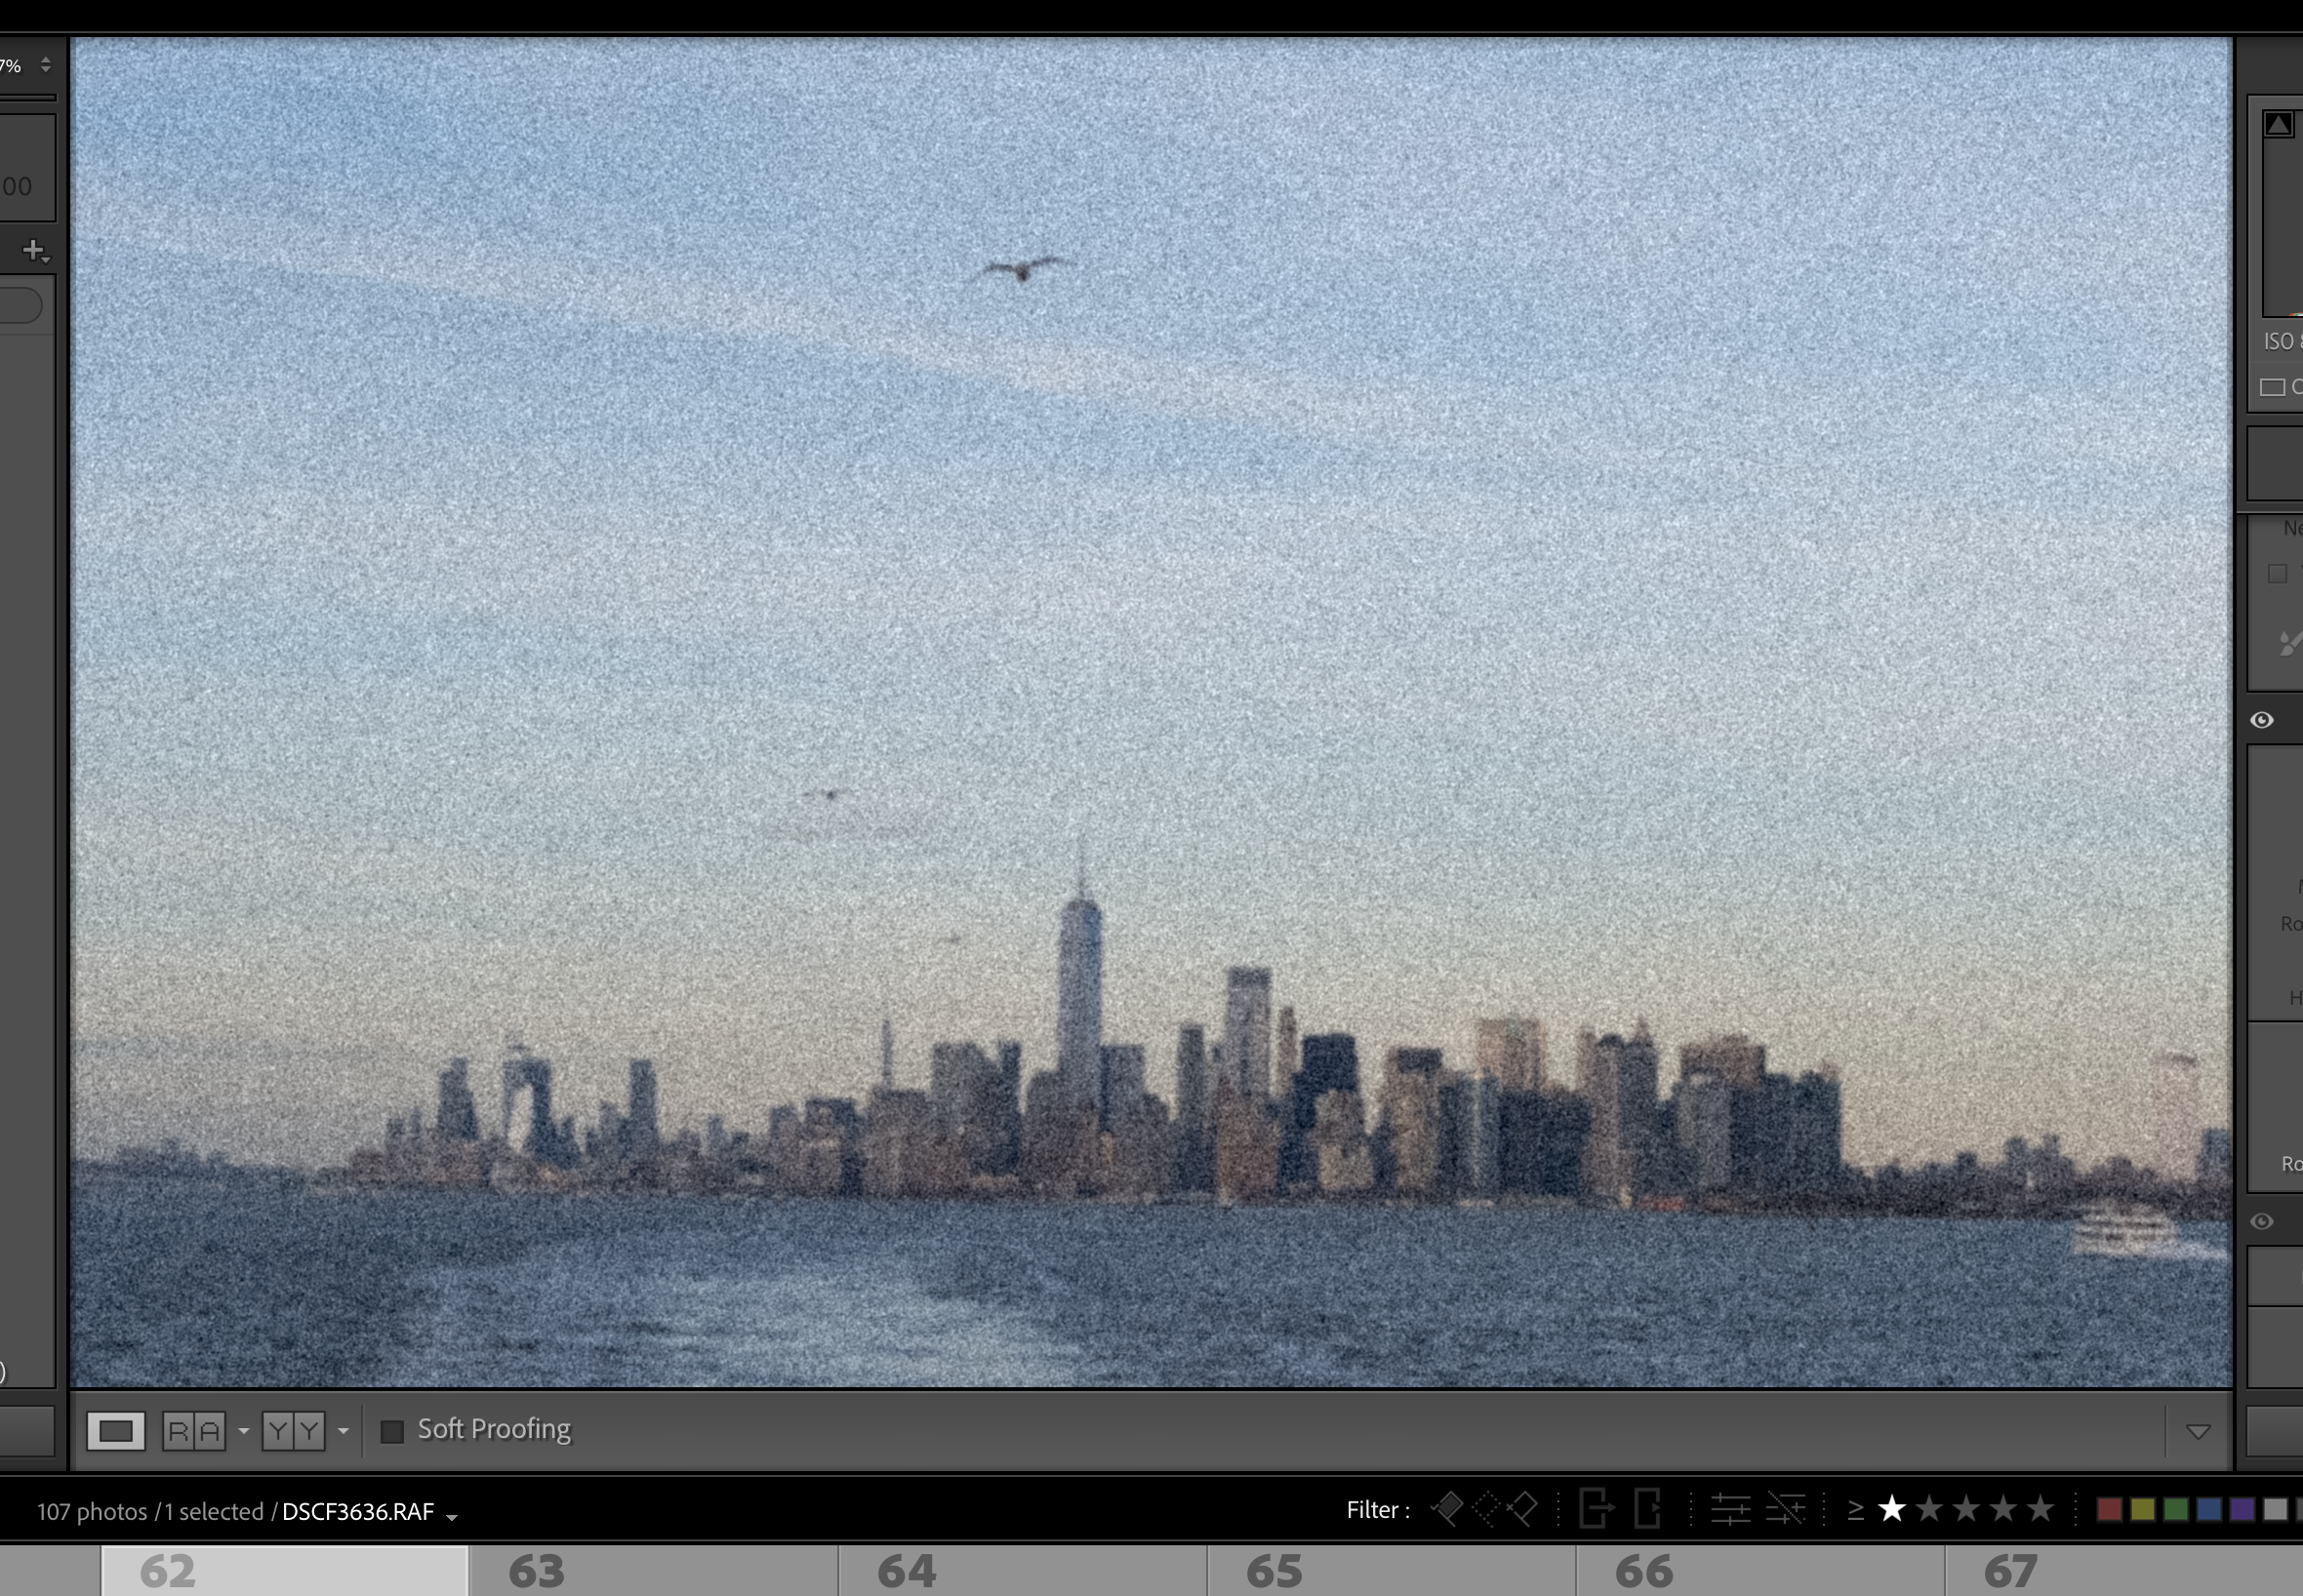
Dramatic increase here for the sake of the blog. I usually only add 5-10 Amount per mask.
With the Highlight Mask selected, increase the Grain Amount while slightly increasing Size to mimic how film behaves.
Repeat the process with the Midtone Mask, but with a slightly lower grain amount than highlights.
Avoid applying too much grain to shadows, as real film typically has smoother grain in darker areas.
How This Mirrors Film GRAIN Behavior
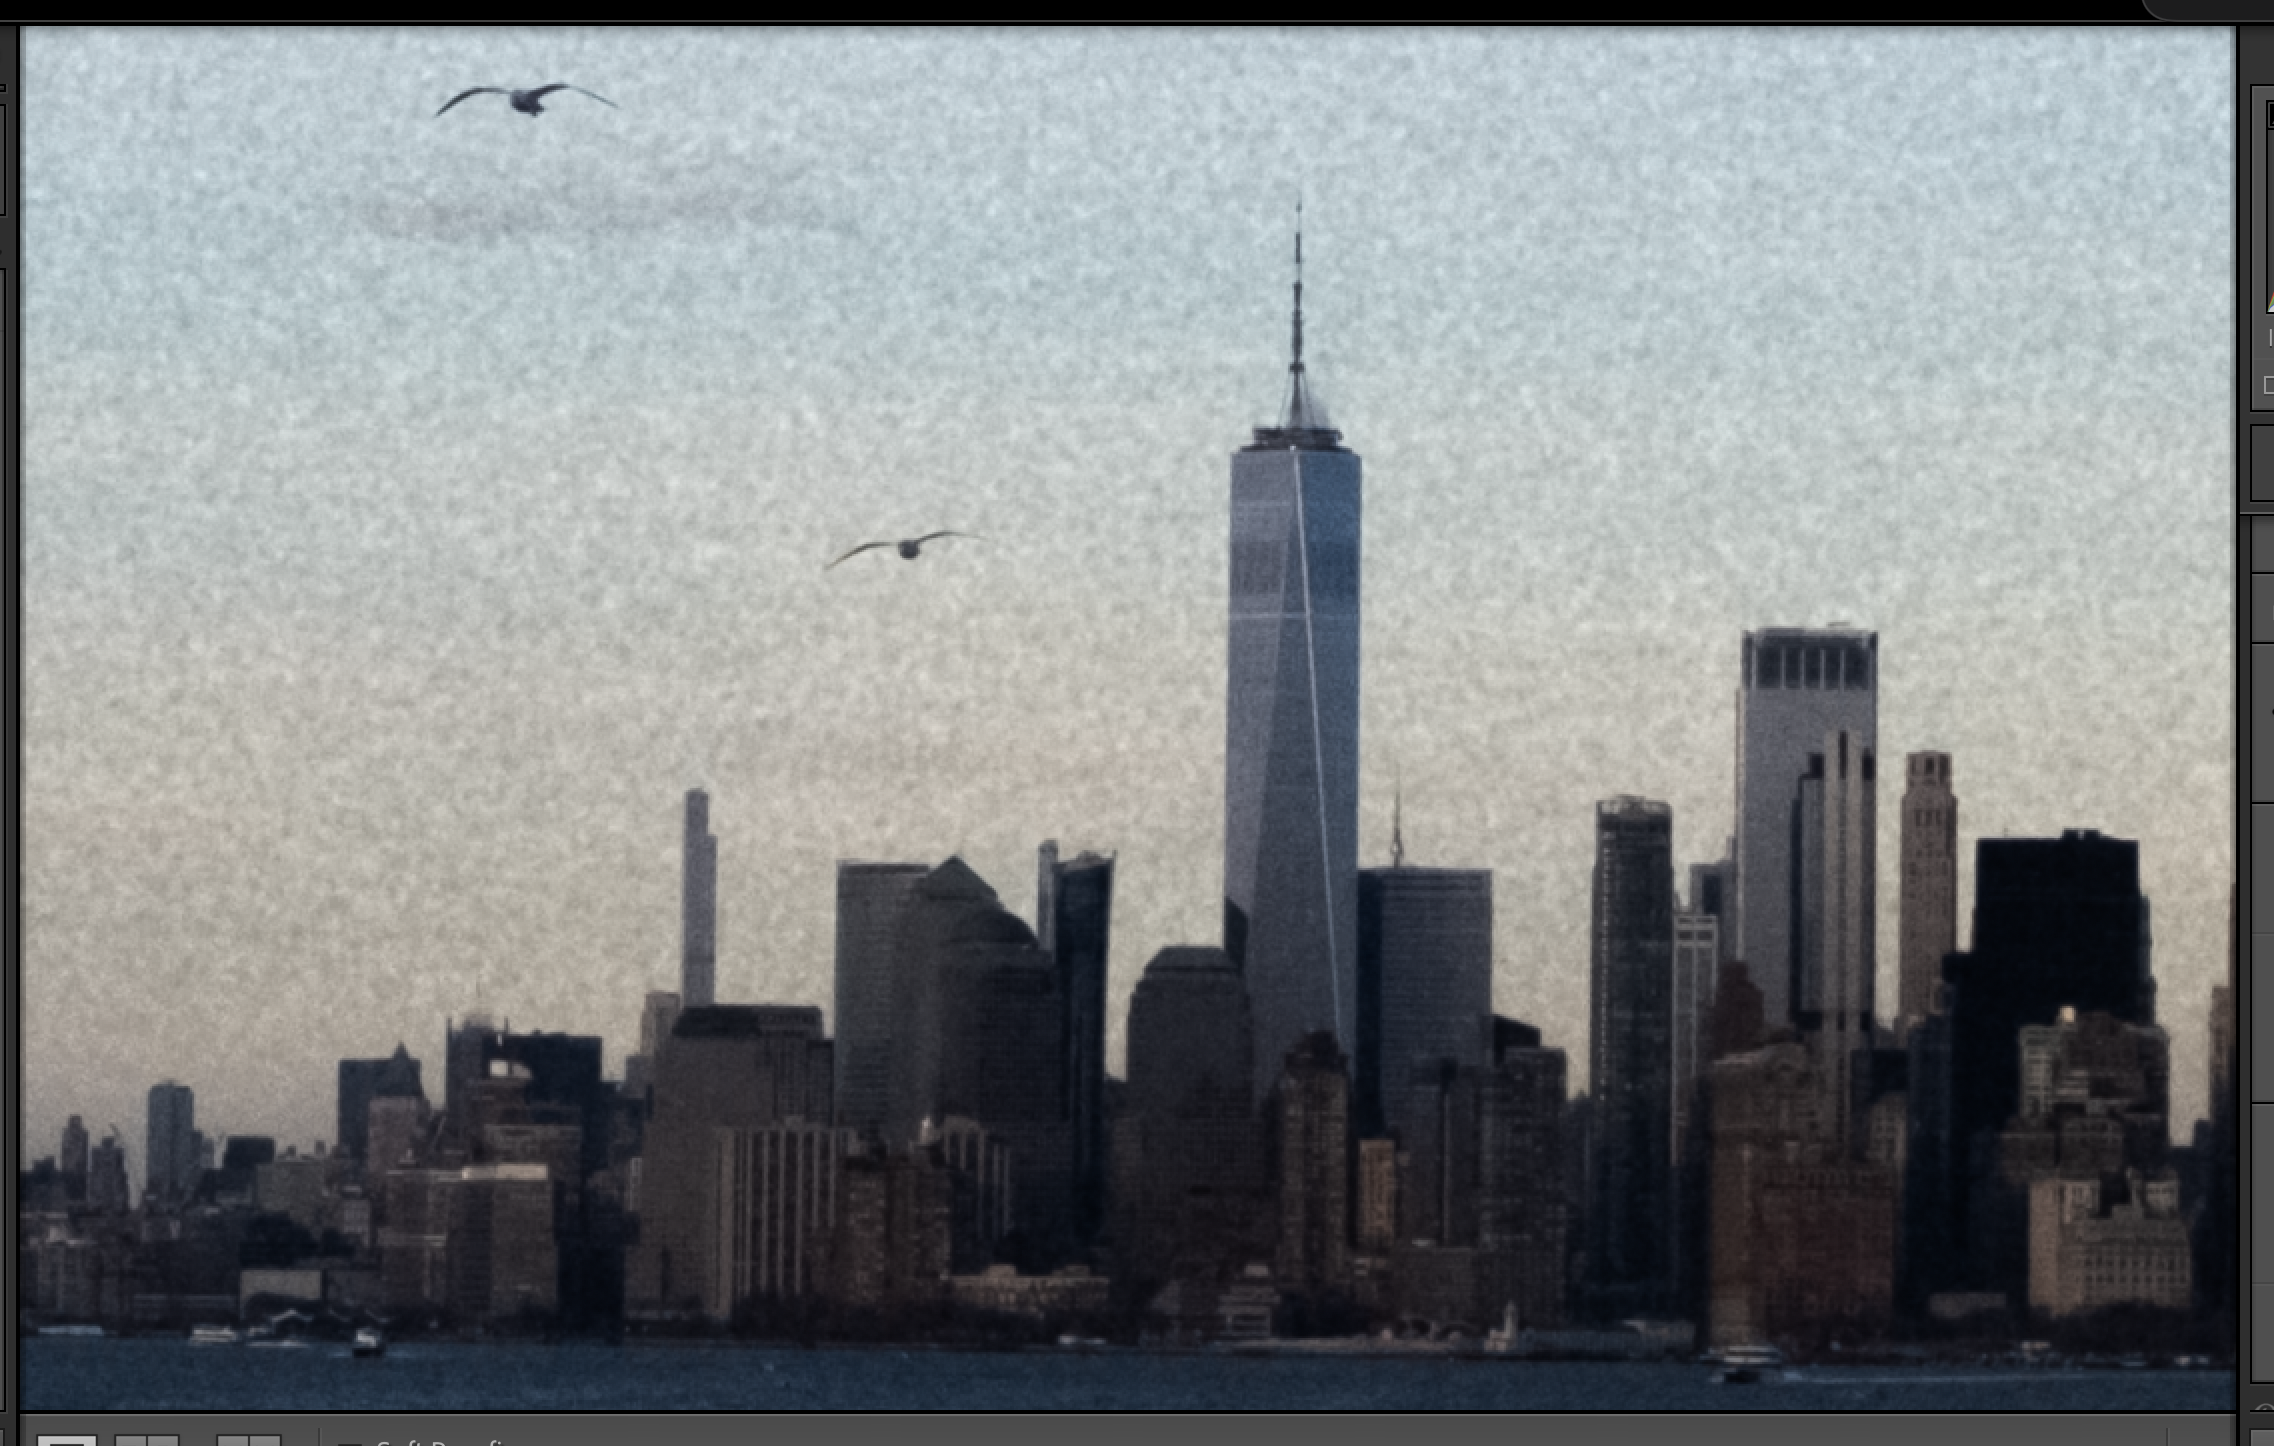
I added contrast to show off the effect better. I also dramatically increased the amount of grain for the sake of the blog visuals. You can see how easily you can use this technique to control the grain level in the highlights vs. shadows. Pictured, we have lots of grain in the HLs, very little in the SHs.
By selectively applying more grain in the highlights & midtones using luminosity masks, you’re mimicking the way silver halide crystals respond to light. Film grain is more apparent in highlights and midtones because those areas receive more exposure, causing more visible variation in grain structure. Shadows, having less exposure, exhibit finer and less pronounced grain. So, this selective grain increase using masking in Lightroom helps achieve a more authentic film look rather than a uniform, digital approximation offered by the basic grain sliders in the “Effect” panel.
I want to point out that this workflow does NOT make the digital grain any less uniform. You could do a similar workflow in Photoshop, but also introduce some randomness to the presence of the grain you add to the image, but there is no solid way to make the grain more random in Lightroom only. However, playing around with the overall “Roughness” slider can produce a look that at a glance is seemingly more random… so there’s that.
Here’s a few examples of this technique in action on my work. Please note, I usually keep it very subtle, so it may be tough to see on this blog. I’d recommend you try this out yourself and zoom in on your photo to see what is happening.


Final Thoughts
Adobe Lightroom’s grain tool isn’t perfect, but with some strategic masking and an understanding of how film behaves, you can create a more realistic film grain effect. The key is to work with tonal ranges, and not just apply grain evenly across the entire image using the Effects panel only.
Hopefully, if you follow this process, you’ll get much close enough for your taste to that classic, organic film look quickly without ever leaving Lightroom.
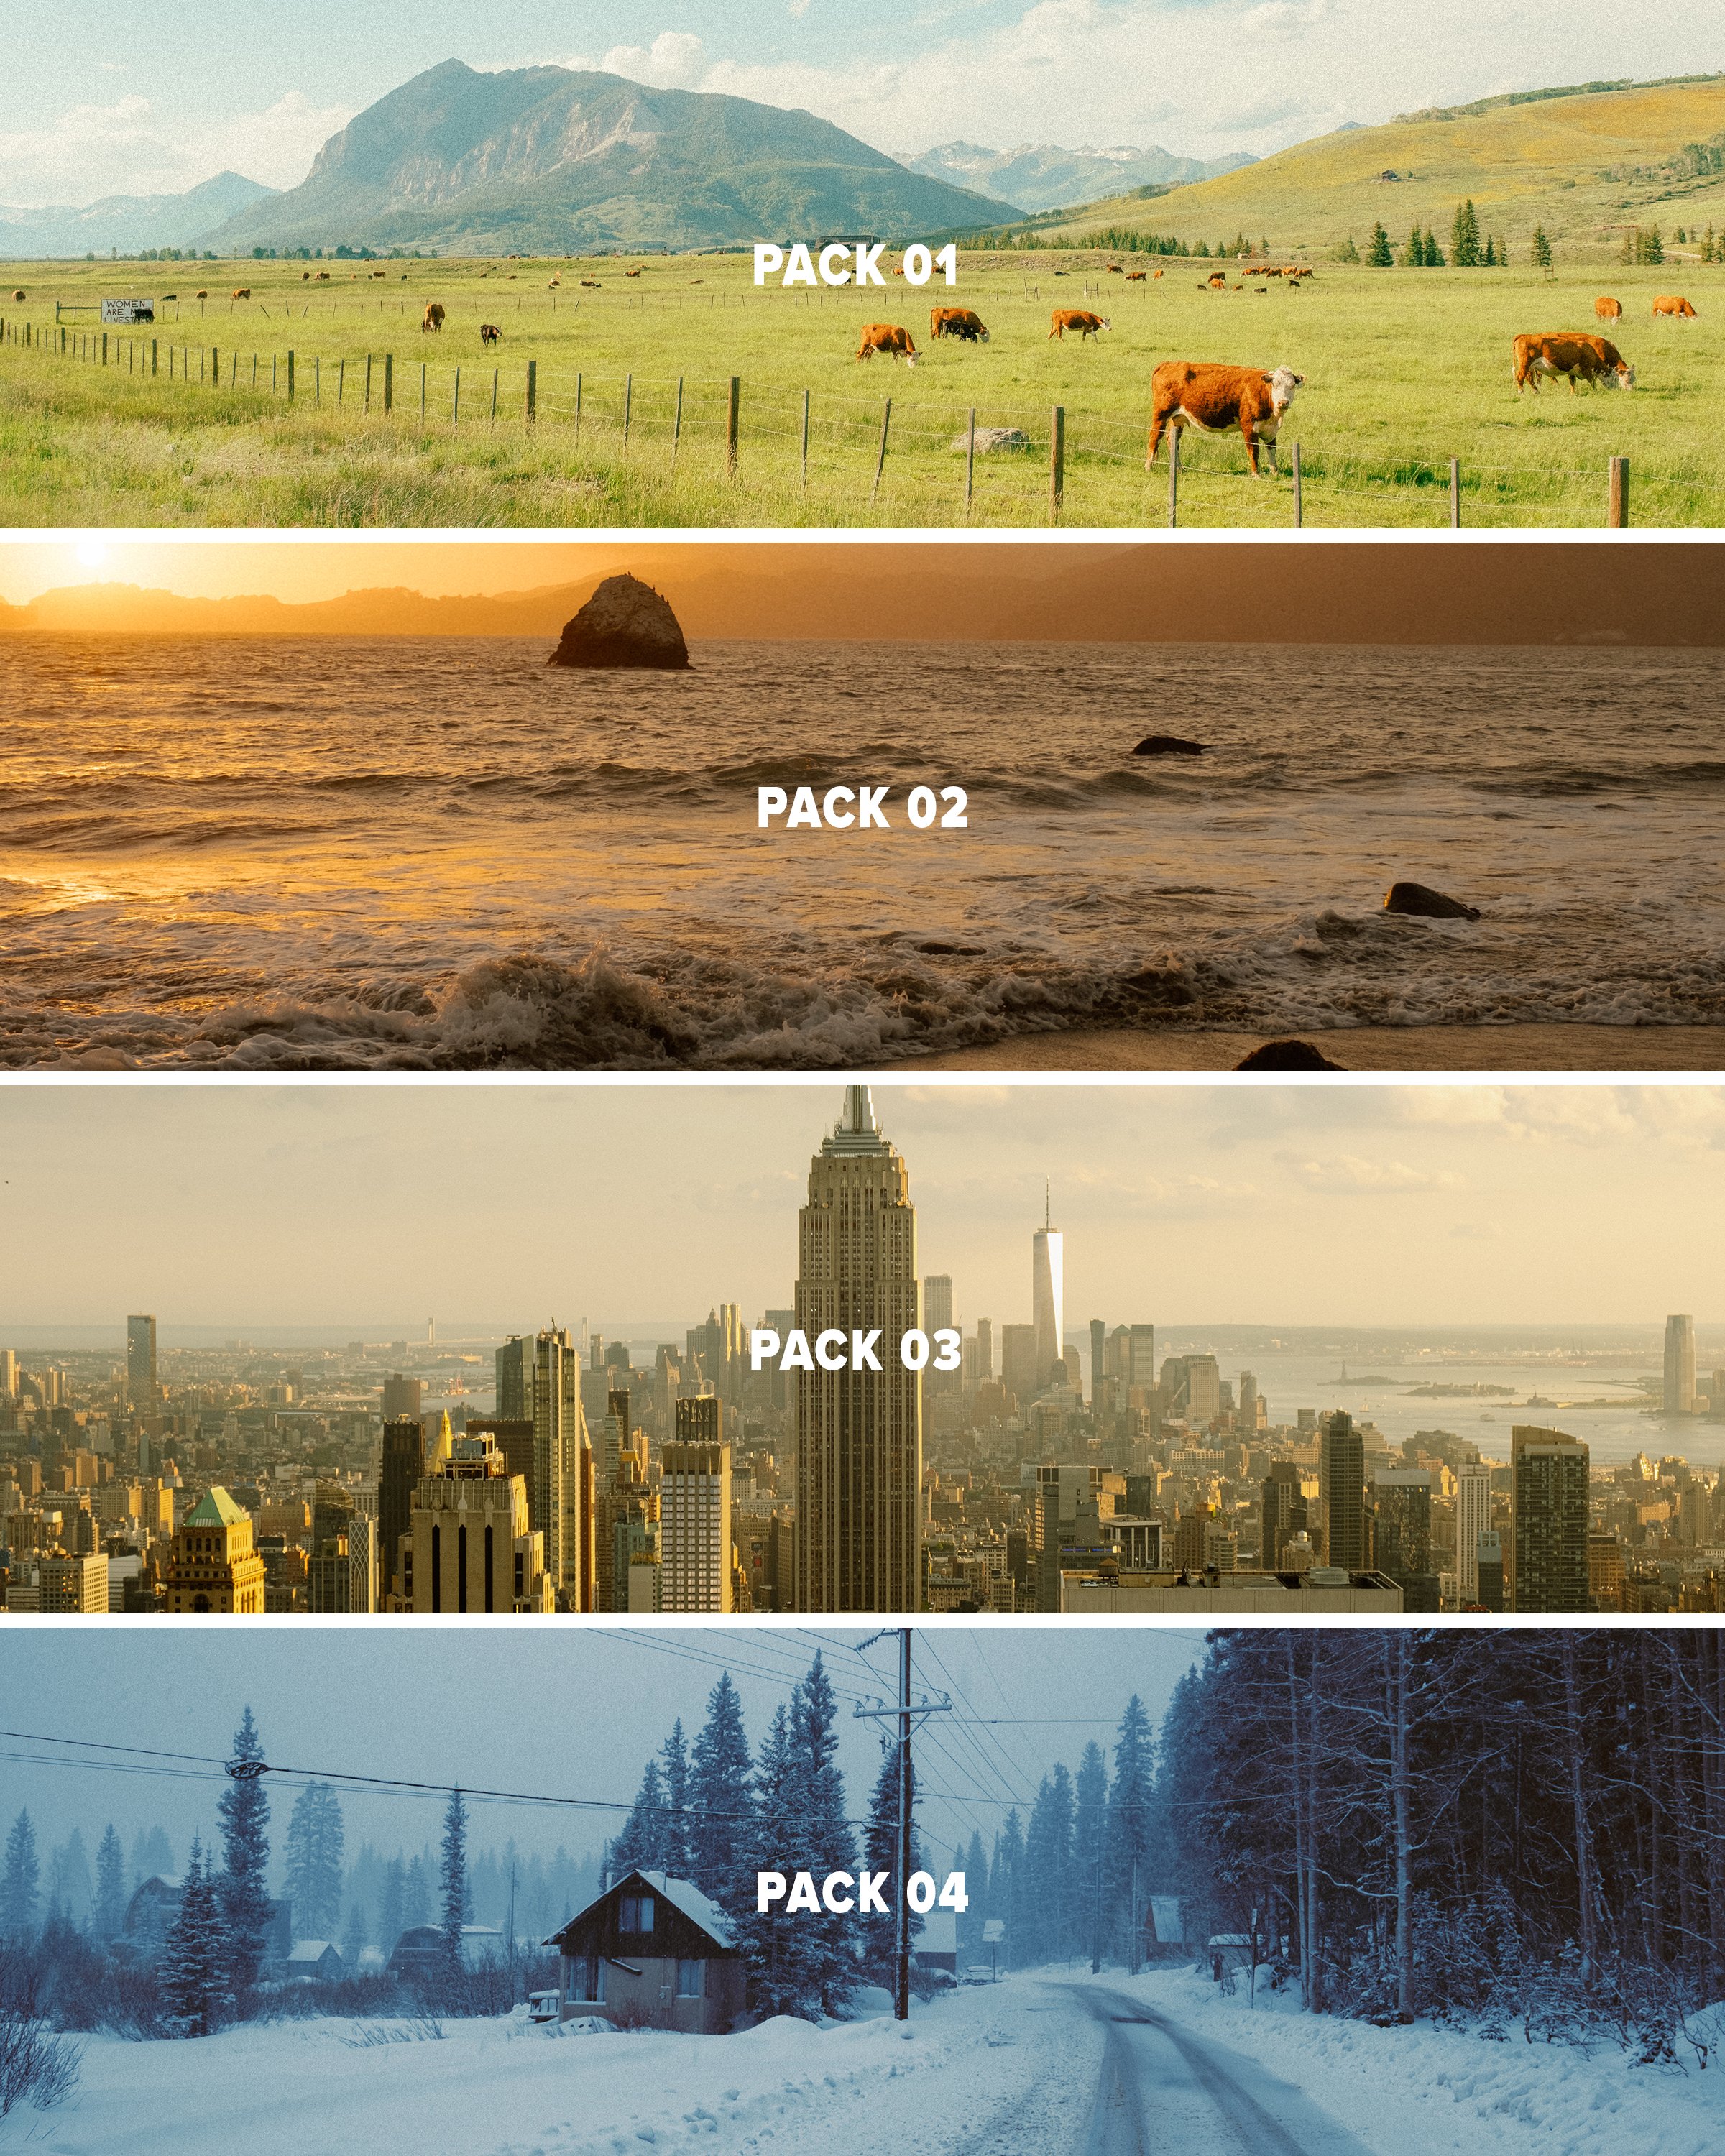
If you enjoy the look of my work and want to try out my editing style, I have preset packs available below! Supporting me through purchasing one of these packs is the best way to keep this blog ad-free and allow me to continue sharing editing tips.
Help support my work by exploring the available products below!