How To Photograph The Vintage hOLIDAY tRain (NYC)
A Photographer’s Guide To The vINTAGE hOLIDAY tRAIN iN nyc

A well-dressed woman on the Holiday Nostalgia Train in NYC. December, 2024.
What is the Vintage Holiday Train (in NYC)?


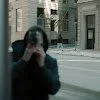
Above—very bad quality screenshots from iPhone videos… but you get the idea.
Every year, the New York Transit Museum brings their historic 1900s train cars back on the tracks for the annual Holiday Nostalgia Rides. These trains run on select Sundays from late November through December (we’ll talk details below).
If you’re local to NYC—or a follower of the street photography community—you’ve probably seen these trains posted online by other photographers.
The vintage cars, combined with nostalgic outfits, create a one-of-a-kind opportunity. For photographers, it’s a chance to capture scenes that look like they’ve literally been pulled straight from the early 20th century.
In this guide, I’ll share everything you need to know to make the most out of photographing the Holiday Nostalgia Train in New York City.
How do you see the Holiday Nostalgia Train in NYC?
Every year, departure details, timelines, etc. may change. I’ll outline this year’s schedule below, but remember know that the specific dates, times, and departure locations change every year.
Always check the New York Transit Museum website for the latest details!
When does the Holiday Nostalgia Train run?
In past years, the Holiday Nostalgia Train runs on Sundays from late November (just after Thanksgiving) through December. The exact schedule does vary year to year, so always confirm for the current year.
For 2024, the trains are operating Sundays between 10 AM and 5 PM, traveling between 2nd Avenue and 96th Street stations. See the full schedule here.
Reading this in 2025 or beyond? Visit the New York Transit Museum’s website for the latest updates.
How To Get Photos Of the Holiday Train - Photography Tips
1. Get There Early and Focus on the Platforms

When you’re on the train, it’s going to be packed—tourists, photographers, nostalgia fans, you name it. Capturing clean, vintage-style photos with minimal distractions might be tough.
Instead, spend time on the platforms at the start and end of the ride or even during stops (just be fast—don’t get left behind). These moments provide space to focus on the vintage details of the train and its riders. You’ll also get to see the train actually pull into the station, if you’re early enough, which will give you a chance to catch photos of the front or back of the train itself.
Pro Tip: Keep an eye out for organized meetups! Last weekend (December 15, 2024), I heard about a “vintage meetup” at 2nd Avenue Station before the 12 PM departure. Riders dressed in their best retro attire gathered on the platform for photos and mingling.
These meetups are goldmines for photographers, offering a chance to capture well-dressed subjects in a less crowded setting.
2. Engage with the Riders


The holiday train draws nostalgia enthusiasts from all over the world (literally). That said, don’t be afraid to strike up conversations—these connections often lead to better photos and more meaningful moments.
Even if you prefer candid shots, showing riders your work afterward can lead to great reactions and new opportunities.
Lastly, be polite—if someone asks you not to photograph them, just thank them and move on!
3. DON’T FORGET ABOUT THE DETAILS


Just as beautiful are the robust outfits, are the intricate details that make them up. I found myself really invested in looking for little details—things like textures, colors, etc. I put my 56mm to work! More on gear below.
What Lens Should You Bring?
For this year, I brought the Fuji XF 56mm f/1.2 and 23mm f/1.4, my go-to prime lenses right now. Here’s why I recommend a mix of wide and tight focal lengths:
Tighter Lens (e.g., 56mm):
The trains can get crowded. A tighter lens allows you to isolate well-dressed subjects or focus on vintage details without modern-day distractions (like AirPods or smartphones… lol).
Wider Lens (e.g., 23mm):
A wider lens works best for capturing full outfits or wider scenes when subjects are more isolated.
Both lenses are fast primes, which helped me navigate pockets of low light on the train. But don’t stress about gear—while faster lenses give you an edge, I’ve shot this experience in the past with a variable aperture kit lens (f/3.5–5.6) and still got great results.
What Camera Settings Should You Use?
ISO: Don’t be afraid of higher ISOs. I was shooting between 1600 ISO and 6400 ISO for the majority of my photos. You may need to in some cases due to the lighting, but also, the added noise can even enhance the film-like, vintage aesthetic.
Aperture: Shoot wide open (e.g., f/1.2 or f/1.4) to gather more light and isolate your subjects from busy backgrounds. This is key—again, these trains get super busy, the last thing you want is an amazing vintage shot with a damn iPhone in the background.
Shutter Speed: Use a faster shutter speed (e.g., 1/125s or higher) to freeze motion—these trains will be moving, and so will the people, so you’ll need to freeze that action to get clear shots.

FAQs (DMs I got on IG):
Can you take photos on the train? Do you need a permit?
Yes, you can take photos, and video is generally fine too. The same rules apply as any other day on the subway. Still, don’t take my word for it if you’re worried. Go check out their website for specifics.
Do you have to dress up to ride the Holiday Train?
No, you don’t need to dress up to ride the holiday train—its totally optional. In fact, in my experience so far in recent years, most riders are either tourists or photographers. Lawl.
Outro

Aside from the other tourists/photographers around you, this experience will definitely feel like you stepped back in time. Whether you’re a nostalgia lover, a photographer, or just a fan of NYC history, the Holiday Nostalgia Train is a magical event you won’t want to miss—and I hope this post helped you plan your visit.
WHATS NEXT?
Follow me on Instagram @AVDIDIT to see more of my photo work - I post daily.
Check out my Youtube Channel, where I release videos on my travels & photography process monthly.
Lastly, for quick updates, announcements, and free stuff, you can join my Newsletter!
Help support my work by exploring the available products below!
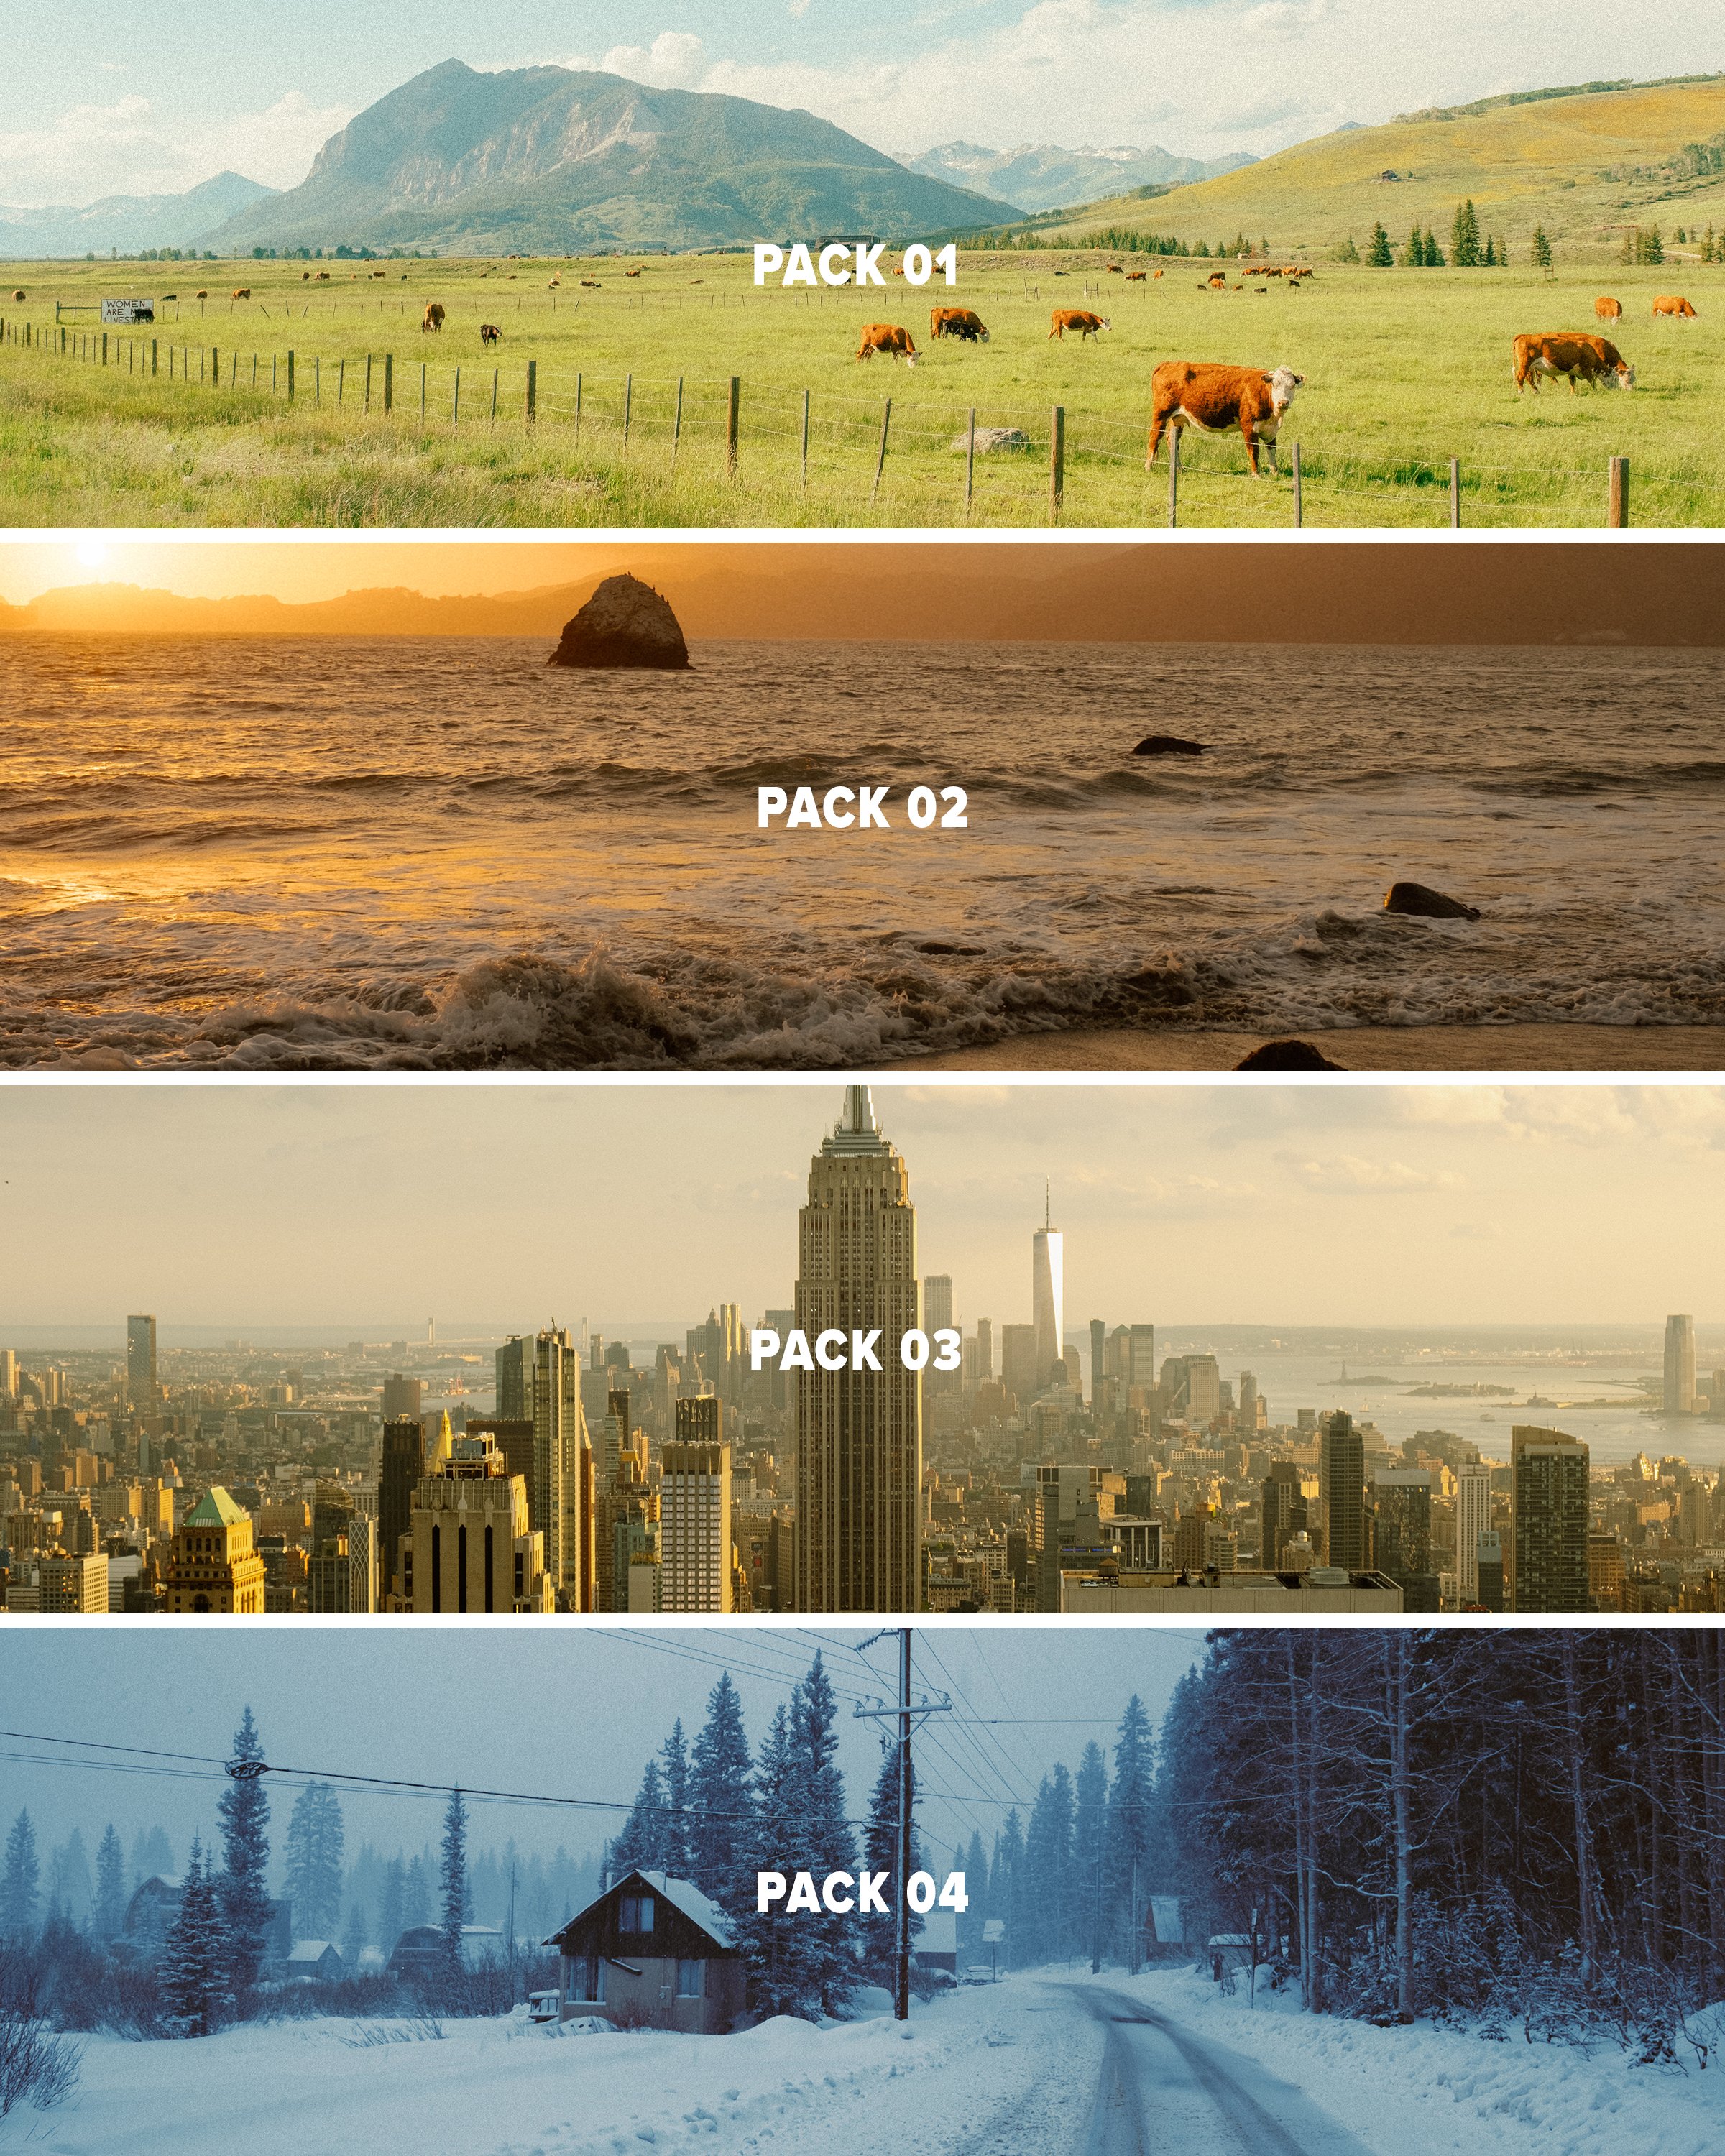
This pack provides 3 Lightroom presets inspired by film looks that should give you a solid base to work with in just a few clicks using Lightroom. This pack is the 4th and final installment of my ongoing “AV FILM SIMS” preset suite. The full suite (see bundle) includes this pack and the 3 others, giving you the base looks I use on almost all of my edits as scene on Instagram/Youtube, etc.
Each look is outlined below:
Winter - a cool blue preset created using heavy Color Tone Curve edits, inspired by winters spent in the Utah desert, but applicable to most moody, rainy, or winter scenes.
Wyoming - a clean, filmic day-light focused preset inspired by my travels to the Grand Tetons of Wyoming. Great for road trip scenes, landscapes, and mid-day photo walks.
Moab - inspired by kodak film-stocks, this preset is meant to create a soft, colorful and film-like look in one click. Inspired by some of my earliest visits to Moab, and specifically Arches, but I’ve been using it on a lot of NYC work as well!
Note: these are for DESKTOP. I use them on Lightroom Classic. These are NOT mobile presets. They do work in Lightroom Cloud via importing, and if applied to a DNG, they CAN work on Mobile, but they are not optimized for this purpose.
How to download & install:
Once you checkout from my site, you will be given access to the digital download.
Download & unzip the “zip” file.
Open LR -> File -> Import Develop Profiles and Presets.
Navigate to the unzipped folders and select them.
Click “Import.”
How to edit photos with this pack:
Ensure the image is properly exposed. Adjust the exposure slider (increase or decrease) until your exposure is even.
Explore the pack by highlighting each of the 3 looks - before clicking any, hover over each to see how they feel on your image. Click to apply the preset you like.
Make other adjustments as needed. If you have my other packs, try combining these looks with the tool kits from those! Experiment with making small slider adjustments to the tones, mess with color grading, but don’t go TOO far. Less is more with editing.
You’re done! Export & share.
Presets are non-refundable. Absolutely no re-selling under any circumstances.
Reminder: these are for LIGHTROOM CLASSIC. They are not optimized for mobile app.
When ordering, you’ll get a 24-hour download code. If you lose this code or forget to download, email me & I’ll get you another.
Be sure to sign up for my newsletter/updates with your email at checkout to receive discounts/free stuff in the future!
Not affiliated with or endorsed by any camera company.