Fujifilm XF 23mm f/1.4 vs. f/2: Which Lens to Buy
Comparing the Fujifilm 23mm f/1.4 and f/2: Key Differences, Pros, and Which One You Should Buy

My ideal Fujifilm setup - the Fuji X-T5 with the 23mm f/1.4
The Fuji XF 23mm f/1.4 vs. f/2: Which Lens Is Best for You?
Within the Fujifilm lineup of 23mm lenses, you have two brand-native options to choose from: the XF 23mm f/1.4 and the XF 23mm f/2. Both options have garnered largely positive reviews among the Fuji user community (based on my research). After using both, I would agree with much of that sentiment—I’ve really enjoyed my experience with each.
However, after using the 23mm f/1.4 for a few months and the 23mm f/2 for over a year, I’ve decided to keep both, each for different reasons. In this blog, I’ll walk you through the main differences between these two lenses, share my personal experiences, and hopefully help you decide which one would suit you best.
Differences Between the Fujifilm XF 23mm f/1.4 and f/2

Starting with the basics—both lenses are 23mm, providing a nearly identical image shape (in my experience), with a field of view equivalent to 35mm (due to the crop factor on APS-C sensor X-series cameras). However, the two lenses also have some key differences.
Aperture

The XF 23mm f/1.4 has a maximum aperture of—you guessed it—f/1.4. This offers a full stop of additional light, allowing for better low-light performance and a shallower depth of field. The f/2 version, while still decent in low light, is slightly less capable with one stop less light.
In my experience, I don’t take advantage of the wider aperture in 99% of scenarios. The only time I really care about the extra stop is when shooting in low light. As for the depth of field? I usually stop down (again, unless I’m shooting at night) to around f/8. So, if you’re a landscape photographer, street photographer, or someone who wants the majority of your frame in focus, the extra aperture might not be worth it. That said, if you shoot portraits, concerts, or other scenarios where subject separation is key, the f/1.4 is worth considering.
Size and Weight

The XF 23mm f/2 is noticeably smaller and lighter, making it far more convenient for everyday carry in my experience. I gravitate toward this version when I know I’ll be out for a long day and don’t want to lug around heavy gear.
Weather Sealing
The XF 23mm f/2 is weather-sealed, which gives me some peace of mind when I’m out shooting in rainy or moody weather. The 23mm f/1.4 is not weather-sealed, but I still use it in the rain anyway (lol). That said, I’m extra cautious with the f/1.4, taking breaks every 30 minutes or so to dry the lens—a precaution I don’t feel is necessary with the f/2.
FOCUSING SYSTEM

The XF 23mm f/1.4 offers both an autofocus option (which is what I use), and a manual focusing ring that you can activate by pulling the focus ring down toward the back element of the lens. I just keep mine on autofocus (which by the way, is pretty good), but if you enjoy manually controlling your focus, this is a cool feature you might want to take note of. Manual focus is still electronically controlled, however.
Price
As of this writing, you can get the XF 23mm f/2 for around $250 USD used, whereas the XF 23mm f/1.4 is closer to $400+ on the used market.

Fujifilm XF 23mm f/2
My Thoughts and Experiences with the Lenses
After using both extensively, I’ve found that each lens shines in different scenarios. Let’s break it down further.
XF 23mm f/1.4: My Favorite Lens for Night Photography


The XF 23mm f/1.4 excels in low-light scenarios. For night street photography, the wider aperture lets me maintain lower ISO settings and higher shutter speeds, resulting in cleaner images with less noise.
When using the f/2 lens at night, I often find myself needing ISO 3200 or higher for similar exposure. While newer Fuji cameras handle high ISO well, there’s a noticeable difference in image quality between the two lenses in low light, especially before any noise reduction in editing.
XF 23mm f/2: The Best Everyday Carry Lens for Fujifilm
For any lighting condition outside of low light—particularly day-to-day street photography in good light—the XF 23mm f/2 is my go-to. It’s small, lightweight, and weather-sealed, making it perfect for long city walks or travel.
On sunny days, I’m usually stopping down to f/8 or higher to maximize depth of field and sharpness. At those apertures, the difference in image quality between the two lenses is negligible. I also find the compact size of the f/2 lens to be less conspicuous, which is great for capturing candid moments.
When and Why I Use Either Lens:
XF 23mm f/1.4: Primarily for night photography and low-light scenarios where the extra stop of light makes a big difference.
XF 23mm f/2: My choice for everyday street photography, travel, and general use when I know I won’t be shooting in low light.
The Fuji XF 23mm f/1.4 vs. f/2: Which Lens Should You Choose?
Here are some key factors to consider:
Low-Light Performance: If you often shoot in low light, the XF 23mm f/1.4 is worth the investment. The wider aperture provides better image quality and usability in challenging lighting.
Portability and Convenience: The XF 23mm f/2 is a better choice if you want something lightweight and portable. Its compact design and weather sealing make it a reliable everyday option.
Budget: If cost is a concern, the XF 23mm f/2 is more affordable on the used market while still delivering excellent quality.
Shooting Style: If you primarily shoot stopped down (e.g., f/8), you likely won’t notice a significant difference between the two lenses.
Final Thoughts
Both the Fujifilm XF 23mm f/1.4 and XF 23mm f/2 are fantastic lenses. I’ve decided to keep both because the XF 23mm f/2 is an ideal everyday carry companion, while the XF 23mm f/1.4 is indispensable for night photography. Ultimately, the choice comes down to your photography style, preferences, and budget.
If you’re a street photographer, traveler, or someone who values portability, weather sealing, and quick autofocus in good lighting, the XF 23mm f/2 is hard to beat. It’s compact, reliable, and versatile, making it a lens you can take anywhere without a second thought.
On the other hand, if your focus is on low-light photography, portraits with creamy bokeh, or capturing details with razor-sharp precision, the XF 23mm f/1.4 is the superior option. Its larger aperture and optical performance make it worth the extra weight and price for photographers who demand the best in challenging lighting conditions.
For me, these lenses serve different purposes, and having both in my kit allows me to adapt to any scenario. Whether you choose one or both, you’re investing in quality lenses that will elevate your craft and help you achieve your creative vision.
Help support my work by exploring the available products below!
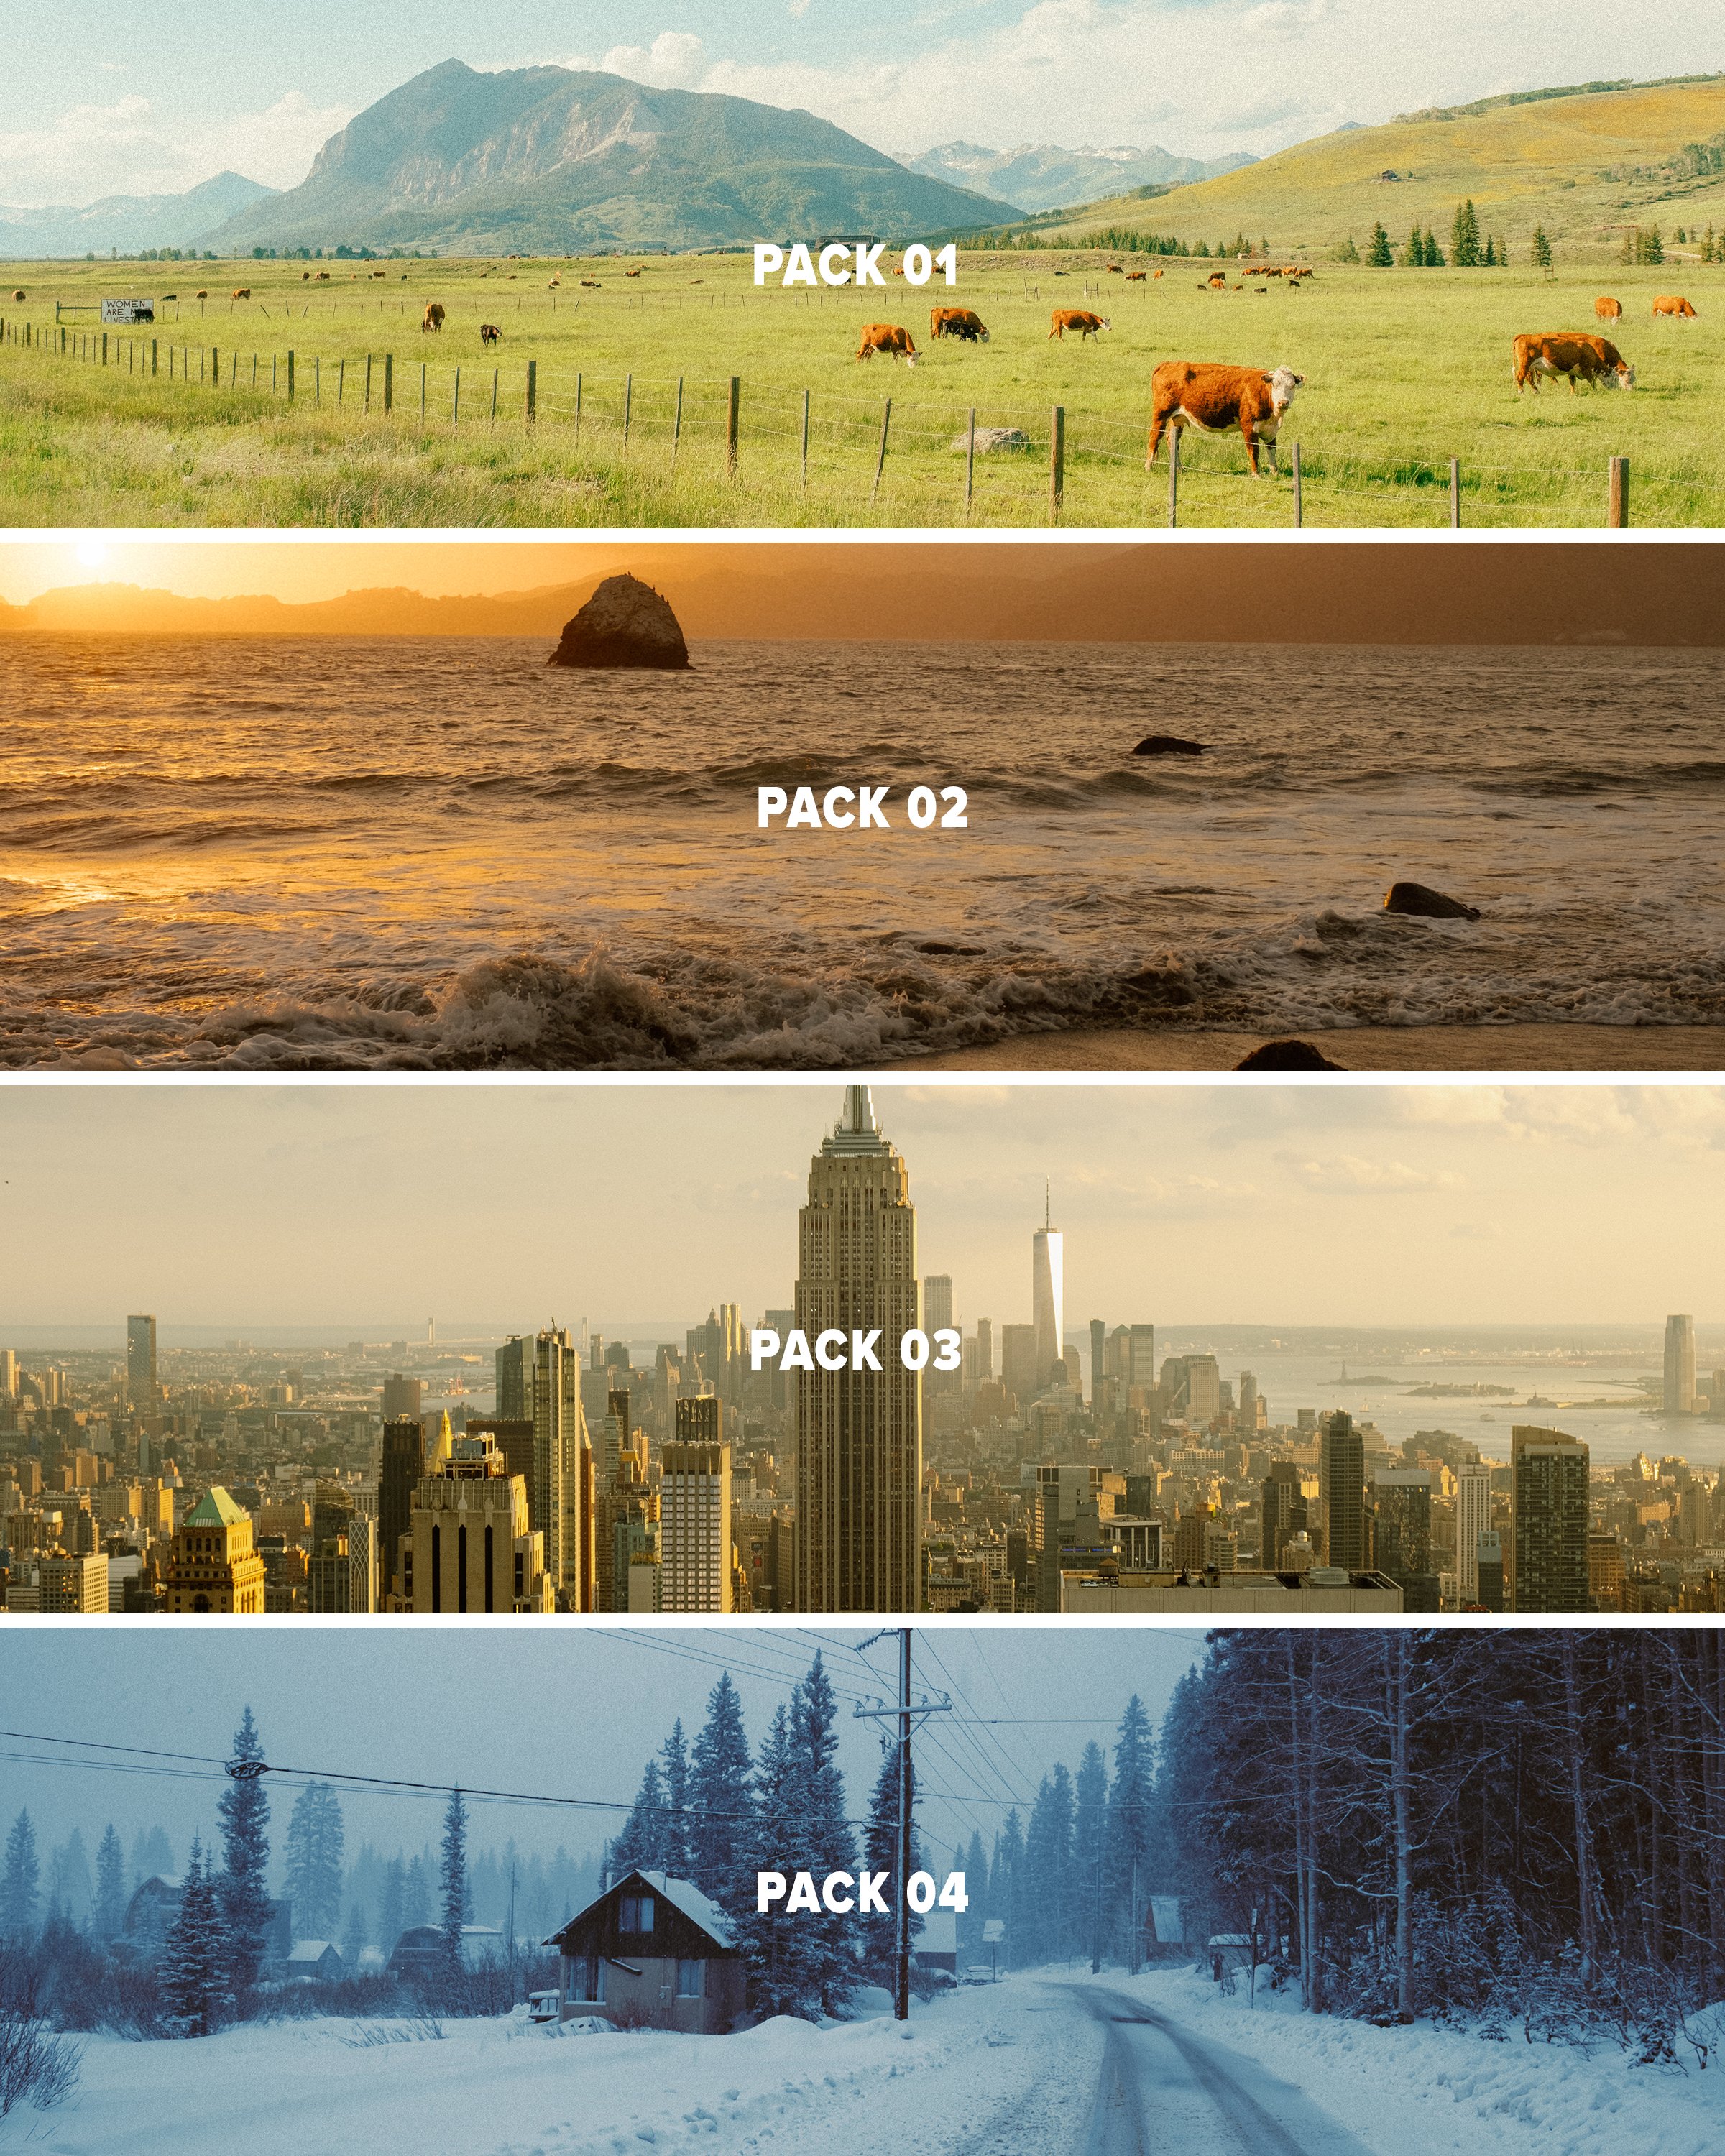

This pack provides 3 Lightroom presets inspired by film looks that should give you a solid base to work with in just a few clicks using Lightroom. This pack is the 4th and final installment of my ongoing “AV FILM SIMS” preset suite. The full suite (see bundle) includes this pack and the 3 others, giving you the base looks I use on almost all of my edits as scene on Instagram/Youtube, etc.
Each look is outlined below:
Winter - a cool blue preset created using heavy Color Tone Curve edits, inspired by winters spent in the Utah desert, but applicable to most moody, rainy, or winter scenes.
Wyoming - a clean, filmic day-light focused preset inspired by my travels to the Grand Tetons of Wyoming. Great for road trip scenes, landscapes, and mid-day photo walks.
Moab - inspired by kodak film-stocks, this preset is meant to create a soft, colorful and film-like look in one click. Inspired by some of my earliest visits to Moab, and specifically Arches, but I’ve been using it on a lot of NYC work as well!
Note: these are for DESKTOP. I use them on Lightroom Classic. These are NOT mobile presets. They do work in Lightroom Cloud via importing, and if applied to a DNG, they CAN work on Mobile, but they are not optimized for this purpose.
How to download & install:
Once you checkout from my site, you will be given access to the digital download.
Download & unzip the “zip” file.
Open LR -> File -> Import Develop Profiles and Presets.
Navigate to the unzipped folders and select them.
Click “Import.”
How to edit photos with this pack:
Ensure the image is properly exposed. Adjust the exposure slider (increase or decrease) until your exposure is even.
Explore the pack by highlighting each of the 3 looks - before clicking any, hover over each to see how they feel on your image. Click to apply the preset you like.
Make other adjustments as needed. If you have my other packs, try combining these looks with the tool kits from those! Experiment with making small slider adjustments to the tones, mess with color grading, but don’t go TOO far. Less is more with editing.
You’re done! Export & share.
Presets are non-refundable. Absolutely no re-selling under any circumstances.
Reminder: these are for LIGHTROOM CLASSIC. They are not optimized for mobile app.
When ordering, you’ll get a 24-hour download code. If you lose this code or forget to download, email me & I’ll get you another.
Be sure to sign up for my newsletter/updates with your email at checkout to receive discounts/free stuff in the future!
Not affiliated with or endorsed by any camera company.