Which Fujifilm Prime Lens Should You Use?

What lens should I take with me today?
I have quite a few of the Fujifilm X series lenses as of now, and in the past four years of shooting Fujifilm as my native brand, I’ve been able to get my hands on almost all of the lenses in the X series lineup.And through all this trial and error, I’ve developed an understanding of how to choose what lens to take with me when I’m heading out to shoot.
I want to talk a little about the thoughts that go through my head when picking a prime lens to shoot with so hopefully, you’ll have a better idea of the things you might want to consider when choosing your own.
In general, there are three main factors that go into my decision:
Focal Length
Size and Weight
Maximum Aperture
Of course, there are other things to consider as well—like image quality, sharpness, and lens artifacts—but honestly, for me, these don’t heavily impact my work.
Take sharpness, for example. For someone doing a ton of commercial work, this might be crucial. But if you look at my photos, you’ll notice I do a lot of editing and sometimes even soften my images intentionally to get a certain feel. So, for me, image quality is always second to the actual image itself—the story, the composition, the emotion.
That’s why I focus on features that impact my workflow and my ability to actually get the shot.
So, let’s get into it.
Before we talk about the three main factors, let’s first answer the question of…
Why Choose a Prime Lens Over a Zoom?

My favorite Fujifilm zoom lens, the 18-55mm.
For me, it boils down to a few key reasons:
Superior Image Quality: Prime lenses often deliver sharper images with better overall quality compared to zooms. This is due to their simpler optical design, which minimizes aberrations and distortions.
Wider Apertures: Primes typically offer larger maximum apertures—think f/1.2, f/1.4, or f/2.0. These wider apertures allow for a shallower depth of field, giving you that coveted creamy background blur, and they excel in low-light situations by letting in more light.
Compact and Lightweight: Prime lenses are generally more compact and lighter than their zoom counterparts, making them ideal for genres like street photography where a discreet setup is beneficial.
Enhanced Compositional Skills: Using a fixed focal length encourages you to move around your subject, fostering a more deliberate approach to composition. This physical engagement can lead to more thoughtful and compelling images.
While zoom lenses offer versatility by covering multiple focal lengths, prime lenses can help refine your technique and artistic vision.
Now, let’s delve into the three main factors I consider when selecting a prime lens for the day.
1. Choosing the Right Focal Length

My favorite prime lens, the Fujifilm 23mm f/2.
This is probably the most obvious factor. Your choice of focal length will come down to personal preference and how you see the world.
Some of us prefer tighter shots with lots of subject isolation. My friend Faizal is an excellent example of someone who uses a lot of tigher focal lengths for many of his shots.
Others lean toward wider frames that capture a big scene and the different elements within it. That would be the camp I usually fall into.
If you look at my body of work, you’ll notice I almost always shoot around 23mm on Fujifilm. Even when I use a zoom lens, I often find myself punching into around 23mm. It’s just how my eye works now—I’ve developed my style around that focal length, and at this point, I honestly think that’s just how I imagine compositions before I even raise the camera.
But this doesn’t mean that focal length is the best choice for everyone.
23mm (35mm full-frame equivalent) is versatile, great for street, travel, and environmental portraits. It lets you capture the subject and the scene. This is probably the most common choice for street photographers (based on my anecdotal survey that is…).
35mm (50mm equivalent) is perfect if you want a more classic field of view—something a little tighter but still flexible.
50mm (75mm equivalent) is amazing for subject isolation—portraits, details, and when you want strong background separation. Definitely can provide a bit of a stylized look to pictures, and also offers a lot of opportunities for abstract compositions when focusing on details.
I also used to shoot a lot with the 18mm f/2. It’s super compact and has its own charm, especially for capturing vast spaces or exaggerated perspectives. But I eventually found it a little too wide for my everyday style.
Pure landscape lovers also swear by Fujifilm 16mm f/1.4. I found this one to also be a bit wide for me.
The key takeaway? There’s no wrong choice for focal length. It’s about what fits your vision and how you like to compose your shots.
2. Considering Size and Weight
When I’m heading out for long days of shooting, especially on those long summer days with a lot of light, I usually opt for one of Fujifilm’s smaller f/2 prime lenses—like the 23mm f/2 or the 35mm f/2.
These lenses are more compact and lightweight, so they don’t feel heavy when I have my camera around my neck or over my shoulder all day.
The f/2 prime lenses also have weather resistance technology (I am unsure if they are actually weather-sealed…), which is also convenient if I end up caught in some rain.
Lastly, the maximum aperture of f/2 is still fast enough to bring in a lot of light and produce that beautiful background blur if I want a more shallow depth of field in my shots. That said, f/2 is great, but there are some instances at night where having a little extra, like f/1.4, is helpful (more on this in the next section).
BUT—in broad daylight, I’m rarely shooting wide open anyway. I’m usually stopping down to f/8 or more to get everything from foreground to background sharp, so the maximum aperture isn’t a major factor for me during daytime. This is a personal prefernece of course, as I just like the look of tack sharp photos during the day.
3. When Maximum Aperture Matters
When I’m planning to shoot at night—or if I know I’ll be in low-light environments—I switch it up and use one of the faster prime lenses.

I’ve been using the Fujifilm 56mm f/1.2 for street photography at night lately.
That’s when I go for something faster, like the:
23mm f/1.4 for wide scenes with better light-gathering ability, or
56mm f/1.2 if I’m focusing on portraits or subject isolation.
These lenses give me:
Cleaner images at night by letting me shoot at lower ISOs.
Faster shutter speeds to freeze motion even in low light.
That creamy, shallow depth of field I love for isolating subjects.
That said, while I prefer these faster lenses in low light, the f/2 primes can still hold their own at night—you just have to adapt a bit. Sometimes that means bumping the ISO or finding stronger light sources to make it work.
So, Which Lens Should YOU Use?
Here’s the real answer: it depends on what look you want, the type of work you shoot, and the lighting situations you find yourself in.
If you’re looking for a daily driver that works for almost everything, I’d personally recommend starting with the 23mm f/2 or 35mm f/2. They’re more affordable than the f/1.4 versions, lightweight, and very versatile for different types of photography.
If you want to specialize in portraits, explore subject isolation, or maybe make abstract/detail oriented work, something like the 56mm f/1.2 or 50mm f/2 might be a fun fit.
And if you’re into landscapes or street photography where capturing the entire scene matters, the 18mm f/2 or 16mm f/1.4 could be your go-to.
Over time, with some trial and error, you’ll naturally figure out which focal lengths you gravitate toward. The more you shoot, the more your preferences will reveal themselves.
Closing Thoughts
At the end of the day, your lens is just a tool, and the choice for which one you bring is subjective and personal to every photographer. It’s really all about how you use your lens that matters.
With Fujifilm I’ve had pretty positive experiences with most of the X series prime lenses I’ve used so far, so I wouldn’t worry about making a “bad” choice if you’re in the market for a prime lens. Just think about what would be a good fit, and go for it. You can always return/sell it, and look for something else later!
In short, next time you’re deciding what to bring with you, think about:
The story you want to tell
The kind of shots you’re aiming for/the look you want
And how the gear you’re choosing will help—or hinder—you in achieving that
If you enjoy the look of my work and want to try out my editing style, I have preset packs available below! Supporting me through purchasing one of these packs is the best way to keep this blog ad-free and allow me to continue sharing editing tips.
Help support my work by exploring the available products below!
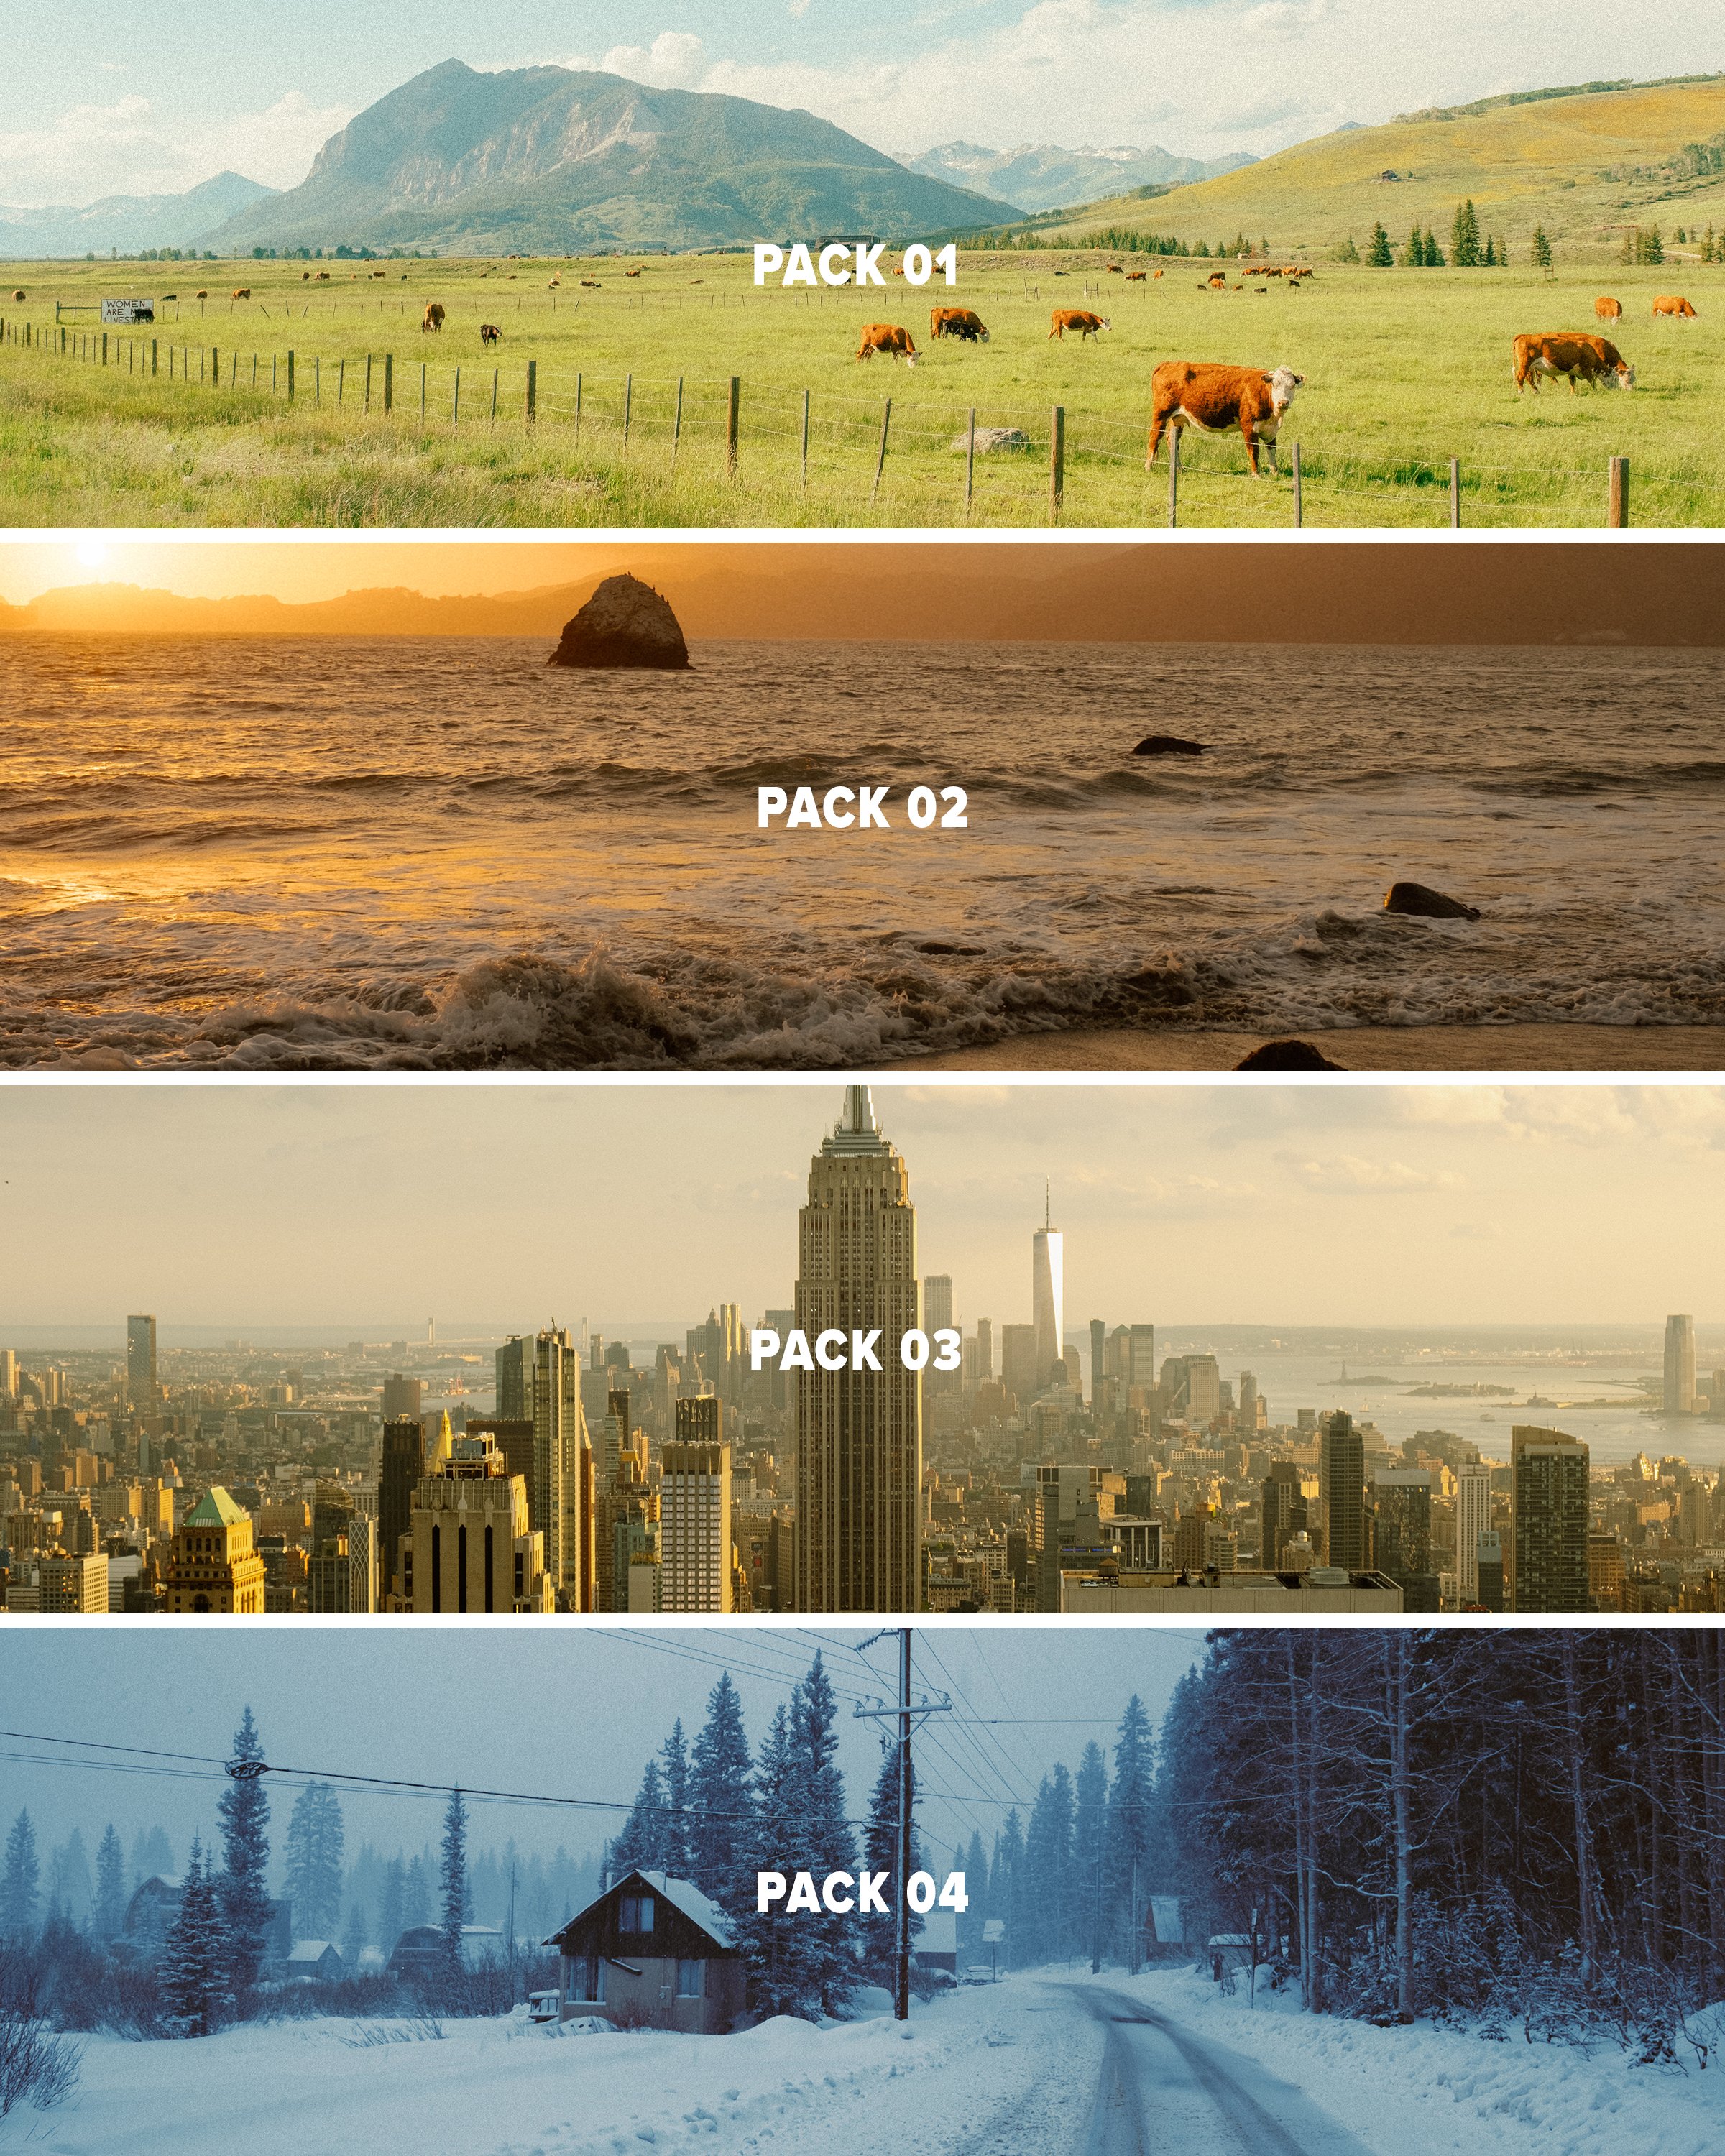

This pack provides 3 Lightroom presets inspired by film looks that should give you a solid base to work with in just a few clicks using Lightroom. This pack is the 4th and final installment of my ongoing “AV FILM SIMS” preset suite. The full suite (see bundle) includes this pack and the 3 others, giving you the base looks I use on almost all of my edits as scene on Instagram/Youtube, etc.
Each look is outlined below:
Winter - a cool blue preset created using heavy Color Tone Curve edits, inspired by winters spent in the Utah desert, but applicable to most moody, rainy, or winter scenes.
Wyoming - a clean, filmic day-light focused preset inspired by my travels to the Grand Tetons of Wyoming. Great for road trip scenes, landscapes, and mid-day photo walks.
Moab - inspired by kodak film-stocks, this preset is meant to create a soft, colorful and film-like look in one click. Inspired by some of my earliest visits to Moab, and specifically Arches, but I’ve been using it on a lot of NYC work as well!
Note: these are for DESKTOP. I use them on Lightroom Classic. These are NOT mobile presets. They do work in Lightroom Cloud via importing, and if applied to a DNG, they CAN work on Mobile, but they are not optimized for this purpose.
How to download & install:
Once you checkout from my site, you will be given access to the digital download.
Download & unzip the “zip” file.
Open LR -> File -> Import Develop Profiles and Presets.
Navigate to the unzipped folders and select them.
Click “Import.”
How to edit photos with this pack:
Ensure the image is properly exposed. Adjust the exposure slider (increase or decrease) until your exposure is even.
Explore the pack by highlighting each of the 3 looks - before clicking any, hover over each to see how they feel on your image. Click to apply the preset you like.
Make other adjustments as needed. If you have my other packs, try combining these looks with the tool kits from those! Experiment with making small slider adjustments to the tones, mess with color grading, but don’t go TOO far. Less is more with editing.
You’re done! Export & share.
Presets are non-refundable. Absolutely no re-selling under any circumstances.
Reminder: these are for LIGHTROOM CLASSIC. They are not optimized for mobile app.
When ordering, you’ll get a 24-hour download code. If you lose this code or forget to download, email me & I’ll get you another.
Be sure to sign up for my newsletter/updates with your email at checkout to receive discounts/free stuff in the future!
Not affiliated with or endorsed by any camera company.